Showing posts with label diy. Show all posts

Saturday, March 24, 2012

Pallet Project Phase 1

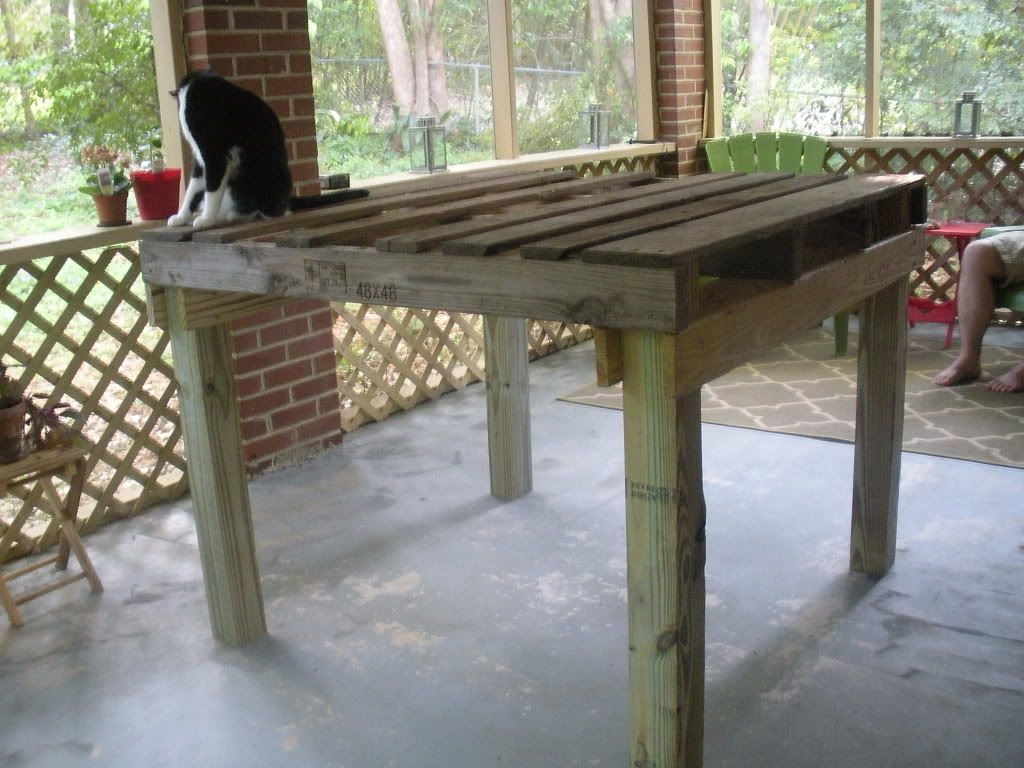
Just a quick post to show off the work we've done so far on our pallet project. It's a bar-height patio table! Except when it's finished it will be way awesomer than it appears in this photo. (Prepare to be amazed!) Stay tuned for the final product and how-tos! :)


Thanks for reading!  Until next time, happy building! ;)

--CC

Friday, September 30, 2011

Free Fall Printable


Now, I'm no graphic designer but I saw this quote about fall somewhere recently and decided to try and make it into a printable.  Here's what I came up with:


You can download and print it for free here.  I hope you like it!  It's my first attempt at a printable so go easy on me, okay?  ;)

Anyway, thanks for stopping by today.  Hope to see you again soon!

--CC

Wednesday, September 28, 2011

Ruffle Cuff Pant Legs

Just a quickie to share something great I found today.   If you liked my Knot No-Hem Pants tutorial, I'm sure you're going to love these from A Mother Huddle:

Source
This Ruffle Cuff Pants tutorial shows you a great way to transform pants that are either too short or too long into ones that fit and are completely adorable.  I wish I were younger so I could make some of these for myself! 

Thanks for stopping by!  Happy crafting. :)

--CC

Monday, September 26, 2011

Tutorial: Bow & Whimsy Tank Top

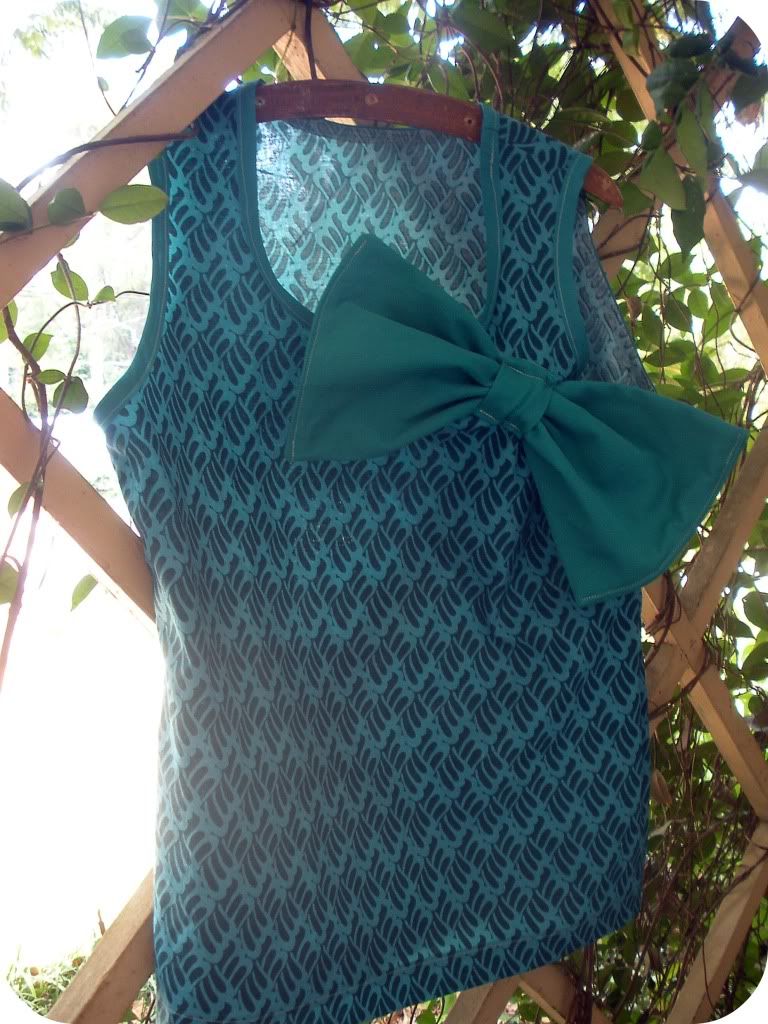
You might remember few weeks ago I showed you my "A Bow and Whimsy Tank Top" in another post


Well, that same week I also shared a tutorial for the blouse over at a blog called Sunny Vanilla.


But just in case you missed it, today I thought I'd share the tutorial here at Crafty Critique.  You can follow me after the jump for the how-to.  Enjoy and let me know if you have any questions! :)


Monday, September 19, 2011

Jute & Felt Mum Fall Wreath

Hi guys!  Sorry I haven't written since last week.  Life was calling!  I hope that you haven't missed me too much and you've been crafting up a storm without me. ;)

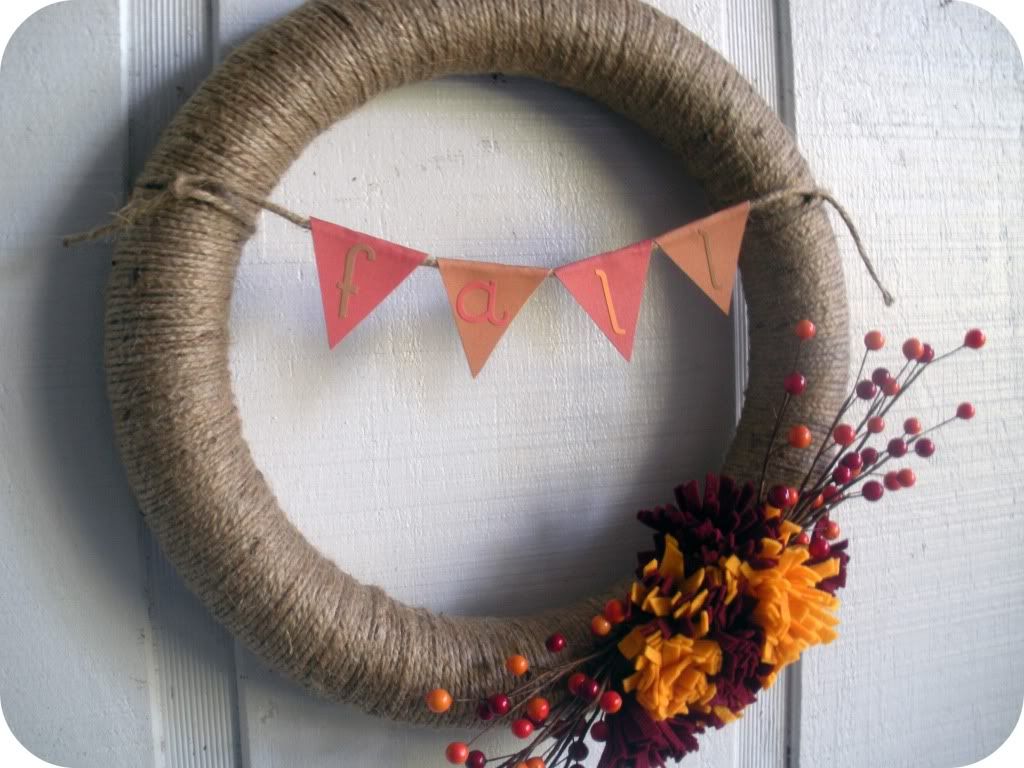
Anyway, I had some time to whip up a new fall wreath today, so I thought I'd drop in and share it with you.


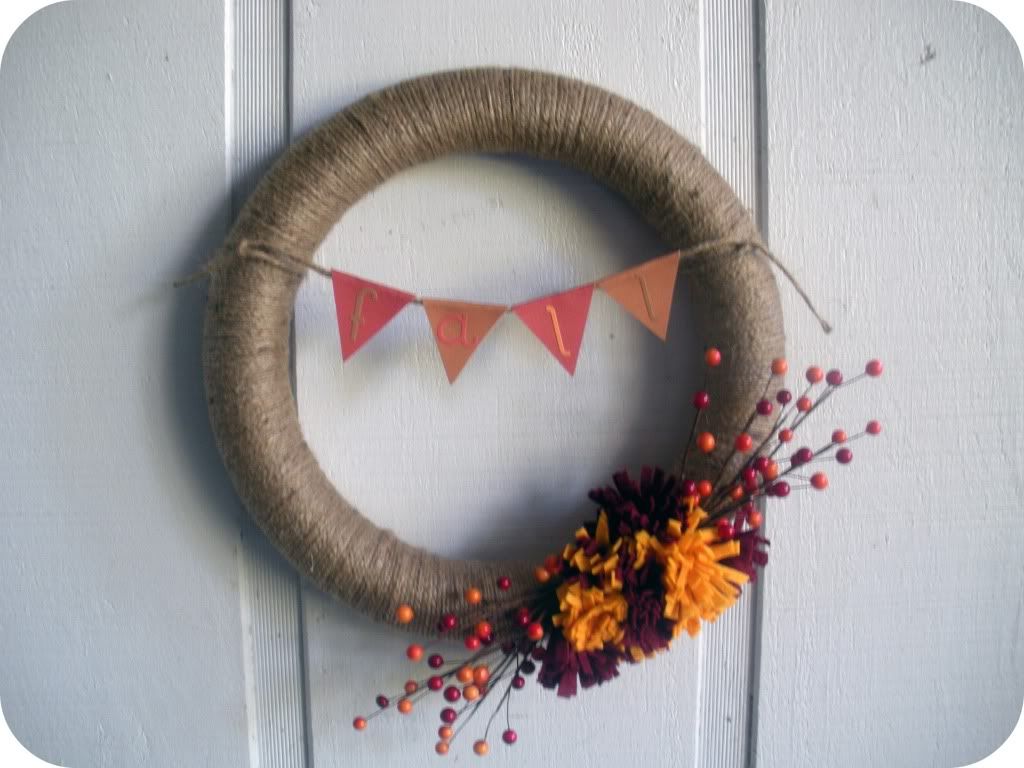
I didn't have time to make a full tutorial, but it's a pretty simple concept so I'll just explain verbally what I did.  I started with a foam wreath (be sure to check out this money saving tip for foam wreaths if you do this project) and wrapped it with some jute I already had on hand.


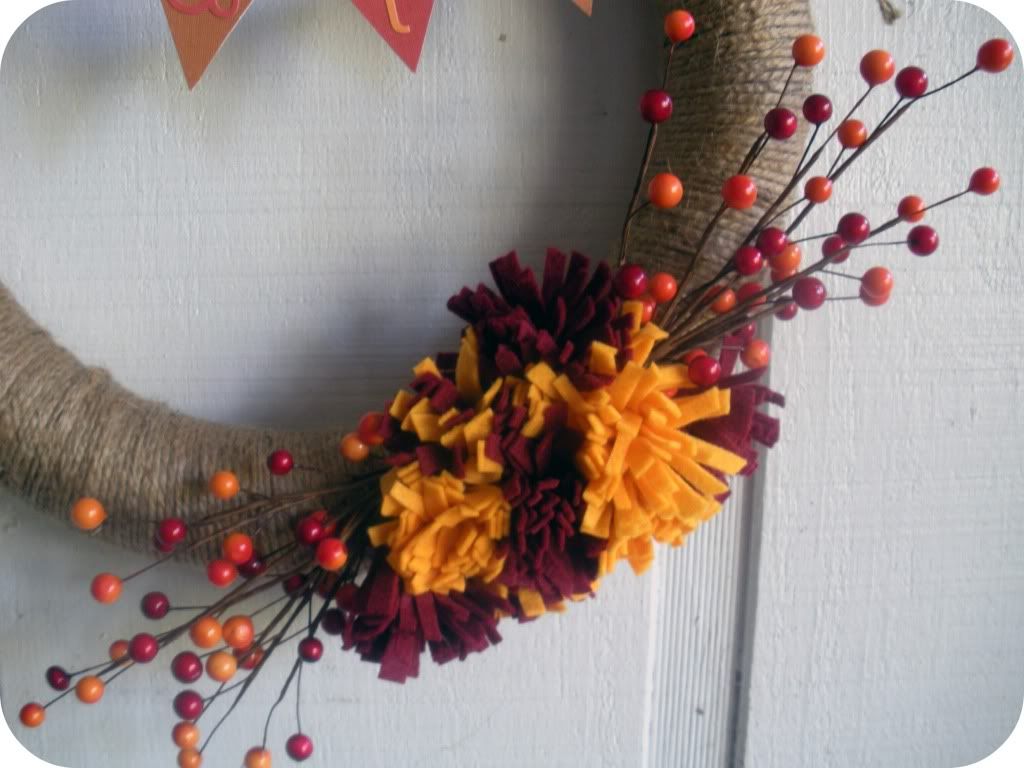
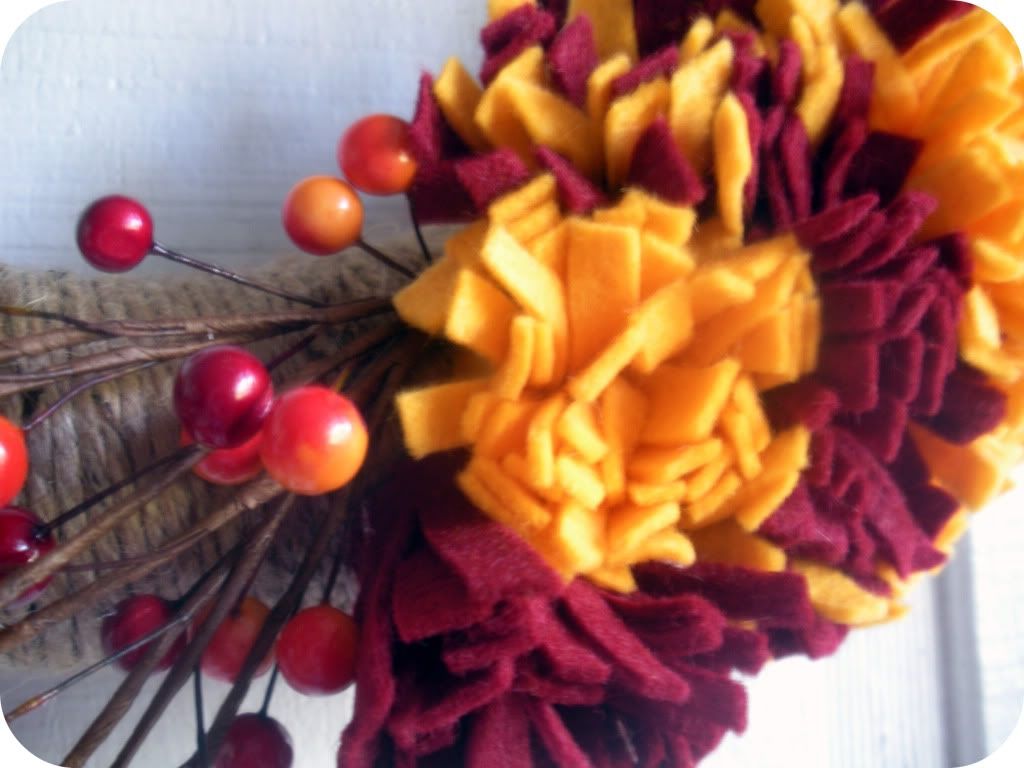
Next I decorated the wreath with two berry sprigs (99 cents each and 40% off this week at Michael's).  I was able to simply work the wire stems into the foam core of the wreath.  Then I hot glued a whole bunch of felt mums in between the two sprigs.


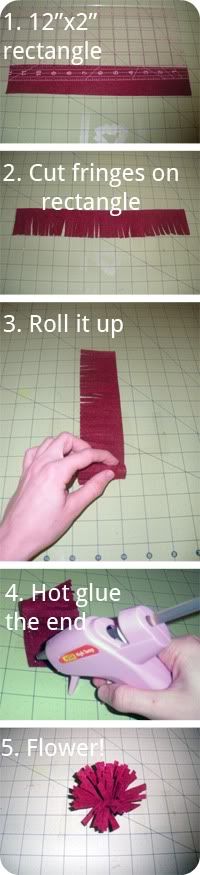
If you're wondering how I made the felt mums, I did take a few photos of the process.  Here's what I did (please note I didn't have the time to take the best photos to show you how to do this):


As I made the mums I realized the shorter the fringe the better the mums looked, so I gave them little haircuts.  So you might want to adjust your original rectangle to 12"x1".  Anyway, I made about 10 felt mums using that process and hot glued them between the two berry sprigs until I liked the way they looked.


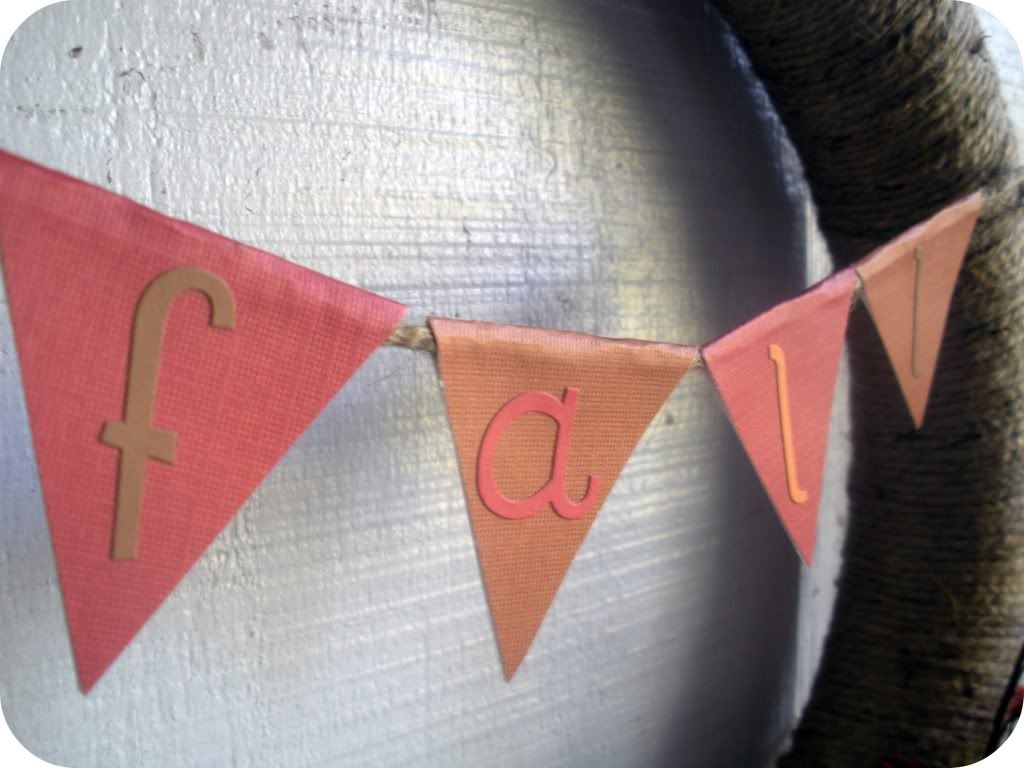
Then, to make the banner, I tied another long piece of jute across the wreath.  I cut diamonds out of colored cardstock scrapbooking paper and folded them in half over the strand of jute and glued them together.  (I sure hope that makes sense!)  I used some scrapbooking alphabet stickers to spell out the word "Fall."


And ta-da!  All finished.  :)  I really like the scrappy look of my new wreath, and the whole project cost me about $3 to make since I already had so much of the supplies on hand.  What do y'all think?


I hope your enjoying some fun fall crafts!  Thanks for reading and see you next time! :)

--CC

This post is linked up here.

Saturday, July 2, 2011

Felt Roses Picture Frame

Hey guys!  Just popping in with a quick project idea for you.  Remember the felt roses tutorial?


Well, today Tyler and I ducked into Pier 1 to avoid driving home in a thunderstorm and I saw this felt rose picture frame.

Sorry this picture's not the best.
Naturally I thought of our felt rose tutorial!  It would be so easy to achieve this look on your own.  Simply make enough felt roses and hot glue them onto an unfinished wood picture frame from Michael's or Jo-Ann (they usually cost somewhere around $1 to $2).  You could paint the wood frame a color using acryllic paint, or just leave it wood.  Easy as pie!

Hope you're gearing up for Fourth of July with lots of patriotic craft projects.  See you again soon!

--CC
Related Posts Plugin for WordPress, Blogger...