Showing posts with label fails. Show all posts

Friday, June 3, 2011

Toddler Shirt with Lunar Bow

So, I lied a little bit when I said I hadn't really sewn anything except those shorts lately.  I have, in fact, sewn a disastrous toddler shirt.  Ever make so many mistakes sewing something that it makes you laugh?  That's what happened with this one.


It's the top I was trying to put buttonholes on and I made so many mistakes that I eventually started laughing until I cried.

Sunday, May 29, 2011

Trouble with Buttonholes

I've been working on a top to match one of the pairs of Knot No-Hem Pants I made a couple days ago, but I can't seem to get it finished.  Why, you ask?


Buttonholes.

I've never made them before.  I have an automatic one-step buttonhole, so you'd think it would be easy, but I still haven't had any success.  I read the manual and followed all the steps.  I called my mom.  I consulted about a bajillion tutorials.  Everyone's giving me the same information, and I'm like 99% sure I'm doing it right, but they still look wonky.  I guess technically some of them are buttonholes.  It's just that the little zig-zags look like they wouldn't hold up after a couple times buttoning and unbuttoning.  Plus, every time I made a buttonhole they seem to turn out differently.


Finally, I got frustrated practicing and said, "I'm just going to do it on the shirt!"  Well, it turned out like this:


So crooked!  (Okay, so that's probably my fault.)  And now I'm going to have to find out some way to salvage the shirt because I've tried using my seam ripper on my oopsy-doopsy and couldn't get it out.

Any one else had a lot of trouble with button holes before?  Any tips?

Sunday, April 10, 2011

Natural Easter Egg Dye Experiment

I wanted to make a natural Easter egg dye tutorial for you all, and so you could use it for Easter, I went ahead and dyed some eggs today.  And, well...ta-da!


I made natural Easter egg dye.  Here's a close-up:


Beautiful, huh?  It looks like troll poop.  I laughed so hard I cried.  I had trouble texting it to my mom because I couldn't see through my tears.  She texted back that at first she thought it was dog poop and my dog was really sick.  Oh, lord.  Massive fail.  This was supposed to be purple, by the way.

So, the Easter tutorial I had in the works?  Yeah...not happening.  When the best Easter egg turned out like this...


 ...you know that you had a catastrophic fail.  That egg was covered in a slimy yellow film, by the way.

I'm not really sure what went wrong.  I googled "homemade easter egg dye" and I came up with a lot of great links.  I read a bunch of them, and they all gave similar advice.  For the dye bath, they all seemed to be suggesting two to three tablespoons of white vinegar mixed with produce or other items you might already have in your pantry.  Then just add a little water on top.  Some sources directed you to boil the egg in the dye bath, and others said you could just dip the egg in.  Naturally, I tried both.  Here's how badly they all turned out post-washing (which all the sources suggested):


This is pathetic, but they actually look a lot better in these pictures than they did in real life.  If you even want the details, here's what all I tried:

  • Spinach.  I tried to get a green egg by boiling the egg with spinach, vinegar and water.  After twenty minutes of boiling, the egg was still white, albeit covered in a slimy film, and the spinach was brown.  I did manage to make a pickled egg, though.  In the picture, it's the second one from the right.
  • Red wine.  I simply mixed red wine and vinegar for this one and dipped the egg in.  The egg turned out a brown, crackly color.   So, if that's what you're going for... (In the photo above, it's the egg pictured on the far right.)
  • Yellow Curry Powder.  I did two eggs in the curry powder.  I mixed a tablespoon of curry powder with 3 tablespoons of vinegar.  In one of the cups, I just stirred until the powder was mostly dissolved then added water and the egg.  The problem was it didn't seem to be dissolved well enough once the egg was in.  So then I tried with the same ingredients and proportions, except first I dissolved the curry powder in a sauce pan on the stove before adding the water.  I also put my face above the steam and burned my eyes.  Oops.  Anyway, the yellow curry powder eggs turned out the best.  They're the two eggs on the far left in the picture.
  • Grape Kool-Aid Mix.  This was the one that turned out like troll poop that I showed you up above.  Once washed off, the scary black bumps came of and it was just kind of a dim gray.  Post-wash, it's the third from the left.  I used the same procedure as with the curry powder for this one.  I dissolved a package of Kool-Aid mix into three tablespoons of vinegar, then added water.  Maybe the key for this one was way less Kool-Aid mix?  Not sure, but this was the egg that made me just give up and laugh my head off when I pulled it out of the dye bath.
  • Cranberry Juice Concentrate.  For this one, I melted frozen cranberry juice concentrate, poured about a half cup, and filled the rest of the cup with vinegar.  No water in this one.  It was actually a pretty pink, but when I touched it, it was slimy like the others.  So I washed it.  And then the dye came off.  Up above, it's the third from the right.
Basically, major fail.  So much for trying to be sustainable this Easter!  I say, just spend a couple bucks on the Paas.  All the supplies I used cost $8, so it's less expensive than natural dye, anyway.

I can still be a little sustainable, though.  I'm going to make egg salad for lunch this week out of the eggs, and egg shells are good for lining the bottom of flower pots to promote good drainage.  And I plan to use the egg carton to plant flowers in once all the eggs are gone.  Not a total waste!

Anyway, I hope you laughed as much as I did at the eggs.  I'll let you know if my Paas turn out any better for Easter. :)

Thursday, December 16, 2010

Pocket Tissue Tutorial Review and a Fail

I haven't had a lot of time to sew lately between my boyfriend graduating from college and his parents being in town and trying to finish up my Christmas shopping before we drive back home to Missouri. I got finished and wrapped up, though!


Notice no bows on the boxes or tissue paper on the bags because the kitty would eat it before it was time to open the presents.

Between all this, though, I managed to fit in time to use the pocket tissue tutorial from Sew, Mama, Sew that I'd been meaning to try. I thought it would be quick and easy. The directions were simple enough and it was basically just sewing straight lines, so I was surprised when I messed up the first one. My seam allowances were too wide and I made it way to short for tissues. Oops!


So I made another. The second turned out a little better, than the first, but it still wasn't quite long enough for tissues.


I noticed that the seams on the inside were crowding the tissues, and when I flipped the pocket tissue holder inside out to take the last picture, I got an idea. What if the seams were on the outside? So I sewed another one my own way, with the seams on the outside and a zig-zag stitch to make it look cute that way. And, sure enough, the tissues fit perfectly!


The conclusion? I would recommend this tutorial, but make sure your seam allowances are nice and tiny, or maybe cut your fabric a little bigger. It's especially great for scrap fabric and it's definitely very simple and quick to do, even for new sewers.

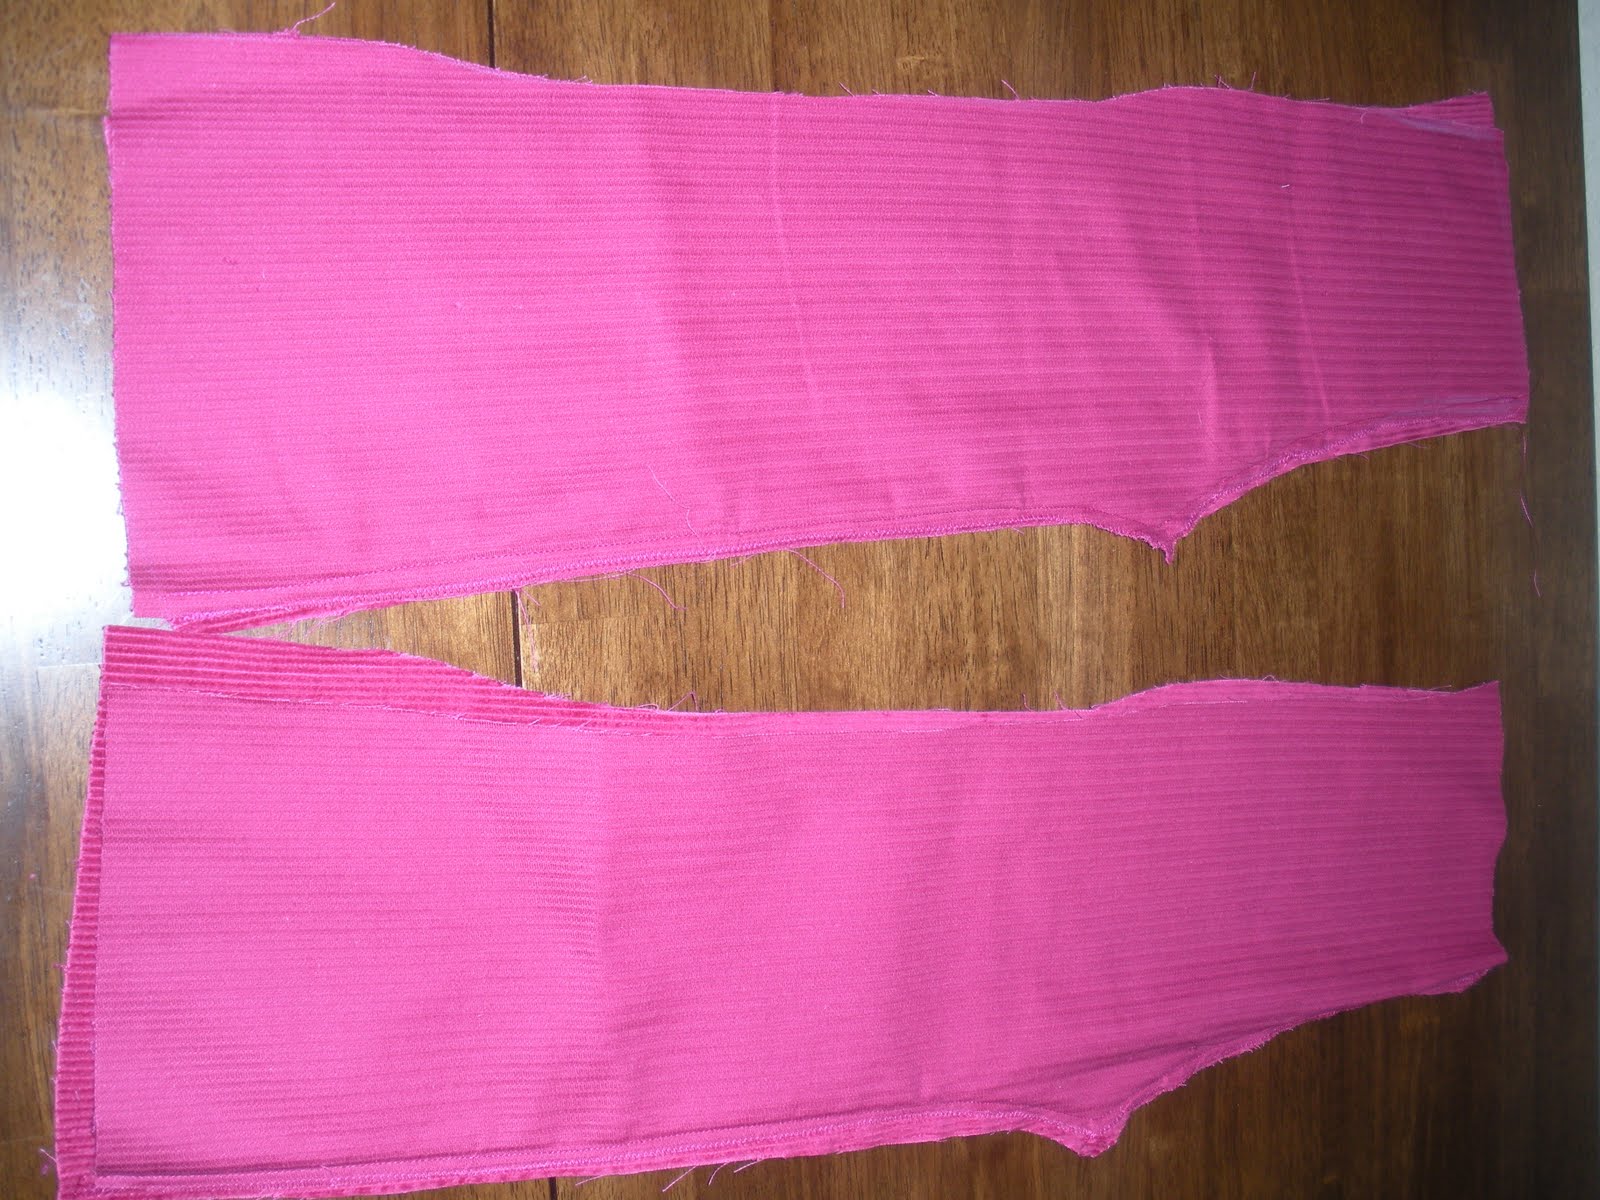
After finishing the pocket tissue tutorial I decided to take a stab at a pair of corduroy baby pants that I've been meaning to make for my step-niece. I used MADE's tutorial to make my own pattern. I carefully made the pattern based on some baby pants I'd already bought for Christmas and then I started to sew. I sewed up the side just like I was told...


...or maybe not just like I was told.


When I went to sew them together I noticed there was something wrong...they were sewed up to the top from the crotch! I didn't read the tutorial closely enough and I sewed up the wrong side, it turns out.

I couldn't be bothered to rip out the seam, since I so diligently serged the seam so it wouldn't ravel before noticing it was the wrong side. I'll have to try these again on another day.

Flower petal tutorial review and my VERY OWN tutorial coming up soon! :)
Related Posts Plugin for WordPress, Blogger...