Recently I showed you how to make a cute felt flower dog collar embellishment for your pooch, but you might remember way back in December when I first came up with the flower idea that I told you I'd been making bandanas to slide over my dog's collar for a few years.
We've never been able to get bows to stay on our Pomeranian, Monica. They just drive her crazy and she paws them off her head. For awhile we tried tying bandannas around her neck and that didn't bother her, but they fell off easily. That's when we had the idea to sew them with a little tube at the top so they slide right over her collar. This solves the problem of them falling off and getting lost.
They stay in place and they look adorable on a boy or girl dog, so I thought you'd like to know how to make a slide-over-the-collar dog bandanna for your puppy. It's a great way to use up scrap fabric, it only takes about 15 minutes and it's super easy. I've made it even easier by creating the template for you! So join me after the jump to learn how to make your own dog collar bandana.
P.S. Did you know you can spell "bandana" with one or two N's? Bandana or bandanna is acceptable according to Dictionary.com. Weird, right? Okay...on with the tutorial. :)
Showing posts with label scrap fabric. Show all posts
Monday, June 6, 2011
Saturday, June 4, 2011
Tutorial: Scrap Fabric Headbands
I'm always looking for a way to use up scrap fabric, and lately, since I've been using a lot of elastic for kids' pants, I've also been looking for ways to use scraps of elastic. I think hair pieces are a great way to use up your scrap fabric, especially since then you have a matching accessory to go with whatever item of clothing you've sewn for yourself (or for a little one or friend).
That's why when I saw this post over at Happy Together I was so inspired and decided to make my own version of a scrap fabric headband. I thought you might be looking for a way to use up scrap fabric or make hair pieces, too, so I decided to document my headband-making process and create a tutorial for you all!
Follow me after the break for the how-to. :)
That's why when I saw this post over at Happy Together I was so inspired and decided to make my own version of a scrap fabric headband. I thought you might be looking for a way to use up scrap fabric or make hair pieces, too, so I decided to document my headband-making process and create a tutorial for you all!
Follow me after the break for the how-to. :)
Tuesday, May 17, 2011
Rainy Day Skirt-a-thon
First off, sorry if I'm getting a little off my MayFlowers event the past couple of days. I promise to get more flower tutorials to you. I've just been on a clothes-sewing kick. Which brings me to today's post!
Saturday I planned on finishing up a MayFlowers tutorial for y'all, but I woke up to a cloudy day--not ideal for taking pictures, especially with my super-picky-about-light camera. So instead, after reading this post on Noodlehead, I decided to spend the day sewing a few skirts for my and my boyfriend's nieces. I used the Quick and Easy No-Hem Skirt tutorial from Hickety Pickety.
Now, let me tell you, I've been told a few clothes-sewing projects were easy before and found them to be rather difficult. (Maybe it's just that I'm not that talented.) But this tutorial really was super easy and super quick, just like it claims to be! So instead of making just one skirt, I ended up making three!
One in a 2T...
(That fabric's starting to look familiar now, isn't it?) One in a 3T...
And one in a 4T...
And then it was still raining and I still felt like sewing so I took a stab at a little more challenging skirt that's been on my list for a long time, the Pint-Sized Party Skirt from Creative Spaces. It turned out pretty cute, too. Dontcha think?
And the best part? Four skirts all made of scrap fabric. And I already had the elastic on hand, too, which means that I got to spend the whole day in my pajamas sewing! What a great day. :)
Anyway, if you're wondering about these tutorials now and want to make your own skirts, don't worry. I'll give you all the details in my reviews coming up later this week. Until then, happy crafting!
--CC
Saturday I planned on finishing up a MayFlowers tutorial for y'all, but I woke up to a cloudy day--not ideal for taking pictures, especially with my super-picky-about-light camera. So instead, after reading this post on Noodlehead, I decided to spend the day sewing a few skirts for my and my boyfriend's nieces. I used the Quick and Easy No-Hem Skirt tutorial from Hickety Pickety.
Now, let me tell you, I've been told a few clothes-sewing projects were easy before and found them to be rather difficult. (Maybe it's just that I'm not that talented.) But this tutorial really was super easy and super quick, just like it claims to be! So instead of making just one skirt, I ended up making three!
One in a 2T...
(That fabric's starting to look familiar now, isn't it?) One in a 3T...
And one in a 4T...
And then it was still raining and I still felt like sewing so I took a stab at a little more challenging skirt that's been on my list for a long time, the Pint-Sized Party Skirt from Creative Spaces. It turned out pretty cute, too. Dontcha think?
And the best part? Four skirts all made of scrap fabric. And I already had the elastic on hand, too, which means that I got to spend the whole day in my pajamas sewing! What a great day. :)
Anyway, if you're wondering about these tutorials now and want to make your own skirts, don't worry. I'll give you all the details in my reviews coming up later this week. Until then, happy crafting!
--CC
Tuesday, May 10, 2011
Tutorial: Scrap Fabric Carnation
I'll try not to put a bunch of hubbub as a prequel to this tutorial since you probably already read this post about it a few days back. This scrap fabric flower tutorial is super simple and a fun way to decorate a hair piece or other item. So let's just jump right in!
Read on after the break for the tutorial.
Sunday, May 8, 2011
Scrap Fabric Flowers
Hi everyone! I've missed you. :)
Now that I'm back from my familial escapades, I have a bunch of stuff I want to share with you, but I'm going to try to keep it one topic per post. :) So what's first? Fabric flowers!
After making some fabric flowers a couple weeks back, I decided to make my own scrap fabric flower tutorial. Here's the flower I came up with (I'll share the tutorial soon!):
I think it looks a little like a peony, but it could be any generic flower, I guess. When I was finished, I attached the fabric flowers to hair pieces. I did a headband...
...and two hair clips.
I'm in the process of writing a tutorial for this. Plus, I've got a bunch of other scrap fabric flowers in the works, so stay tuned! Until then, happy crafting!
Now that I'm back from my familial escapades, I have a bunch of stuff I want to share with you, but I'm going to try to keep it one topic per post. :) So what's first? Fabric flowers!
After making some fabric flowers a couple weeks back, I decided to make my own scrap fabric flower tutorial. Here's the flower I came up with (I'll share the tutorial soon!):
I think it looks a little like a peony, but it could be any generic flower, I guess. When I was finished, I attached the fabric flowers to hair pieces. I did a headband...
...and two hair clips.
I'm in the process of writing a tutorial for this. Plus, I've got a bunch of other scrap fabric flowers in the works, so stay tuned! Until then, happy crafting!
Tuesday, April 26, 2011
Tutorial Review: Rolled Rosettes from Happy Together
Hello to my eleven readers. (Jeez, I am such a dork.) A few days ago I made a post about some fabric flower hair pieces I made as gifts. Today I'll be reviewing the rolled rosettes from Happy Together. Here are the rolled rosettes I made:
Let's get started! Click "read more" to see the review.
Monday, April 25, 2011
Tutorial Review: Loopy Flowers from Happy Together
Yesterday you saw all the fabric flower hair pieces I made as gifts for some girls I know. There were two types of fabric flowers in the post, but today I'll be reviewing just the loopy flowers ones. Those were the ones that looked like this:
Click on "read more" to get the scoop on the tutorial.
Sunday, April 24, 2011
Fabric Flower Hair Pieces
Graduation sometimes means it's time to say goodbye. This week I'll be seeing 7 women I participated in a group with for the past year for the last time. As a goodbye present, I decided to make them fabric flower hair pieces.
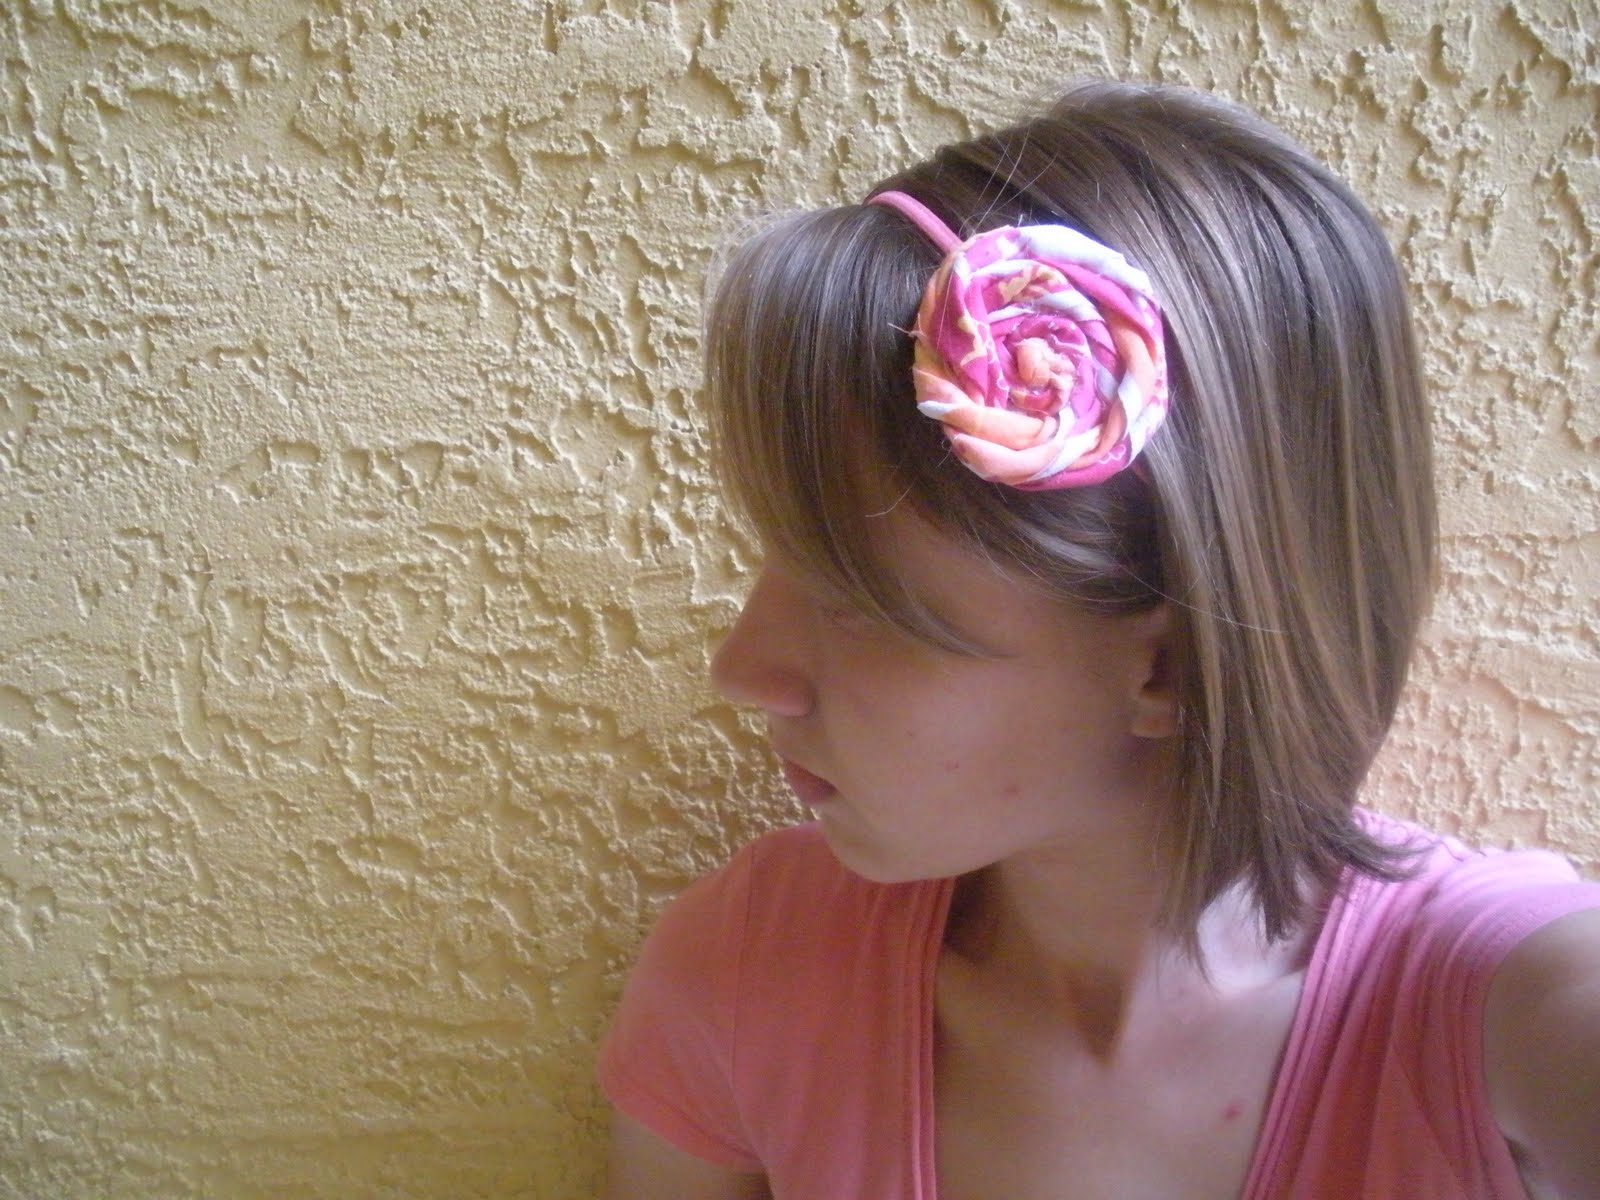
Yesterday afternoon I pulled some tutorials from one of my favorite blogs, Happy Together, grabbed my bucket of scrap fabric and got down to work. I made about 9 rolled rosettes and loopy flowers in about an hour and a half. Later, I attached them to headbands and hair clips. Here I am wearing some of my favorites:
Read more after the break to see all the fabric flower hair pieces I created.
Yesterday afternoon I pulled some tutorials from one of my favorite blogs, Happy Together, grabbed my bucket of scrap fabric and got down to work. I made about 9 rolled rosettes and loopy flowers in about an hour and a half. Later, I attached them to headbands and hair clips. Here I am wearing some of my favorites:
Read more after the break to see all the fabric flower hair pieces I created.
Labels:
fabric flowers,
hair pieces,
scrap fabric,
spring,
stash buster
Sunday, February 13, 2011
Heat Therapy Pillows for Friends
At Christmas time I made rice pillows as gifts for two of my friends. (I never posted it because I was going to make a tutorial but haven't gotten around to it yet...)

My mom used to make them and sell them at craft fairs when I was growing up. She used flax seed instead of rice. I'll admit, flax feels a little nicer but rice is so much cheaper!

You can keep the rice pillows in the freezer and use them as an ice pack on injuries, etc. or you can put them in the microwave for a few minutes and use them as a heating pad.
On Friday I was in class with one of the friends for whom I made the rice pillow at Christmas. She said it was great for cramps and that her roommate had been using it, too. So I offered to make one for her roommate and got two more requests from other girls in the class! Soo...
I sewed three rice therapy pillows this weekend!
You might recognize the elephant fabric and the purple fabric from my last couple of posts. This is a great project to use up scraps since it doesn't take very much material.

I made the pillow itself with muslin, filled it with rice, and then made a removable pillow cover. This is makes it washable, since it's likely you'll be using it when you're sick.
It was fun and incredibly easy to make these and it made me feel good that people actually asked me to sew things for them! A little ego booster for me. :)
Hope everyone in the sewing blogosphere is doing well and ready to celebrate Valentine's Day tomorrow. See you next time.
My mom used to make them and sell them at craft fairs when I was growing up. She used flax seed instead of rice. I'll admit, flax feels a little nicer but rice is so much cheaper!
You can keep the rice pillows in the freezer and use them as an ice pack on injuries, etc. or you can put them in the microwave for a few minutes and use them as a heating pad.
On Friday I was in class with one of the friends for whom I made the rice pillow at Christmas. She said it was great for cramps and that her roommate had been using it, too. So I offered to make one for her roommate and got two more requests from other girls in the class! Soo...
I sewed three rice therapy pillows this weekend!
You might recognize the elephant fabric and the purple fabric from my last couple of posts. This is a great project to use up scraps since it doesn't take very much material.
I made the pillow itself with muslin, filled it with rice, and then made a removable pillow cover. This is makes it washable, since it's likely you'll be using it when you're sick.
It was fun and incredibly easy to make these and it made me feel good that people actually asked me to sew things for them! A little ego booster for me. :)
Hope everyone in the sewing blogosphere is doing well and ready to celebrate Valentine's Day tomorrow. See you next time.
Sunday, January 30, 2011
Simple Valentine's Day Gift
My boyfriend of 4 1/2 years moved to California two weeks ago for work. I'll be following after him in a few months when I graduate from college, but for now I needed something light-weight and inexpensive to mail him for Valentine's Day.
Inspiration struck when I saw this scooter tray on one of my favorite blogs, Noodlehead. I've been meaning to get a catchall for all that stuff from my boyfriend's pocket that's always scattered all over the bedroom. So I thought to myself, "Why not make one?"
The only problem was that there was no tutorial! So I had to figure out how to do it from the picture. So I picked out some fabric and decided to give it a shot...

Success! Things even fit in it.

It came out so nicely I decided to devote part of next weekend to making one for my Dad and Grandpa, whose birthdays are both the week of Valentine's Day. And I just love the sailboat fabric...masculine and still aesthetic.
It's really easy and I saw lots of people commented that they wished there was a tutorial on the blog I copied it from. Maybe I'll make my own tutorial for it...keep your eye out!
See you next time!
Inspiration struck when I saw this scooter tray on one of my favorite blogs, Noodlehead. I've been meaning to get a catchall for all that stuff from my boyfriend's pocket that's always scattered all over the bedroom. So I thought to myself, "Why not make one?"
The only problem was that there was no tutorial! So I had to figure out how to do it from the picture. So I picked out some fabric and decided to give it a shot...
Success! Things even fit in it.
It came out so nicely I decided to devote part of next weekend to making one for my Dad and Grandpa, whose birthdays are both the week of Valentine's Day. And I just love the sailboat fabric...masculine and still aesthetic.
It's really easy and I saw lots of people commented that they wished there was a tutorial on the blog I copied it from. Maybe I'll make my own tutorial for it...keep your eye out!
See you next time!
Sunday, January 23, 2011
Valentine Bunting, part 1
Hi blogging world! I know I haven't posted in a long time. Forgive me! My boyfriend moved to California for work, my dog had surgery and is now undergoing physical therapy and I started a new internship. Needless to say, I haven't had a lot of time (or motivation) for crafting.
However, tonight I got in the mood to do something simple, so I decided to make some Valentine's day bunting. I didn't have a tutorial, so I decided to wing it. Turns out, it was harder than I expected. After messing up the first two hearts, I decided to just wait until next weekend to finish it.
Here's the unassembled bunting, though. I'll put it all together next week.


It was a great way to use up some scrap fabrics a friend had given me and some from making my Christmas stockings. I can't wait until I get a chance to finish it so I can enjoy it in my home for a few weeks before Valentine's day!
Happy crafting! See you next time.
However, tonight I got in the mood to do something simple, so I decided to make some Valentine's day bunting. I didn't have a tutorial, so I decided to wing it. Turns out, it was harder than I expected. After messing up the first two hearts, I decided to just wait until next weekend to finish it.
Here's the unassembled bunting, though. I'll put it all together next week.
It was a great way to use up some scrap fabrics a friend had given me and some from making my Christmas stockings. I can't wait until I get a chance to finish it so I can enjoy it in my home for a few weeks before Valentine's day!
Happy crafting! See you next time.
Subscribe to:
Posts (Atom)