Thursday, November 24, 2011

Happy Thanksgiving!

I only caught my kitchen on fire a little bit making our feast today.  I'm thankful it didn't get bigger...and I'm thankful for baking soda. ;)


Here's to hoping you had an excellent holiday!

--CC

Saturday, November 19, 2011

Quick & Easy Holiday Appreciation Project

Hello my lovelies!  I'm sooo sorry I've been absent for so long without warning.  I thought I'd be around more now that I'm getting used to my schedule, but I had a big event at work and then I had to drive up to Missouri for my sister's wedding and then when I got back I got a cold.  Excuses, excuses, I know!  My apologies.

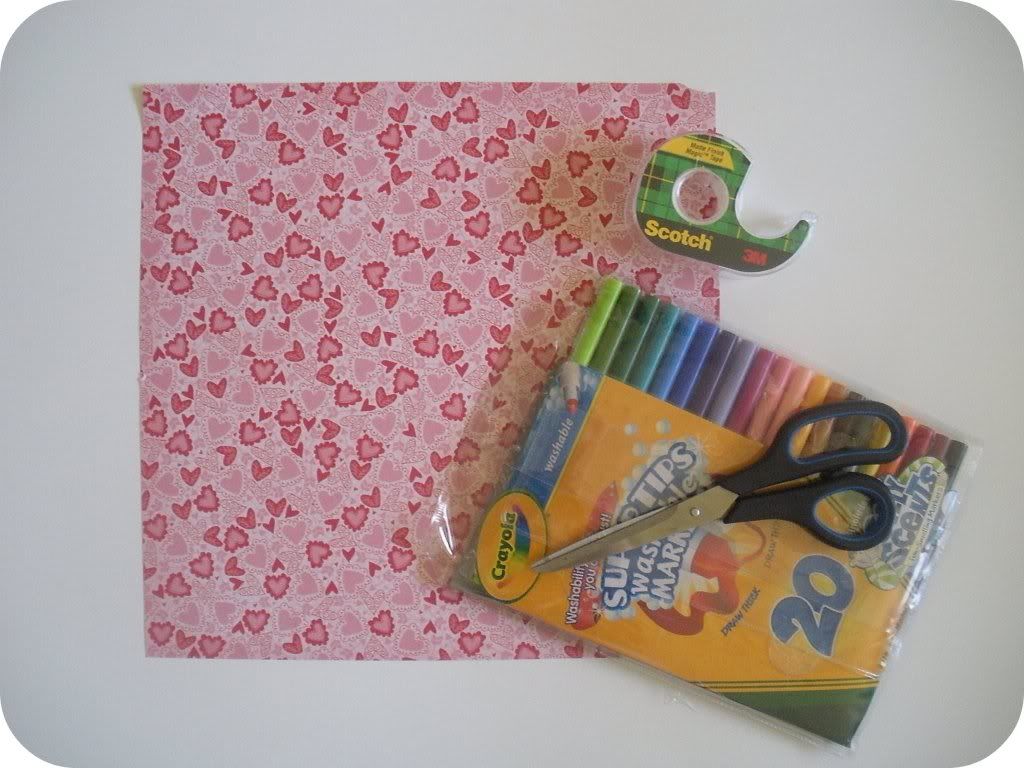
But today I'm here to share with you a little Thanksgiving project.  In the holiday rush, it's really easy to take for granted all the help your significant other gives to you, so I did this for my boyfriend to let him know how much I really do appreciate all the little things he does for me.  It might also make a good idea for an anniversary or Valentine's Day or "just because," too.  It's a really simple way to show someone how much they mean to you and it takes hardly any time at all.  So, are you ready?  Here's what you'll need:
  • Scrapbook paper of your choice
  • Markers
  • Scissors
  • Tape


Step 1:

Make a list of all the reasons why you're thankful for your significant other.  They can be serious things or silly things.  Think outside of the box!  My list ranged from saying thank you for my boyfriend doing the math at the grocery store and eating the dinners I cook even when they turn out awful to putting straws in my drinks and kissing me goodbye in the morning.  Every little thing counts!  In fact, the smaller the reason you're thankful, the better it will probably make your significant other feel!

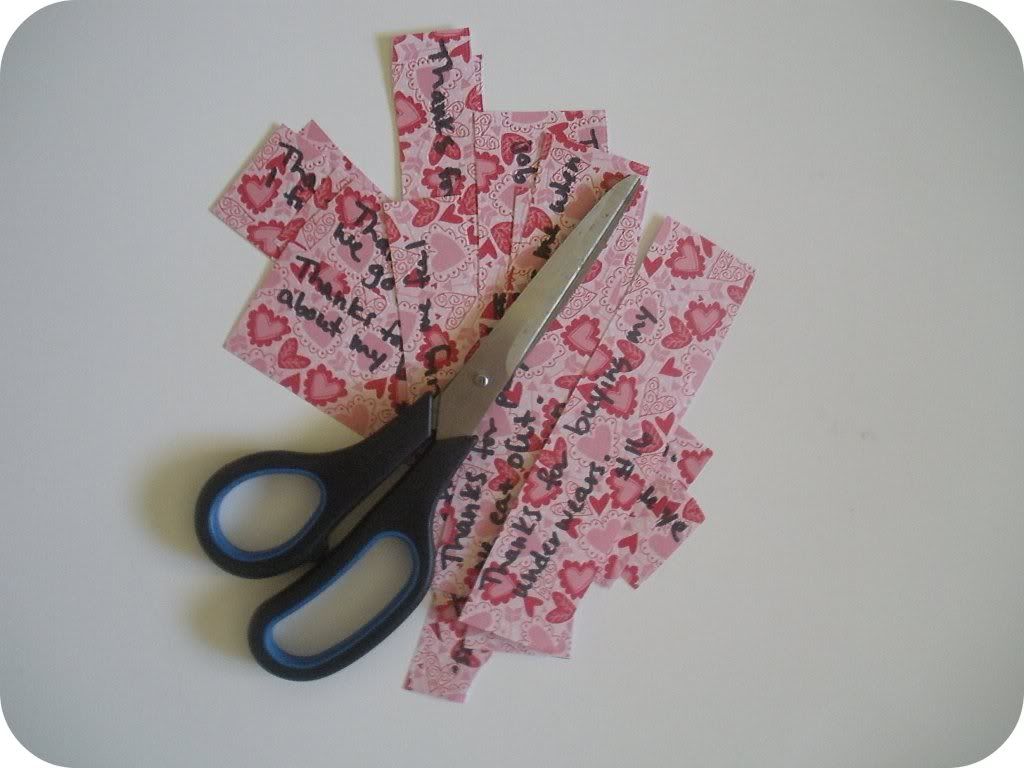
Once you have all your reasons, write them on your scrapbooking paper with marker and number each one.  Then cut them out with scissors.


Step 2:

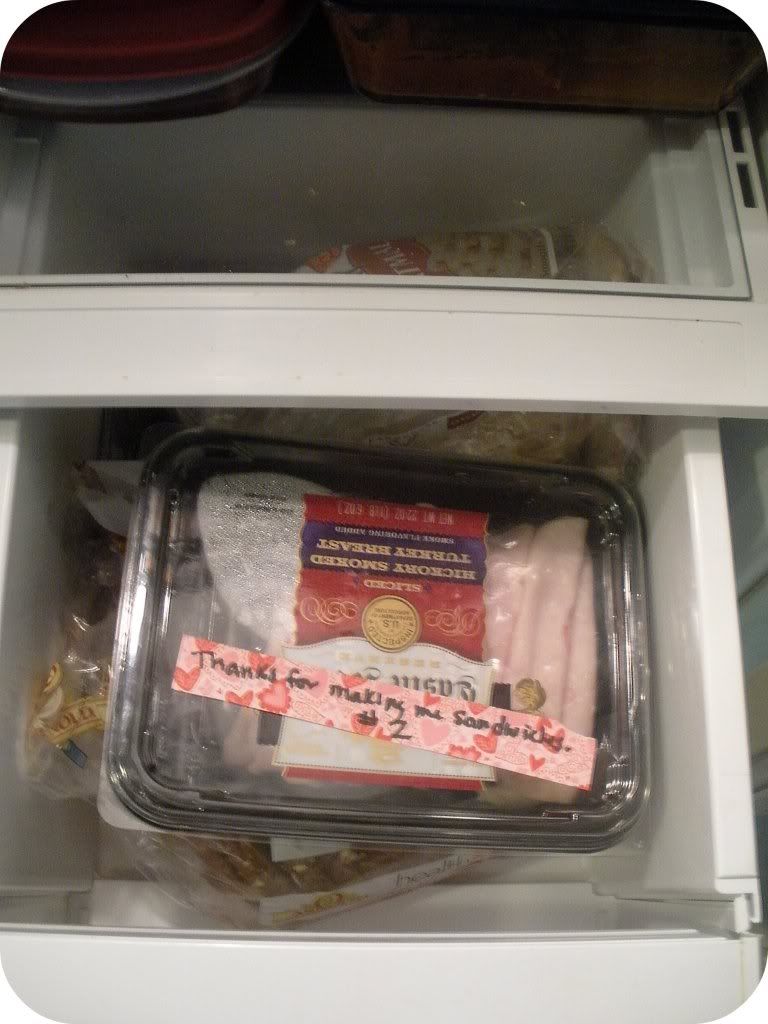
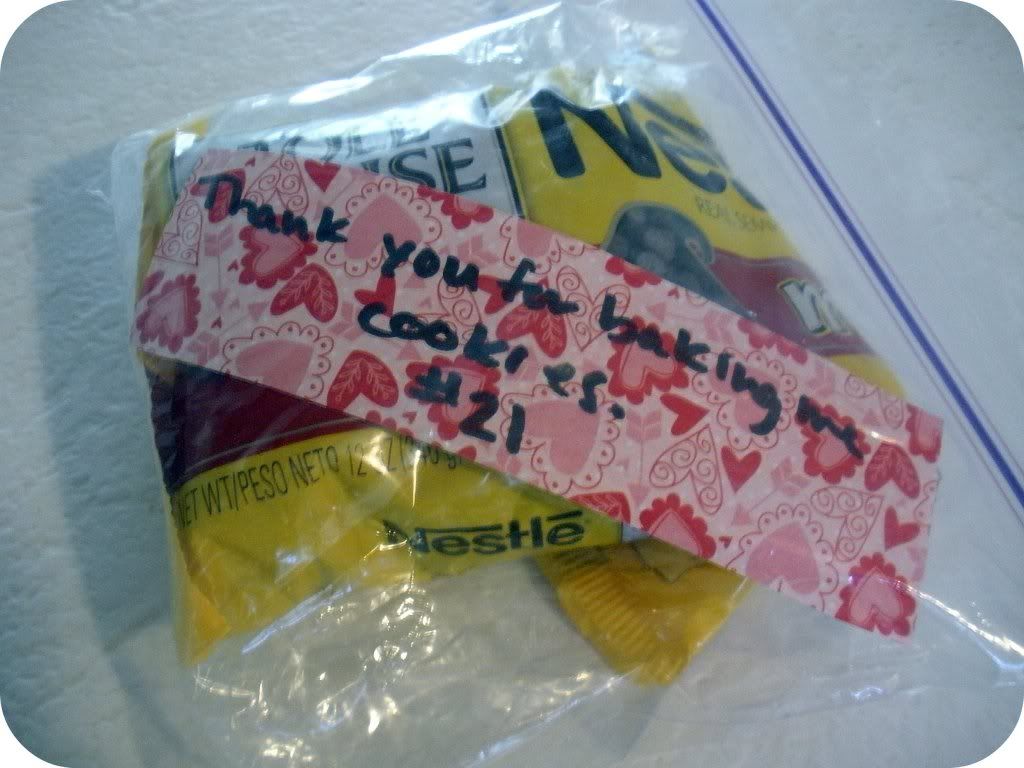
Hide the slips of paper all over the house, car, or wherever you think your boyfriend might find them!  Use the tape to attach them where you hide them so they won't get lost and vary how well you hide them.  I left some in pretty much plain sight (like on his desk) so he'd find them right away, and then hid others in one of the back pages of his textbooks I knew he might not find for a good while.  I also hid a bunch of them in spots that made sense with what I was thanking him for.  For example...

"Thanks for putting straws in my drinks." left inside the package of straws.
"Thanks for making me sandwiches." left inside the deli drawer.

"Thanks for making me cookies." inside a bag of chocolate chips.

"Thanks for sending me text messages throughout the day." on his phone charger.
Step 3:


Wait for your thank you notes to be found!  Since they're numbered, your significant other will know that they've found them out of order and there are a bunch more lying around!  It makes them feel appreciated, and it's a lot of fun when they find them!  I hid mine about a month ago now and my boyfriend is still finding some of them occasionally!

And now...THANK YOU for still reading my blog even though I've been MIA.  It really means a lot to have you all as readers and I appreciate your patience with me as I'm adjusting to my new working life!

Happy Thanksgiving if I don't get the chance to stop by again before then!  Thanks for stopping by. :)

--CC

Thursday, November 3, 2011

Cute, Smart Kitchen Towels

 Still not a lot of sewing going on around these parts, but I'm definitely getting antsy to get behind my sewing machine again.  Luckily I'm getting used to my new routine and getting my energy back, so I've got my eye on a few projects.  And the tutorials are certainly piling up on my Pinterest boards!

Here's a set of projects I think I'll conquer soon (links to the original posts are in the captions)...

Fancy Pants Kitchen Towels from Stolen Moments
 Aren't these kitchen towel tutorials beautiful, not to mention brilliant?!  I'm always annoyed at how the kitchen towels fall off the stove, and this totally solves the problem!  Plus, it's totally adorable.  Wouldn't they make nice, simple hostess gifts for Thanksgiving?

Hand Towel Love from The Creamer Chronicles
I have to bake an early-birthday cake and sneak around to get a special early-birthday present for my boyfriend tomorrow (since we'll be in Missouri for my step sister's wedding on his real birthday next weekend!), but hopefully I'll get the chance to get to at least one project this weekend, anyway!

What projects have you been working on?  More than I have, I hope!  I'll let you know how the projects go this weekend. 

Thanks for being so patient with my lack of crafting and regular posts/tutorials lately!  I really do appreciate my readers sticking by me in this life transition of mine.  Thanks also to those of you who helped fill in the gaps by guest posting!  (If anyone else wants to volunteer for that, shoot me an email.  I'd still appreciate the help!)

Until next time, happy crafting!

--CC


Monday, October 31, 2011

Happy Halloween


Just wanted to drop in and wish you all a happy Halloween!  We've decorated our house with jack-o-lanterns, orange twinkle lights and glow-in-the-dark spider webs (sorry, no pics!) and plan on spending the evening in handing out candy (and probably eating as much of it as we hand out!).  Hope you're spending the holiday doing something just as enjoyable!

Sunday, October 30, 2011

Recipe: Toasted Pumpkin Seeds

We carved our pumpkins this afternoon and right now we're toasting pumpkin seeds in the oven!  We did this last year and the pumpkin seeds were so yummy that we decided to make it a tradition.  We're just toasting with salt and butter this year (so healthy, I know), but last year we also tried a spicy caramelized version

There are all sorts of delicious recipes to try with pumpkin seeds, so if you're carving your pumpkins tonight I thought I'd share this basic pumpkin seed toasting recipe so you could test them out!  Feel free to spice to your liking.  You don't have to stick with salt!  (If you're looking for something interesting to try. I suggest brown sugar, cumin, or cinnamon.)  This recipe is just meant to get you started.   Enjoy!

Original recipe source.
Ingredients
  • 1 1/2 cups raw whole pumpkin seeds
  • 2 teaspoons butter, melted
  • 1 pinch salt

Directions

  1. Preheat oven to 300 degrees F (150 degrees C).
  2. Toss seeds in a bowl with the melted butter and salt. Spread the seeds in a single layer on a baking sheet and bake for about 45 minutes or until golden brown; stir occasionally.

Tuesday, October 25, 2011

Puppy Goes to the Pumpkin Patch

 As you know, I've been busy adapting to my first full-time job, so I haven't been doing a lot of crafting, but I hope you've been enjoying the guest posts I lined up for you in the meantime!

I just wanted to pop in on my lunch break today and share a few pictures from my weekend that I snagged off my phone.  They're totally unedited, but I think they're totally cute, anyway!


We got her her own baby pumpkin! Totally ridic, I know.
Thanks for stopping by.  Happy crafting!

--CC

Thursday, October 20, 2011

Kirstikoo Giveaway Winner

You might have noticed I left the Kirstikoo super hero cape giveaway open a little longer to give more people a chance to enter, but since it's getting closer and closer to Halloween I decided to go ahead and choose the winner today.


So, with the help of Random.org, the winner is...


Number four, Mallory!  Keep an eye on your email, Mallory!  Kirsti will be in touch with you soon!  Don't forget that if you didn't win you can still buy a superhero cape pattern in Kristi's etsy shop!

Thanks for playing along, everybody!  Happy crafting!

--CC
Related Posts Plugin for WordPress, Blogger...