Friday, April 29, 2011

Tutorial Review: Journal Jars from MADE

I actually made some journal jars from MADE way back in December.  It's another one of Dana's genius ideas--a jar full of writing prompts to help you create your own memoir to pass along to whomever.  I made and gave one to my step-sister for Christmas.  She has a (now) 2-year-old daughter.  She'll use the journal jar to help her record her memories and when her daughter is grown, she'll give her the journal to read about her heritage.  My step-sister was thrilled to share the gift with her daughter, so I stowed away this tutorial review for Mother's Day.

Well, guess what?!  Mother's Day is here!  I think this gift would be great for mothers of young children and grandmothers alike, so here comes a tutorial review! 


Click "Read More" below to get the run-down on this project.

Wednesday, April 27, 2011

New Look...

...New Day, Who Knew? *crickets*  Okay, that was a bad JCPenney joke, but I've been work on an ad campaign for the company for almost a year now.  So sue me!

I apologize if this post rambles.  I shouldn't be writing it, anyway.  I should be in bed!

To the point of the post:  I gave my blog a little sprucer-upper.  What do y'all think?  I've been wanting to get a custom layout for awhile, but can't afford it.  I also didn't want to buy one of the pre-made templates since it wouldn't be unique to me, so my blog just stayed the same until recently when I found...


Shabby Blogs, a website with all kinds of great decorative resources for bloggers, especially craft bloggers!  Check her out.  She's a blogger and digital scapbooker herself so she's got a lot of cute stuff, and as I understand it, soon enough she'll be taking custom orders. Get this:  she offers backgrounds and "post pretties" (as she calls them) for FREE!  So if you like the look my new background and you've got a blog yourself, head on over to Shabby Blogs and get one for yourself. :)

Until next time, happy crafting!

Tuesday, April 26, 2011

Tutorial Review: Rolled Rosettes from Happy Together

Hello to my eleven readers.  (Jeez, I am such a dork.)  A few days ago I made a post about some fabric flower hair pieces I made as gifts.  Today I'll be reviewing the rolled rosettes from Happy Together.  Here are the rolled rosettes I made:


 Let's get started!  Click "read more" to see the review.

Monday, April 25, 2011

Tutorial Review: Loopy Flowers from Happy Together

Yesterday you saw all the fabric flower hair pieces I made as gifts for some girls I know.  There were two types of fabric flowers in the post, but today I'll be reviewing just the loopy flowers ones.  Those were the ones that looked like this:


Click on "read more" to get the scoop on the tutorial.

Sunday, April 24, 2011

Fabric Flower Hair Pieces

Graduation sometimes means it's time to say goodbye.  This week I'll be seeing 7 women I participated in a group with for the past year for the last time.  As a goodbye present, I decided to make them fabric flower hair pieces.

Yesterday afternoon I pulled some tutorials from one of my favorite blogs, Happy Together, grabbed my bucket of scrap fabric and got down to work.  I made about 9 rolled rosettes and loopy flowers in about an hour and a half.  Later, I attached them to headbands and hair clips.  Here I am wearing some of my favorites:


Read more after the break to see all the fabric flower hair pieces I  created.

Happy Easter

Since Tyler's moving back to Florida next week, we're actually going to celebrate Easter a week late this year.  So, sadly, I don't have any pictures of Easter festivities to share with you just yet. Of course, I thought it would be nice and ridiculous if I made a fake one.  Ready?  Here you go:

Wednesday, April 20, 2011

Something else came in the mail today...


Just fourteen more days! Then I'll have a lot more free time to craft with you.  I can't wait.  :)

P.S. Notice how I learned there actually is a timer on my camera.  I can be retarded sometimes...

Tuesday, April 19, 2011

Surprise in the Mail

Since I'd been out of town, I checked my mail for the first time in five days today.  In addition to an array of coupons and statements, I was greeted by a lovely thank you card from my friend Raelynne who visited back in March.


How sweet of her to send it!  I love all the colorful flowers and the detailed embellishments on this card.  It was so well-made, I couldn't tell if it was hand made or one of those cards manufactured to look handmade.  I inspected closely and found this:


Thanks to Raelynne and her Grandma Connie for the beautiful handmade card!

Monday, April 18, 2011

Informal Tutorial Review: Love Mail Valentines Tutorial from Noodlehead

Hello from Missouri!  I'm still on my trip but I haven't forgotten about you.  In fact, today I did a little craft project.

You might remember seeing this around Valentine's Day on Noodlehead.  I remembered it a few days back and thought, "You know, this could be easily modified for Easter."  But with all I've had going on, I'd forgotten all about it.

I scheduled my flight home so that my mom could still go to work today, so I had a few hours to kill this afternoon.  I decided to throw together the Easter version of the love mail tutorial and mail it off to my honorary nieces and nephews (i.e. my boyfriend of five years' actual nieces and nephews).  Since I'm without a car, I traipsed off to the corner store to get supplies.  How convienient to be in a tiny town, eh?  It took me just about as long to walk to the store as it does for me to walk to my mailbox in my apartment complex back home.  Wow!

And just on a side note, I haven't been to Missouri in the spring in three years and I sure have forgotten how beautiful springtime is here.  I really enjoyed my walk up to the store.  Here are a few snapshots so you can enjoy the beauty, too:


The craft aisle at this store was extremely limited (I'm talking crayons and poster board and that's pretty much it), so I ended up buying colorful cardstock gift tags and a clear, polka-dotted gift bag and cutting them up to be what I needed.  Then, borrowing my mom's sewing machine (which was a lot nicer than my own!), I sewed around the edges, stuffed in some jelly beans and sewed the tops shut.  They turned out pretty cute.


Then I scribbled the addresses on the back, stuck on some stamps and dropped them in the mailbox.


Certainly a fun and easy tutorial that can be used for various holidays if you've got little ones in your family.  Hopefully they'll make it there in time and don't get confiscated by USPS.  I'll let you know how it goes.

I'm off to gather my luggage and hop on a plane now.  It's back to work/school tomorrow, but I promise some pictures from the wedding and some craft projects I came up with on my trip soon.  Happy crafting!

Thursday, April 14, 2011

Just FYI...

I'll be heading out of town again tomorrow (Thursday) through Monday for my brother's wedding.  I apologize since I know I've only just made a short comeback.  But stay tuned for wedding pictures and an Easter Roundup when I get back! I might even brainstorm a tutorial for y'all on the plane ride.

I'll miss you, blogland!  You can enjoy this cute, tiny polar bear while I'm gone.  (Why?  Because this post definitely needs a visual, but I couldn't think of anything relevant on short notice and should go to bed so I don't miss my flight in the morning...):


Until next time, happy crafting! :)

P.S. I just hit 10 followers and I was so ecstatic/proud that I called my boyfriend at 12:30 in the morning to tell him.  I'm such a dork!  Thanks to my ten readers for making that possible! ;)

Tuesday, April 12, 2011

Homemade Crepes

Another one of the reasons I hadn't posted in a long time that I didn't mention was that, almost immediately after I returned from California, my friend Raelynne came to Florida to visit me.


She hadn't visited me before, so I had a lot of fun taking her to see all the local sights.  Raelynne studies foriegn languages (she speaks English, Spanish, German and French!) and spent some time in France recently.  While there, her French friend taught her to make homemade crepes.  I told Raelynne that if she stayed with me, she definitely had to teach me to make crepes!

First, we bought a crepe pan from William-Sonoma, which is one of my favorite stores! :)  Then we got cooking.  Raelynne mixed up a beer batter crepe recipe that she wrote down while in France.  I don't have the exact recipe now because I didn't make a copy, and it's just as well since they don't make some of the ingredients here in the U.S.  But if you're interested, it's similar to this beer batter crepe recipe from Allrecipes.com.

Next Raelynne taught me how to cook the crepes!  It's hard, but not as hard as I'd always been led to believe.  You're supposed to pour a very thin layer of batter into your pan and then, using your wrist, rotate the pan so that the batter spreads around into a circle.  All of this should be done within 35-45 seconds!  If you don't have your wrist movement perfected, then your batter doesn't spread all the way into a circle because it's already finished cooking on that side!  Note that you only want a very thin layer in the pan, so the thinner your batter is, the better.  We ended up adding more milk to help thin out our batter.  Since my wrist action wasn't perfected, my crepes were more amoebas than circles.

Once that side is done cooking, it's time to flip your crepe.  Raelynne taught me to actually flip the crepe in the air, which was the most fun part of this whole process!  First she demonstrated (sorry, I didn't catch any of her flips mid-air):
                                     

Then I gave it a try.  It took a few attempts, but I finally got it!  (Excuse the jammies...we'd been to the beach that day and I felt like lounging around comfortably!)


And I was so proud! 


 Monica (my dog) was very interested in the whole process, so I asked her if she wanted to try and flip a crepe, too, but she did not.


When they were all finished, they looked like this:


For more, read on after the break. :) 

Monday, April 11, 2011

Tutorial Review PEEPS Bunny Bunting Tutorial Review

I took a little time to myself this weekend to do a few craft projects.  I felt I deserved it after all the hard work I've been doing lately, and I finally finished the PEEPS Bunting from MADE that had been sitting half finished since the middle of March.  At last my St. Patrick's Day decorations are down and my Easter decorations are up!  It's about time!


In hindsight, I probably could have gotten to finish them sooner.  I'd already had them all cut out and painted, and since I only did one layer of bunnies it took all of five minutes to sew them down to my pastel polka-dotted ribbon.


 Can you see the resemblance?  I'm so happy with how they turned out.  I bet you want to make some for your home now, so here's the rundown of the tutorial.


Accuracy: 10
Clarity of Directions: 10 
Helpfulness of Pictures: 10 
Difficulty: 1 
Overall Rating: 10
Time: ~1 hr. (not including drying) 
Recommended

Details:


You can't really get any more simple than bunting.  That's why I love it so much.  It's so easy, cheap and versatile, so there's no problem switching even as often as every few weeks for different holidays.

There's not really much to say about this tutorial.  Except for the time it took for the fabric paint to dry, this tutorial took no time at all to finish.  Cutting out the bunnies was the most time consuming part.  The project probably would have taken a little more time than that if I had have used the double layers of bunnies like Dana suggested, but I opted not to since I have a dislike of small curves and I didn't have much time.  They might look a little more polished with two layers, but if you're like me and want to skip out on the second layer, they'll still look just fine.

I used a Q-tip to paint the eyes and noses onto the bunnies and that worked really well and meant that I could just throw away the Q-tip when I was finished to avoid any clean-up.  Dana's instructions to paint the eyes really far apart and the nose really high up was definitely a helpful tip and they came out looking like real PEEPS bunnies.

Not much else to say on the project, other than I would definitely recommend it as a cute, fun and quick sprucer-upper for Easter.  It could probably even be thrown together last-minute for a preschool Easter party or and Easter brunch.  So throw one together using Dana's tutorial, and don't forget to munch on some PEEPS while you're at it! :)

Sunday, April 10, 2011

Natural Easter Egg Dye Experiment

I wanted to make a natural Easter egg dye tutorial for you all, and so you could use it for Easter, I went ahead and dyed some eggs today.  And, well...ta-da!


I made natural Easter egg dye.  Here's a close-up:


Beautiful, huh?  It looks like troll poop.  I laughed so hard I cried.  I had trouble texting it to my mom because I couldn't see through my tears.  She texted back that at first she thought it was dog poop and my dog was really sick.  Oh, lord.  Massive fail.  This was supposed to be purple, by the way.

So, the Easter tutorial I had in the works?  Yeah...not happening.  When the best Easter egg turned out like this...


 ...you know that you had a catastrophic fail.  That egg was covered in a slimy yellow film, by the way.

I'm not really sure what went wrong.  I googled "homemade easter egg dye" and I came up with a lot of great links.  I read a bunch of them, and they all gave similar advice.  For the dye bath, they all seemed to be suggesting two to three tablespoons of white vinegar mixed with produce or other items you might already have in your pantry.  Then just add a little water on top.  Some sources directed you to boil the egg in the dye bath, and others said you could just dip the egg in.  Naturally, I tried both.  Here's how badly they all turned out post-washing (which all the sources suggested):


This is pathetic, but they actually look a lot better in these pictures than they did in real life.  If you even want the details, here's what all I tried:

  • Spinach.  I tried to get a green egg by boiling the egg with spinach, vinegar and water.  After twenty minutes of boiling, the egg was still white, albeit covered in a slimy film, and the spinach was brown.  I did manage to make a pickled egg, though.  In the picture, it's the second one from the right.
  • Red wine.  I simply mixed red wine and vinegar for this one and dipped the egg in.  The egg turned out a brown, crackly color.   So, if that's what you're going for... (In the photo above, it's the egg pictured on the far right.)
  • Yellow Curry Powder.  I did two eggs in the curry powder.  I mixed a tablespoon of curry powder with 3 tablespoons of vinegar.  In one of the cups, I just stirred until the powder was mostly dissolved then added water and the egg.  The problem was it didn't seem to be dissolved well enough once the egg was in.  So then I tried with the same ingredients and proportions, except first I dissolved the curry powder in a sauce pan on the stove before adding the water.  I also put my face above the steam and burned my eyes.  Oops.  Anyway, the yellow curry powder eggs turned out the best.  They're the two eggs on the far left in the picture.
  • Grape Kool-Aid Mix.  This was the one that turned out like troll poop that I showed you up above.  Once washed off, the scary black bumps came of and it was just kind of a dim gray.  Post-wash, it's the third from the left.  I used the same procedure as with the curry powder for this one.  I dissolved a package of Kool-Aid mix into three tablespoons of vinegar, then added water.  Maybe the key for this one was way less Kool-Aid mix?  Not sure, but this was the egg that made me just give up and laugh my head off when I pulled it out of the dye bath.
  • Cranberry Juice Concentrate.  For this one, I melted frozen cranberry juice concentrate, poured about a half cup, and filled the rest of the cup with vinegar.  No water in this one.  It was actually a pretty pink, but when I touched it, it was slimy like the others.  So I washed it.  And then the dye came off.  Up above, it's the third from the right.
Basically, major fail.  So much for trying to be sustainable this Easter!  I say, just spend a couple bucks on the Paas.  All the supplies I used cost $8, so it's less expensive than natural dye, anyway.

I can still be a little sustainable, though.  I'm going to make egg salad for lunch this week out of the eggs, and egg shells are good for lining the bottom of flower pots to promote good drainage.  And I plan to use the egg carton to plant flowers in once all the eggs are gone.  Not a total waste!

Anyway, I hope you laughed as much as I did at the eggs.  I'll let you know if my Paas turn out any better for Easter. :)

Saturday, April 9, 2011

Where have I been?!

I've missed you!  And I even see that I've gained a few new followers, despite my absence.  Welcome, guys! :)

While at the mall shopping for some red bridesmaid shoes for my brother's upcoming wedding (next week!), I stopped in a Barnes&Noble to get some iced tea at their cafe.  I decided to sit down with the tea and a magazine for a little break and I found this magazine:


It's called Artful Blogging and it's packed full of inspirational words from crafting and artist bloggers around the world.  I couldn't put it down, and even though it was $14 and my student loans are running dry, I splurged and bought it for myself.  (Who needs shoes at a wedding, anyway?)

Flipping through it some more at home made me realize just how much I've missed crafting and sharing my creations with the world these past few weeks.  I know it's only been about four weeks, but, man, it seems like forever!  Don't worry...thanks to this magazine, some Easter ideas are cooking in my head.  So, stay tuned for an exciting Easter tutorial that you'll be included in!  And maybe I'll finally have some time to finish the Peep bunting I was working on a while back and give you a tutorial review by the end of this weekend.


Since I haven't been around much lately, you might be wondering what I've been doing that could keep me away from the sewing machine for so long.  Well, I'll tell you.  In a photo montage.  I tried to do it in words, but then decided the post was too wordy, so I've gathered pictures from my iPhone over the past month that should say it all.

A lot of my time in the past month has been spent doing this:


Looking crazy. 


And making faceplates.

Okay, so my time hasn't necessarily been spent doing those things, but they are the result of spending way too much time on campus (overnight, even) to finish up my media plan for the National Student Advertising Competition, which I'll compete in on April 28 in Miami.

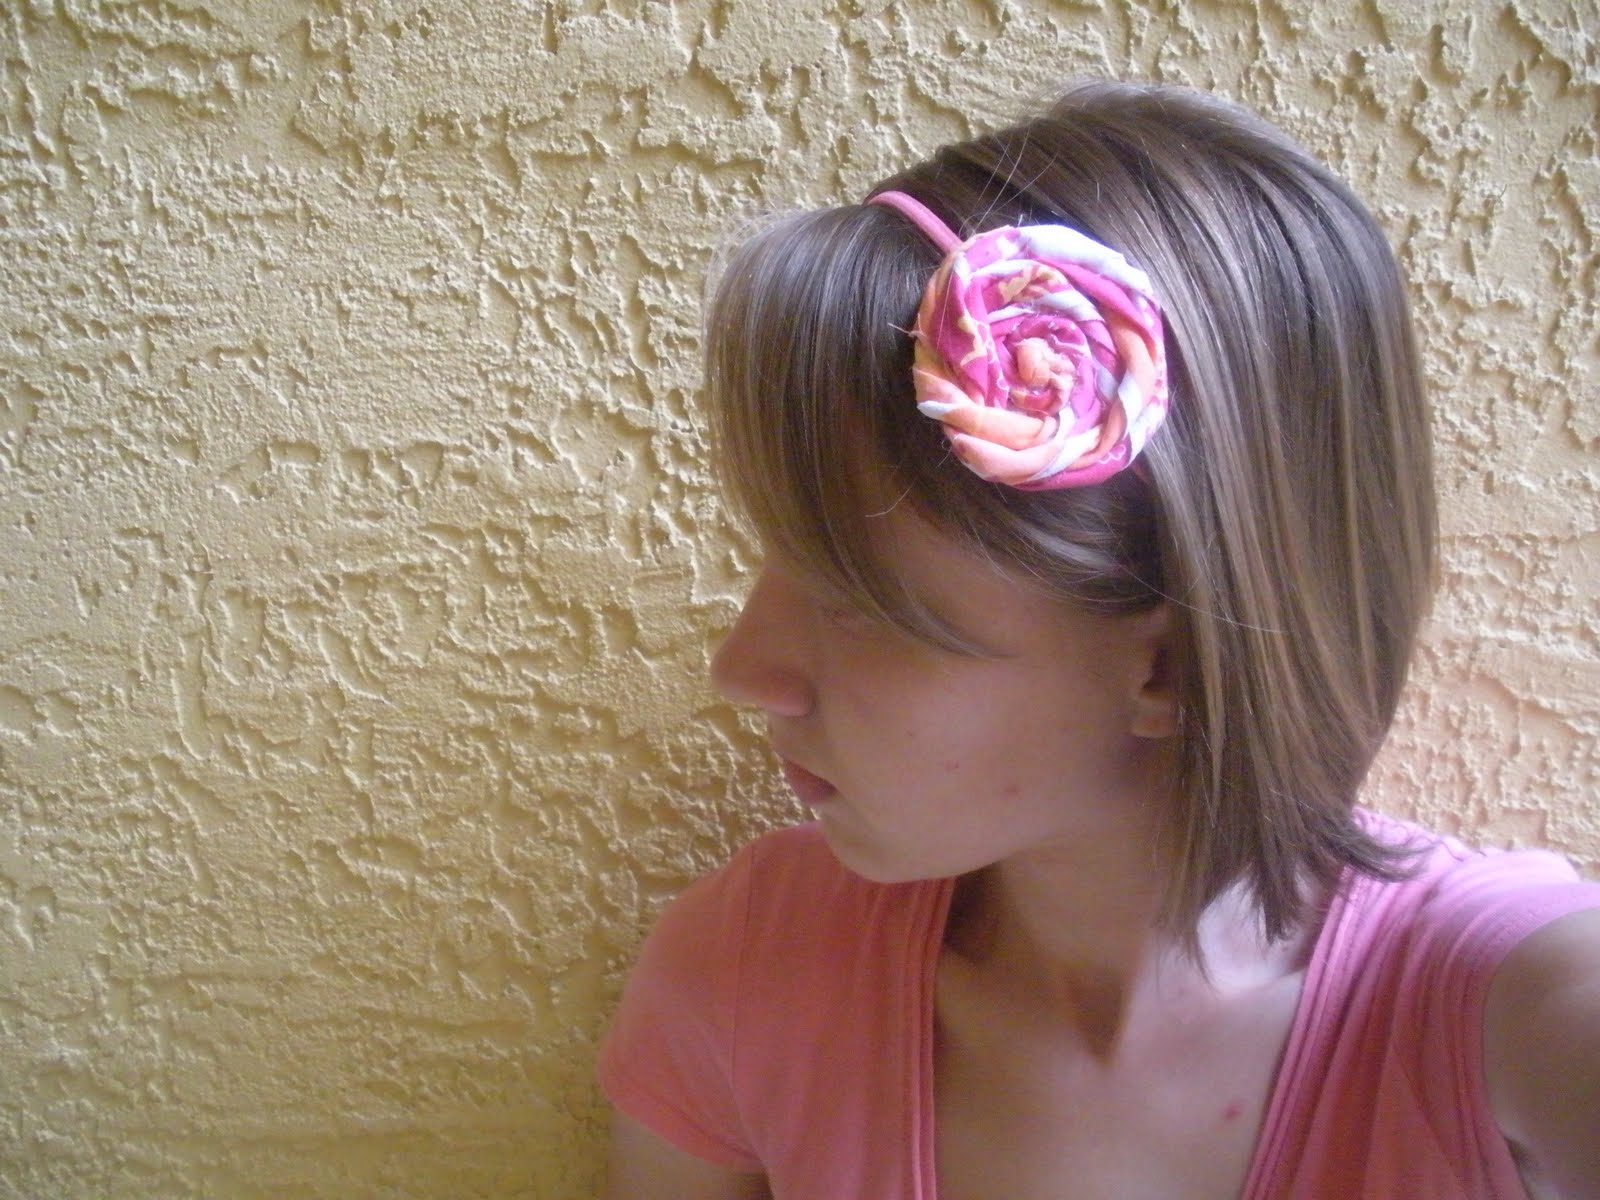
 I'm also going out of town next week for my brother's wedding (which I already mentioned) and I'm to be a bridesmaid.  It's a more laid back wedding, so bridesmaids are just wearing their own black dresses and red shoes.  So, of course, that meant I had to shop for a black dress and red shoes.  Normally shopping is a lot of fun, but I'll be honest.  It's kind of a hassle if you've got other things you need to be doing.  After visiting only one store (yes!), I got this dress on sale for $39:


What a good deal!  (P.S. If you're noticing the William-Sonoma bag in the background, look out for another post that's coming up soon.)

I had to make yet another late-night emergency vet visit for a pain injection for Monica's medial luxating patella a few weeks back.

And we also had five tornadoes in one day recently, and I had to spend part of the day in the bathtub.  


This is the cat, laying on a towel and being angry that she's in stuck in the bathroom with me.  I spent the rest of the day obsessively checking the weather and driving like a maniac hoping not to get hit by a tornado when I tried to make all my appointments for the day, despite catastrophic weather.


And there's something else that's kept me quite busy, too.  But you have to promise not to cry if I show you!  Okay, promise?  Here it is:


My poor puppy had her second knee surgery!  Pobrecito!  We're doing physical therapy now and she's doing a lot better than she was in these pictures.  Notice the miniature rice therapy pillow I made just for icing her knee. :)

To sum up, I've been monumentally swamped with things to do/take care of and probably will be until graduation, which is three weeks from now.  But, have no fear! I've still got intentions to stay in the blogging world.  And in more ways than one, perhaps! 

A lot of you probably recognize this logo:


A few months back, I started noticing this logo on all the big blogs I read, so I looked it up and found out that BlogHer Network is an organization that connects advertisers with its own network of bloggers.  Naturally, I wanted to be a part, but after looking at the guidelines for how to get on the network, it seemed like a long shot, especially since there's a wait list for some categories, even!  (You may wonder where I'm going with this.  Hang in there.)

Well, you may already know that I'm about to graduate with a B.A. in Advertising.  I specialized in media.  If you don't know, basically media planners/buyers are responsible for planning and making media buys for their clients, the advertisers. When I found out what BlogHer did, I figured, "I can do that.  It's basically what I do but on a much smaller scale."  And how exciting it would be to get to work with crafting blogs and advertising at the same time! Are you putting this together? If not, I'm going to apply for a job with BlogHer.  Wish me luck!

Well, it's been fun flipping through pictures on my iPhone and letting you guys know what's been up with me, but vacuuming and a six-page paper for my practicum await me now.  Don't forget to keep your eyes out for a few more posts.  I'm going to try to post more often again, but I can't make any promises.  Until next time, happy crafting!

Friday, April 1, 2011

My Absence

Somewhere between having company from out of town, working, an all-nighter I pulled to meet an NSAC (National Student Advertising Competition) deadline on Tuesday and my dog having surgery again Thursday morning (and we also had 5 tornadoes here that day!), I found this on my Facebook page:

Not that I've really had time to Facebook...I was actually notified of this post via email.  I kid you not, the only time I'd been on Facebook in two weeks was to log in and make fake posts about JCPenney that we could screen shot into our JCPenney advertising campaigns plans book.

So, if you didn't get the message already, I've been extremely, extremely, ridiculously busy.  I apologize for going AWOL, and I just wanted to check in and let you all know that I'll be back.  I don't know when, exactly, but I will be.  Probably in about 5 weeks after the semester ends.  I promise to make it up to you with an abundance of awesome posts!

See you then. :)
Related Posts Plugin for WordPress, Blogger...