Showing posts with label autumn decor. Show all posts

Friday, September 30, 2011

Free Fall Printable


Now, I'm no graphic designer but I saw this quote about fall somewhere recently and decided to try and make it into a printable.  Here's what I came up with:


You can download and print it for free here.  I hope you like it!  It's my first attempt at a printable so go easy on me, okay?  ;)

Anyway, thanks for stopping by today.  Hope to see you again soon!

--CC

Monday, September 19, 2011

Jute & Felt Mum Fall Wreath

Hi guys!  Sorry I haven't written since last week.  Life was calling!  I hope that you haven't missed me too much and you've been crafting up a storm without me. ;)

Anyway, I had some time to whip up a new fall wreath today, so I thought I'd drop in and share it with you.


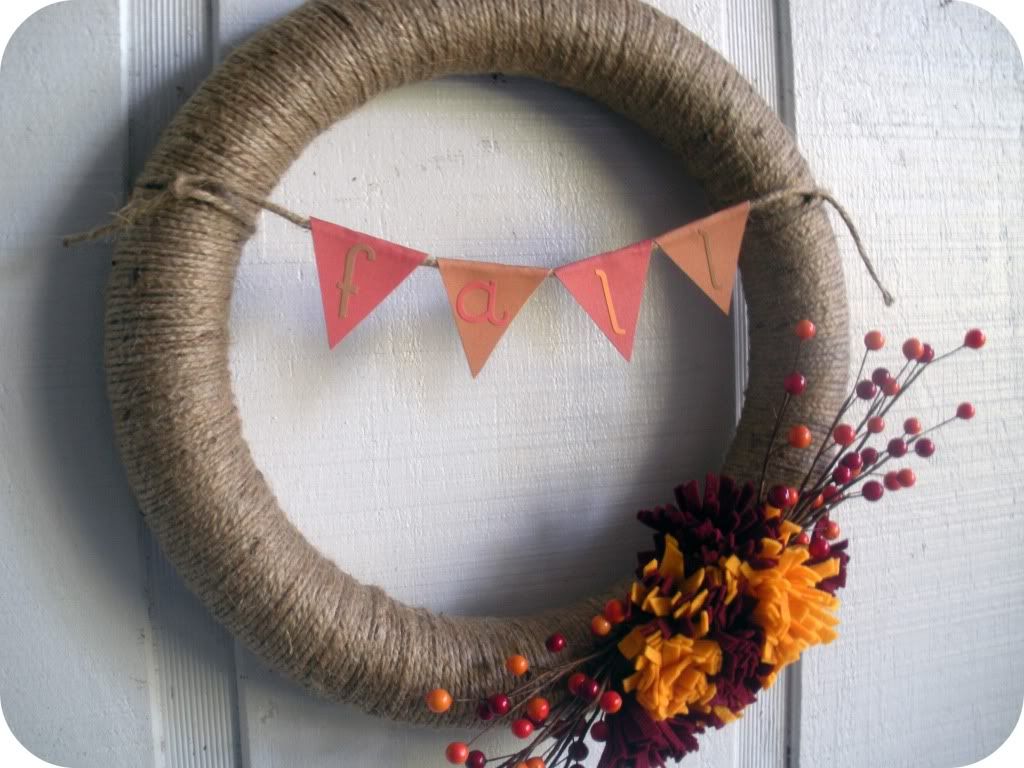
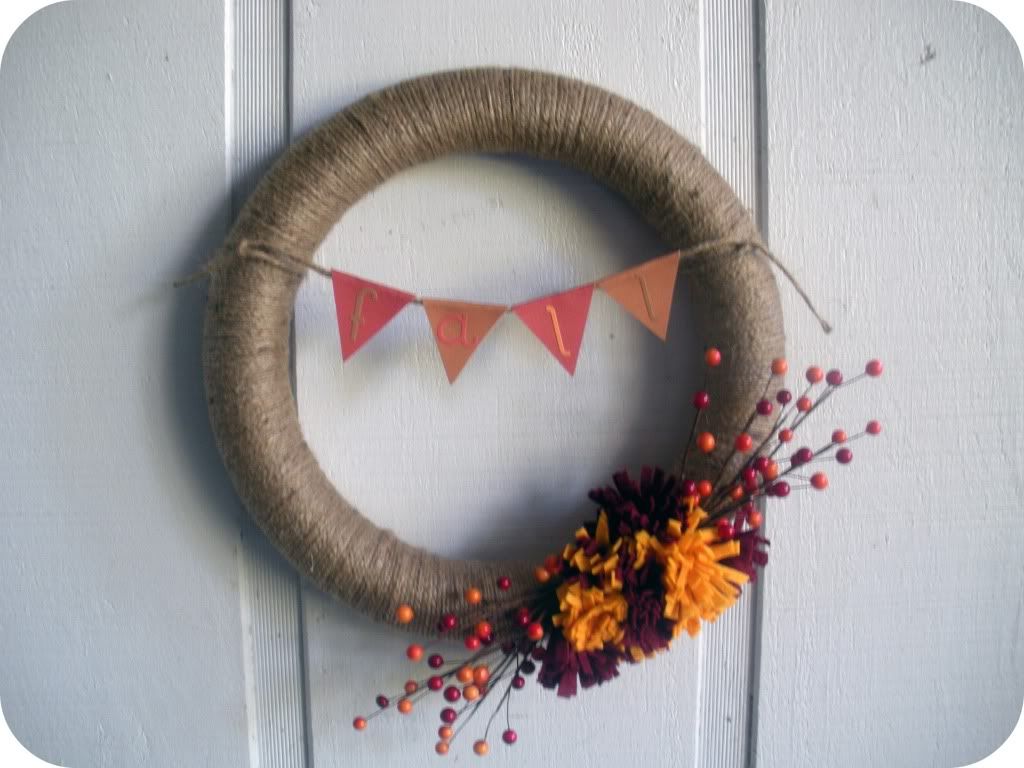
I didn't have time to make a full tutorial, but it's a pretty simple concept so I'll just explain verbally what I did.  I started with a foam wreath (be sure to check out this money saving tip for foam wreaths if you do this project) and wrapped it with some jute I already had on hand.


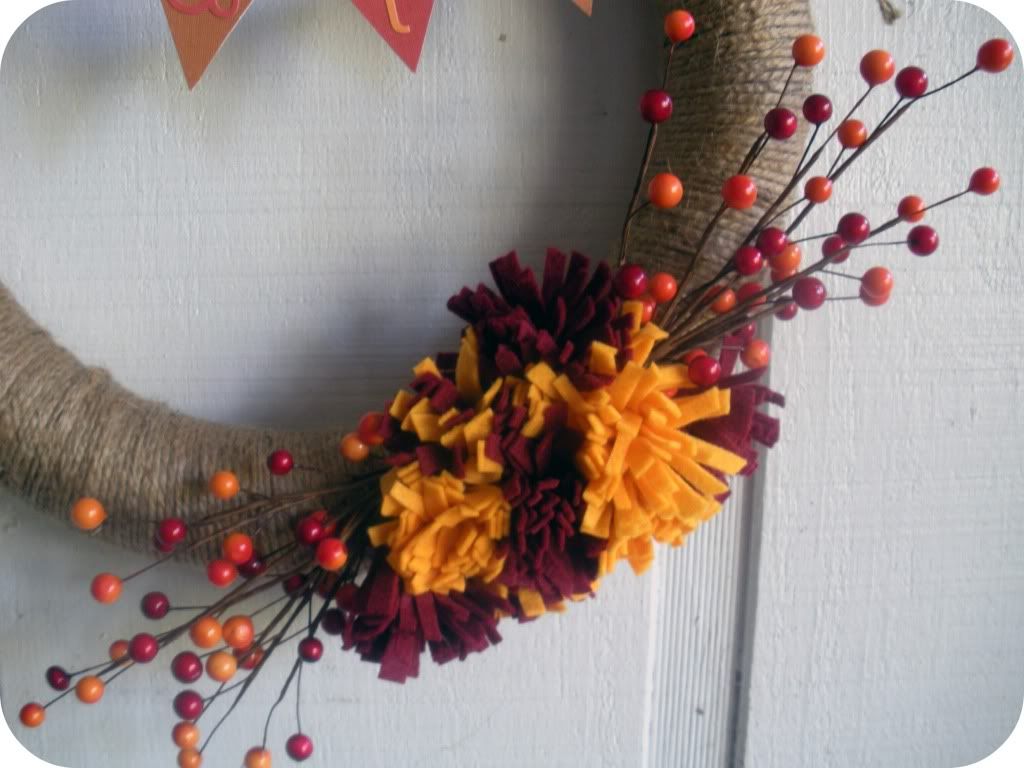
Next I decorated the wreath with two berry sprigs (99 cents each and 40% off this week at Michael's).  I was able to simply work the wire stems into the foam core of the wreath.  Then I hot glued a whole bunch of felt mums in between the two sprigs.


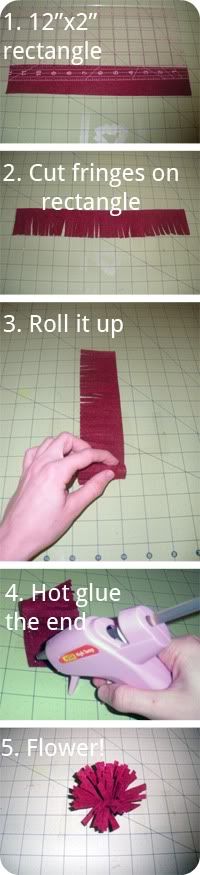
If you're wondering how I made the felt mums, I did take a few photos of the process.  Here's what I did (please note I didn't have the time to take the best photos to show you how to do this):


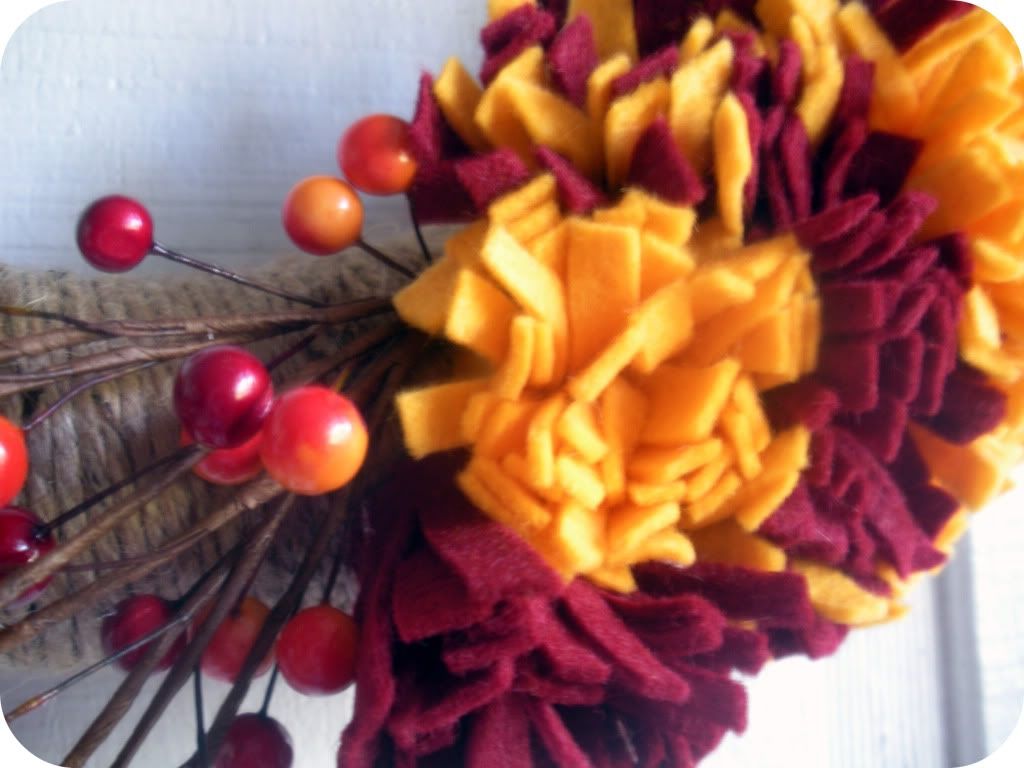
As I made the mums I realized the shorter the fringe the better the mums looked, so I gave them little haircuts.  So you might want to adjust your original rectangle to 12"x1".  Anyway, I made about 10 felt mums using that process and hot glued them between the two berry sprigs until I liked the way they looked.


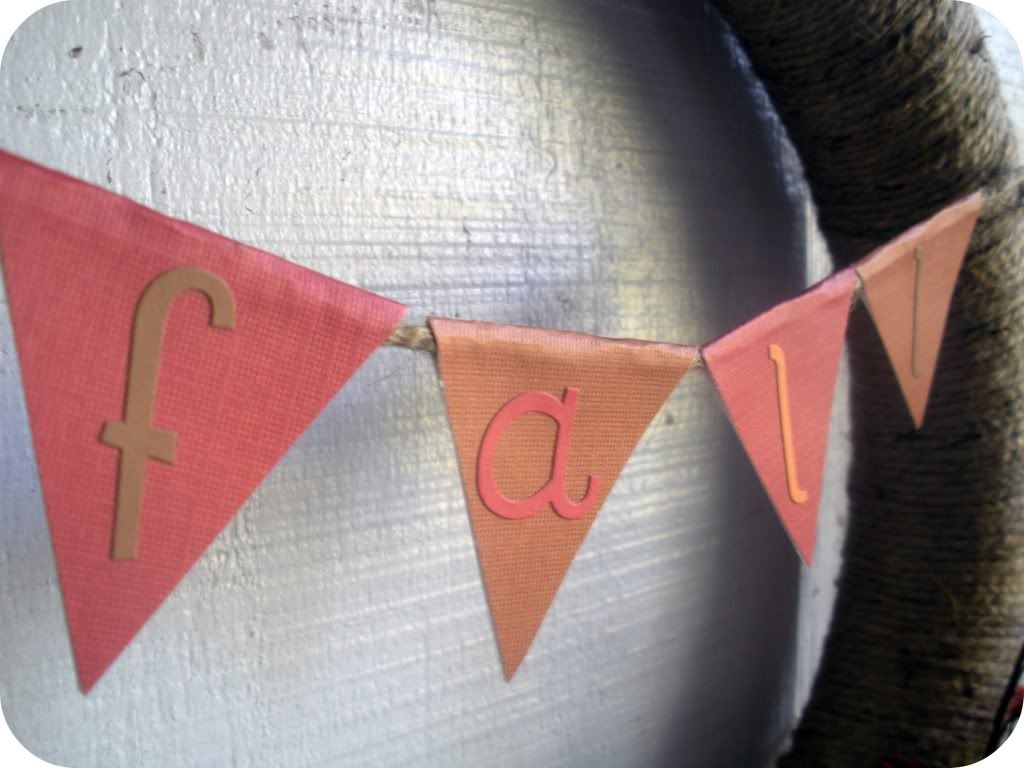
Then, to make the banner, I tied another long piece of jute across the wreath.  I cut diamonds out of colored cardstock scrapbooking paper and folded them in half over the strand of jute and glued them together.  (I sure hope that makes sense!)  I used some scrapbooking alphabet stickers to spell out the word "Fall."


And ta-da!  All finished.  :)  I really like the scrappy look of my new wreath, and the whole project cost me about $3 to make since I already had so much of the supplies on hand.  What do y'all think?


I hope your enjoying some fun fall crafts!  Thanks for reading and see you next time! :)

--CC

This post is linked up here.
Monday, September 12, 2011

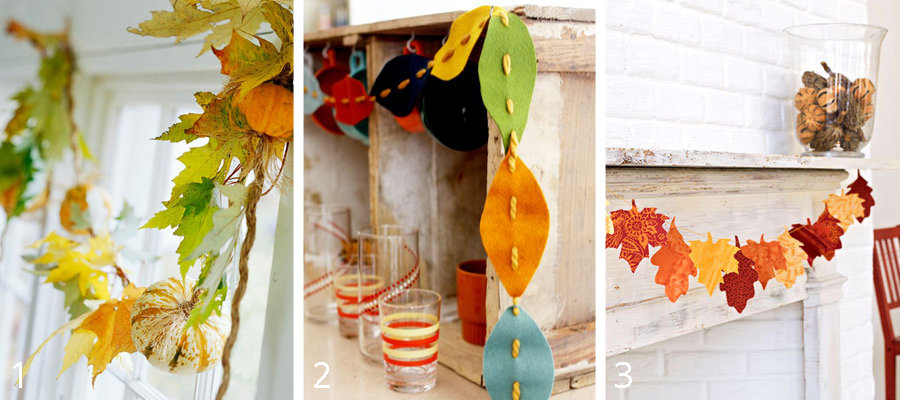
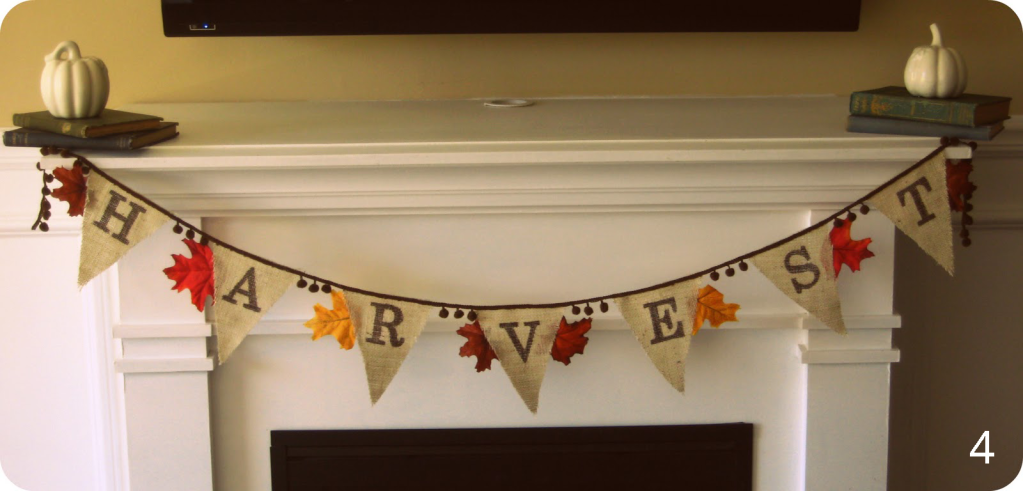
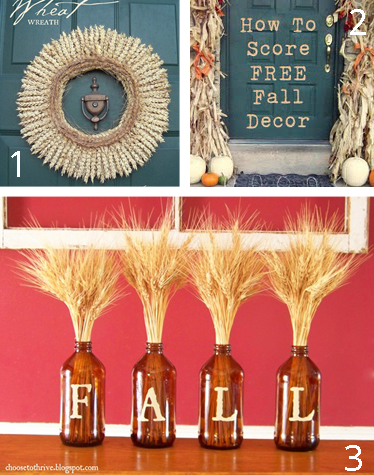
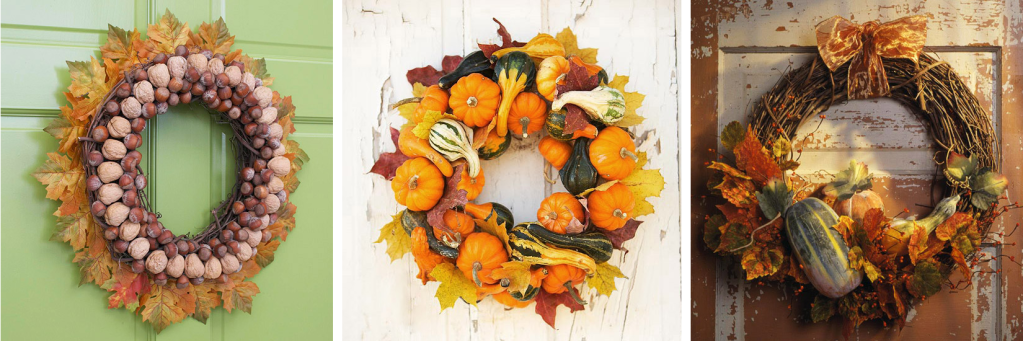
DIY Fall Projects & Decor Roundup

Hello my lovelies!  How have you been?  The weather here has been absolutely fantastic--cool, crisp, and breezy!  Okay, so maybe it's just been below the 90s for a couple of days but here in Florida that means FALL!  And I am so excited for cooler weather and fall holidays, which is why I've put together this fall roundup for you.

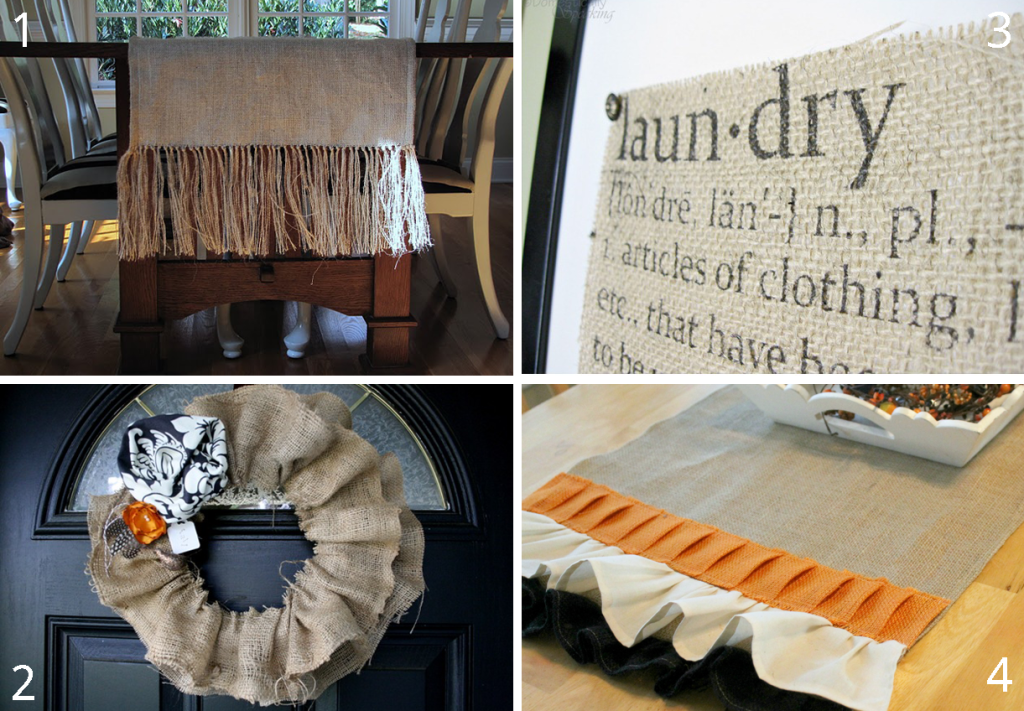
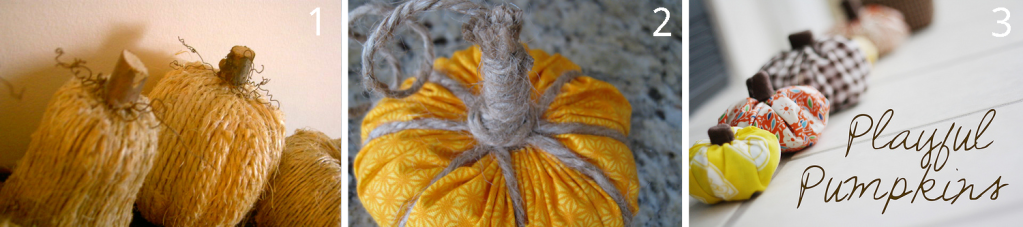
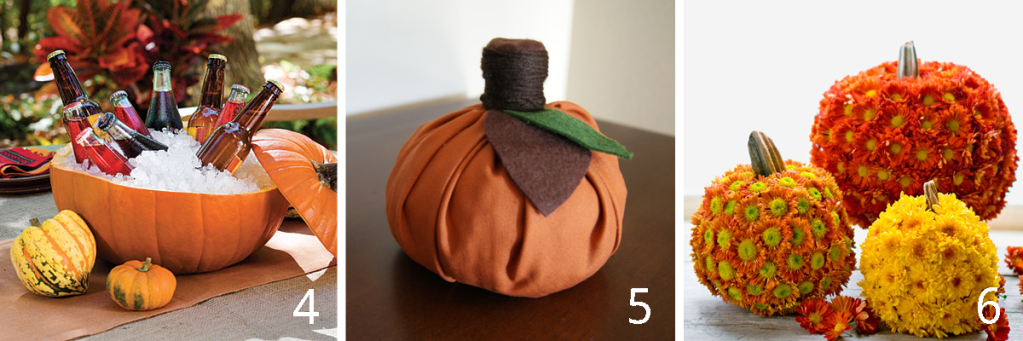
This roundup is for fall/autumn decor ONLY.  In other words, it doesn't include Halloween or Thanksgiving projects.  Don't worry...we'll get to that later.  :)  But for now it's just the good ol' seasonal stuff to get you in the mood for fall!  Please note that tutorials and sources for all images are included as links in the descriptions.  Enjoy!

Burlap Projects

Pumpkin Projects


Inexpensive Fall Projects

Fall Wreath Inspiration

That's all I've got for you here, but you can find lots more (including Halloween and Thanksgiving tutorials) on my fall pin board over on Pinterest.

Thanks for stopping by.  Hope to see you again soon!

--CC

Thursday, September 8, 2011

Handmade Fall Wreath

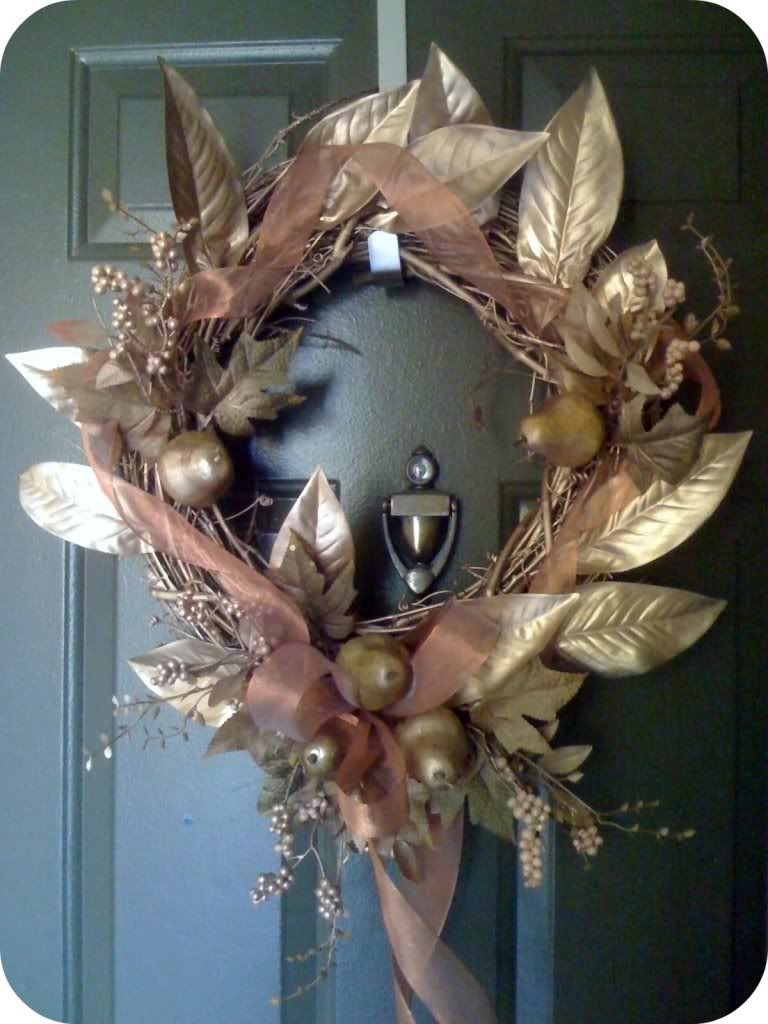
After the tropical storm passed through the Gulf last weekend, the temperature here in Florida cooled off dramatically.  It almost feels like fall!  So it felt like time to drag my fall decor out of the garage, and now this autumn wreath is hanging on my front door:


I actually made this wreath last fall.  I even cheated on the picture--it's from last fall at my old apartment!  But I didn't have a blog then so I thought it was only fair that I get to share it with you now!  I can't take credit for the creativity (although I wish I could because I love the way this wreath turned out!).  The idea came from one of the free projects that they have hanging in the aisles at Jo-Ann's.  But I'll let you know how I made it, anyway! :)

I started with a grapevine wreath, then hot glued magnolia leaves and those "fall picks" that they have at Jo-Ann's (but you could use a substitute such as faux apples, gourds, pumpkins, berry sprigs, or whatever you like for a different look) all over the wreath.  Next, I lightly coated the whole thing with gold spray paint (again, you could use whatever color you like) and loosely wrapped the ribbon around the circumference of the wreath, tying it in a bow at the bottom and hot gluing it in place as needed.  And viola!  It was beautiful and I'm still proud of it a year later!

Have you made any fall decorations that you're particularly proud of?  Tell me about it or share a link with me in the comments!  I'd love to see! :)

This post is linked up here.
Related Posts Plugin for WordPress, Blogger...