Showing posts with label fall. Show all posts

Wednesday, October 19, 2011

Guest Post: Pumpkin Pound Cake

Today we're continuing on with our tour of guest posts!  I'm excited to introduce you to Amy of Sing for Your Supper today.  


As you can probably guess from the title, Amy is the author of a fabulous cooking blog!  I stumbled upon her doggie frozen yogurt bites recipe early this year and have been in love with her blog ever since!  My favorite thing about her blog is the organization of the recipes.  She makes it so easy to navigate so you can easily use your favorite recipes again and again!  But that's enough from me.  Amy, take it away! :)


Howdy! It's Amy of Sing For Your Supper and I'm thrilled and honored to be guest posting here at Crafty Critique! I'm an opera singing food enthusiast from Dallas who loves cooking, baking and all things gooey and chocolaty! I'm super lucky to be able to cook for my husband, Joel, who is the world's least picky eater! He always loves everything I make and even gets in on the cooking action sometimes as well! Our Schnauzer/Terrier furbaby and Sing For Your Supper mascot, Izzy keeps us on our toes and puts a constant smile on our faces! My food blog is just a simply gathering of recipes, photos and stories rich in warmth and memories. I love being able to share my recipes with family and friends and hope you'll enjoy! I chose to share my recipe for Pumpkin Pound Cake with you today because it's so perfect for this time of year. The weather is cool and crisp and I absolutely LOVE getting in my kitchen and baking up lots of sweet, pumpkin-y things! The cake is moist, a little dense and full of warm fall spices- plus, it's a real crowd pleaser! The perfect end to a dinner party or with a cup of coffee in the morning. I hope you enjoy this cake as much as we do!
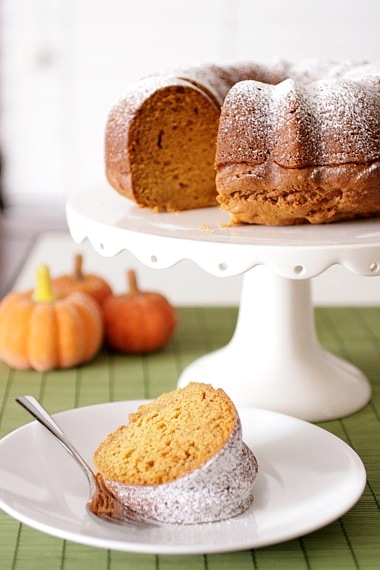


Pumpkin Pound Cake

1 cup granulated sugar
1 cup brown sugar
1 cup canola oil
3 eggs
3 cups all-purpose flour
2 teaspoons baking soda
1 teaspoon ground cinnamon
1 teaspoon ground nutmeg
1/2 teaspoon salt
1/4 teaspoon ground cloves
1 small package instant vanilla pudding mix
1 can (15 ounces) pumpkin puree
Confectioners’ sugar, for dusting

In a large bowl, combine sugar and oil until blended. Add eggs, one at a time, beating well after each addition. In a separate bowl, combine flour, baking soda, cinnamon, nutmeg, salt, cloves and pudding mix; add to egg mixture alternately with pumpkin, beating well after each addition.

Transfer to a greased bundt pan. Bake at 350 degrees for 60-65 minutes or until toothpick inserted near the center comes out clean. Cool for 10 minutes before inverting onto a wire rack. Remove from pan and cool completely. Dust with confectioners’ sugar. Serves 12-16.

Friday, September 30, 2011

Free Fall Printable


Now, I'm no graphic designer but I saw this quote about fall somewhere recently and decided to try and make it into a printable.  Here's what I came up with:


You can download and print it for free here.  I hope you like it!  It's my first attempt at a printable so go easy on me, okay?  ;)

Anyway, thanks for stopping by today.  Hope to see you again soon!

--CC

Monday, September 19, 2011

Jute & Felt Mum Fall Wreath

Hi guys!  Sorry I haven't written since last week.  Life was calling!  I hope that you haven't missed me too much and you've been crafting up a storm without me. ;)

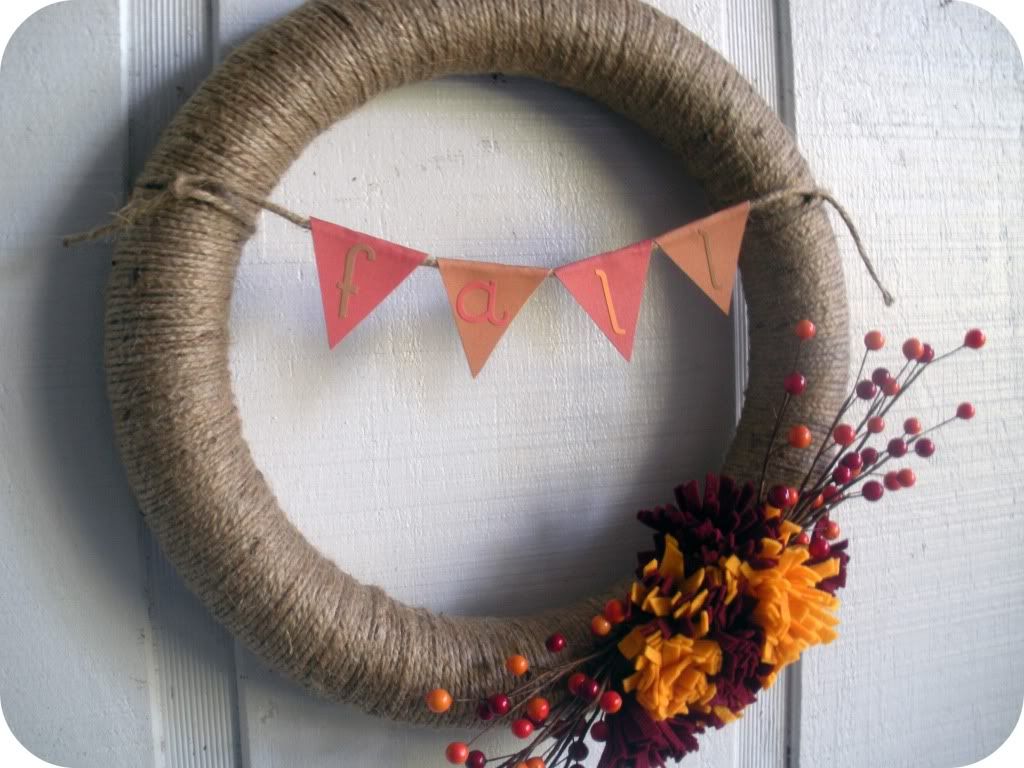
Anyway, I had some time to whip up a new fall wreath today, so I thought I'd drop in and share it with you.


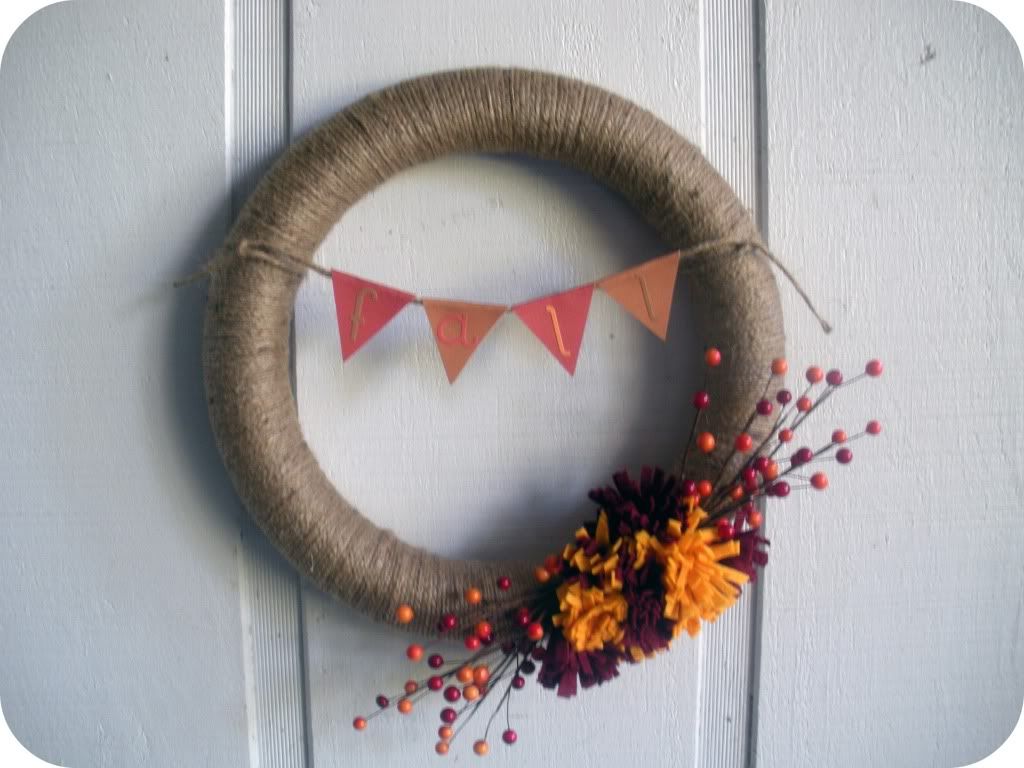
I didn't have time to make a full tutorial, but it's a pretty simple concept so I'll just explain verbally what I did.  I started with a foam wreath (be sure to check out this money saving tip for foam wreaths if you do this project) and wrapped it with some jute I already had on hand.


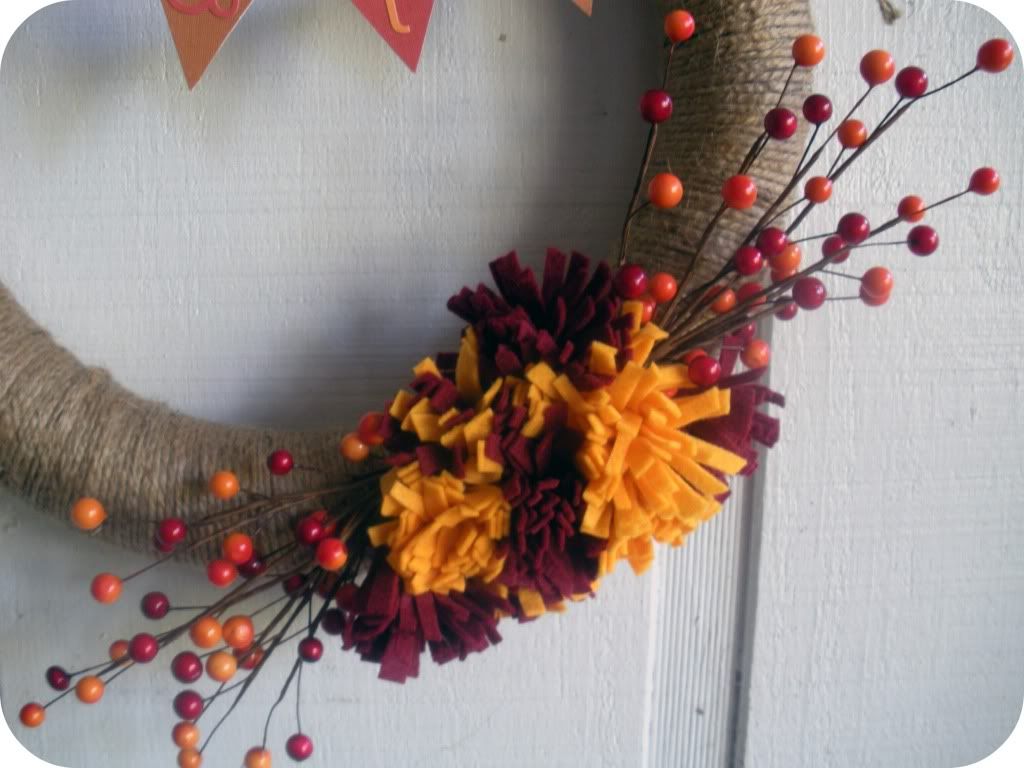
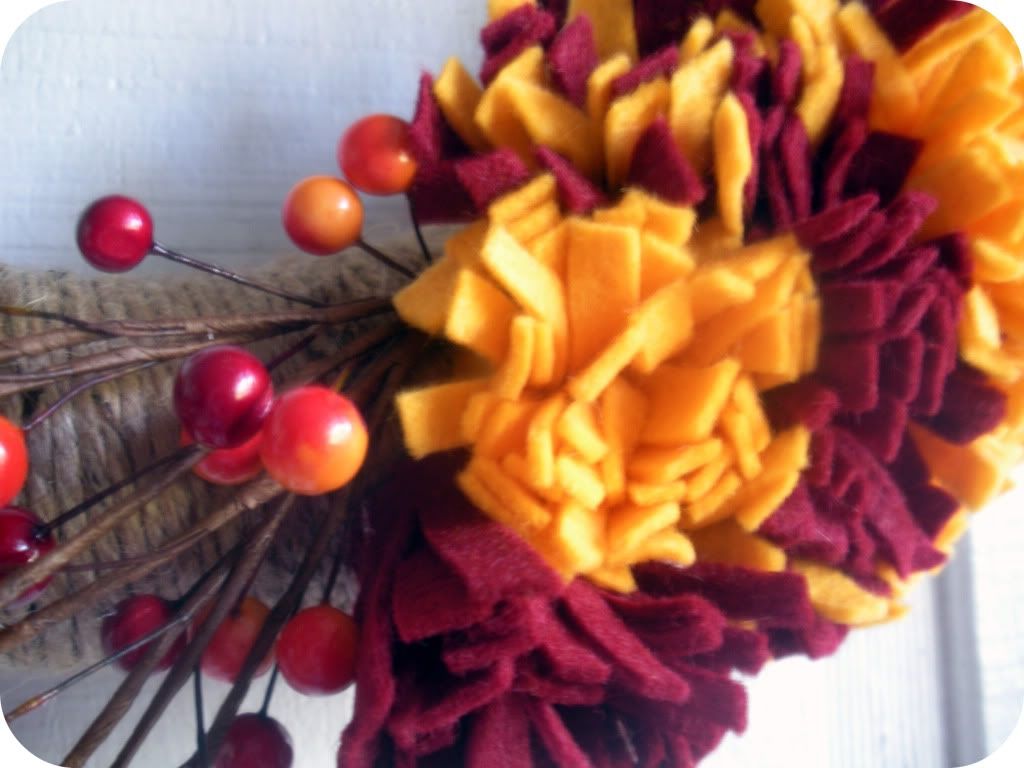
Next I decorated the wreath with two berry sprigs (99 cents each and 40% off this week at Michael's).  I was able to simply work the wire stems into the foam core of the wreath.  Then I hot glued a whole bunch of felt mums in between the two sprigs.


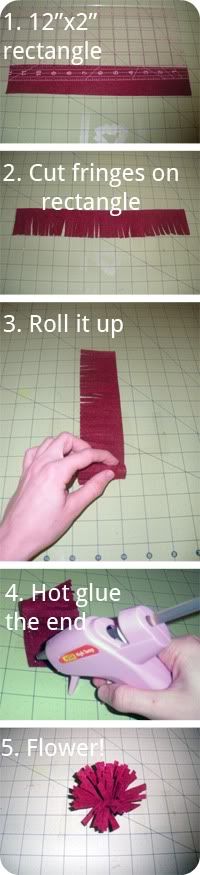
If you're wondering how I made the felt mums, I did take a few photos of the process.  Here's what I did (please note I didn't have the time to take the best photos to show you how to do this):


As I made the mums I realized the shorter the fringe the better the mums looked, so I gave them little haircuts.  So you might want to adjust your original rectangle to 12"x1".  Anyway, I made about 10 felt mums using that process and hot glued them between the two berry sprigs until I liked the way they looked.


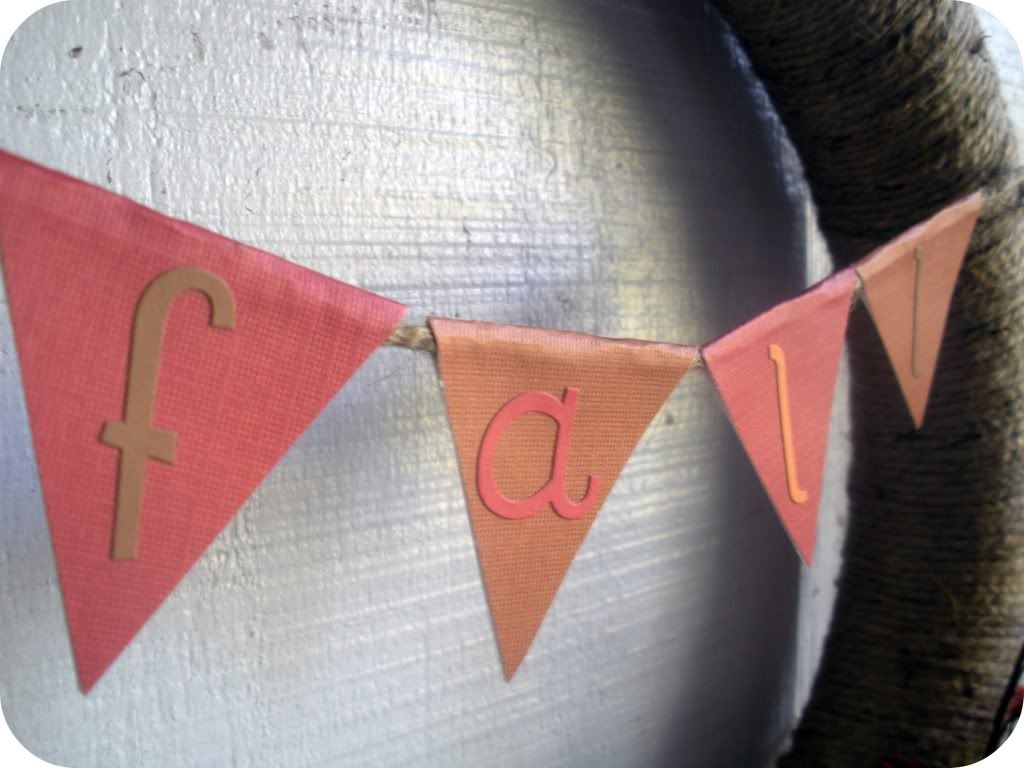
Then, to make the banner, I tied another long piece of jute across the wreath.  I cut diamonds out of colored cardstock scrapbooking paper and folded them in half over the strand of jute and glued them together.  (I sure hope that makes sense!)  I used some scrapbooking alphabet stickers to spell out the word "Fall."


And ta-da!  All finished.  :)  I really like the scrappy look of my new wreath, and the whole project cost me about $3 to make since I already had so much of the supplies on hand.  What do y'all think?


I hope your enjoying some fun fall crafts!  Thanks for reading and see you next time! :)

--CC

This post is linked up here.
Related Posts Plugin for WordPress, Blogger...