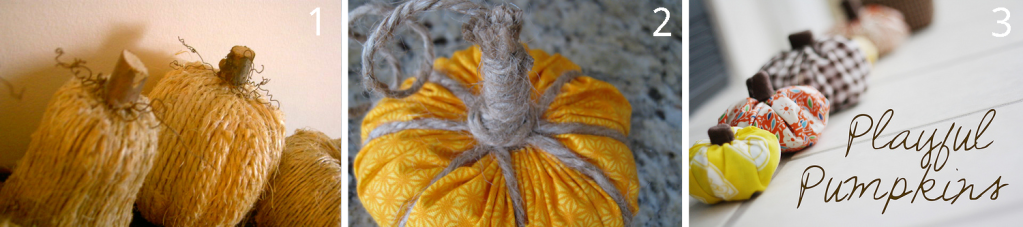
Anyway, I had some time to whip up a new fall wreath today, so I thought I'd drop in and share it with you.
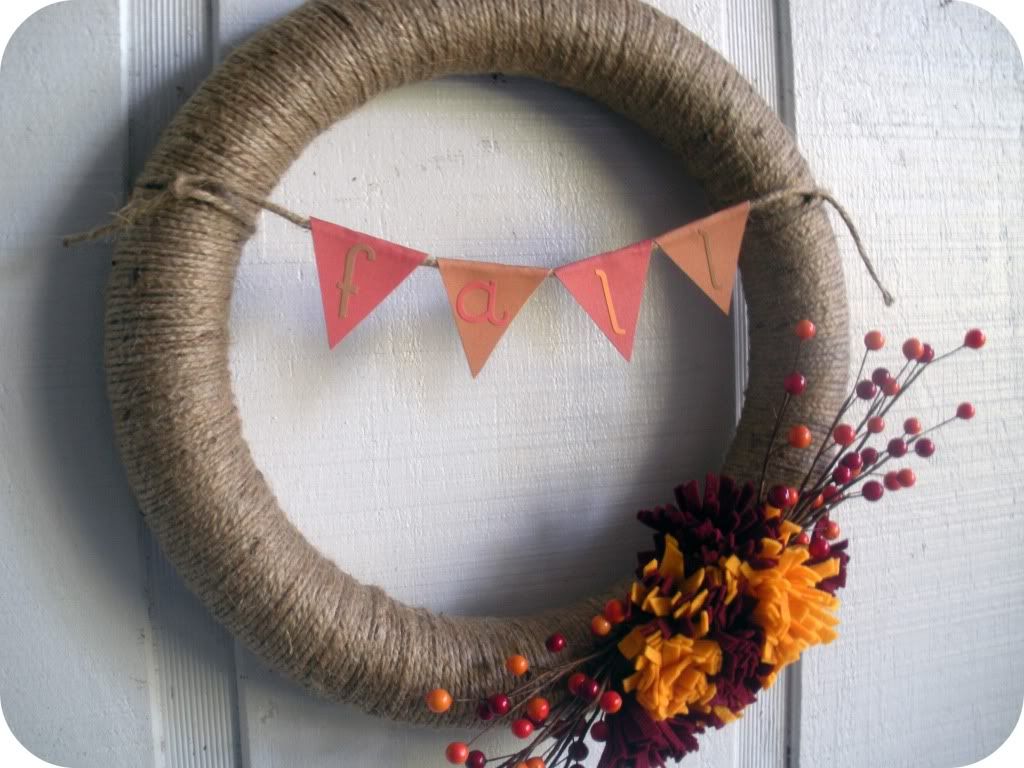
I didn't have time to make a full tutorial, but it's a pretty simple concept so I'll just explain verbally what I did. I started with a foam wreath (be sure to check out this money saving tip for foam wreaths if you do this project) and wrapped it with some jute I already had on hand.

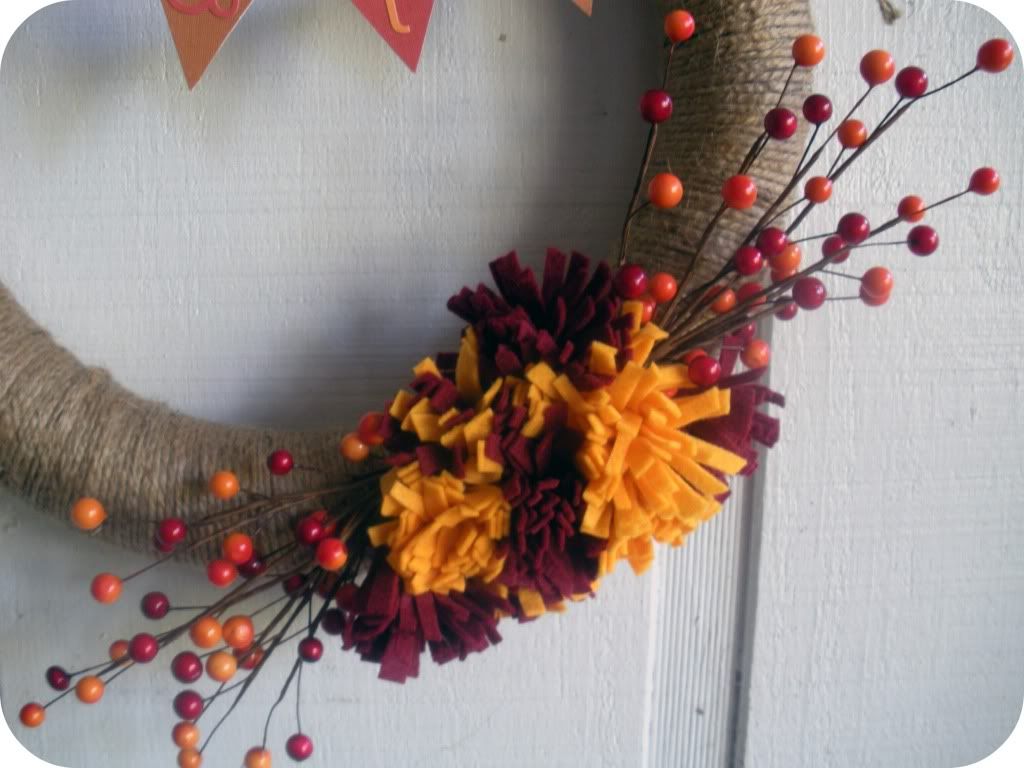
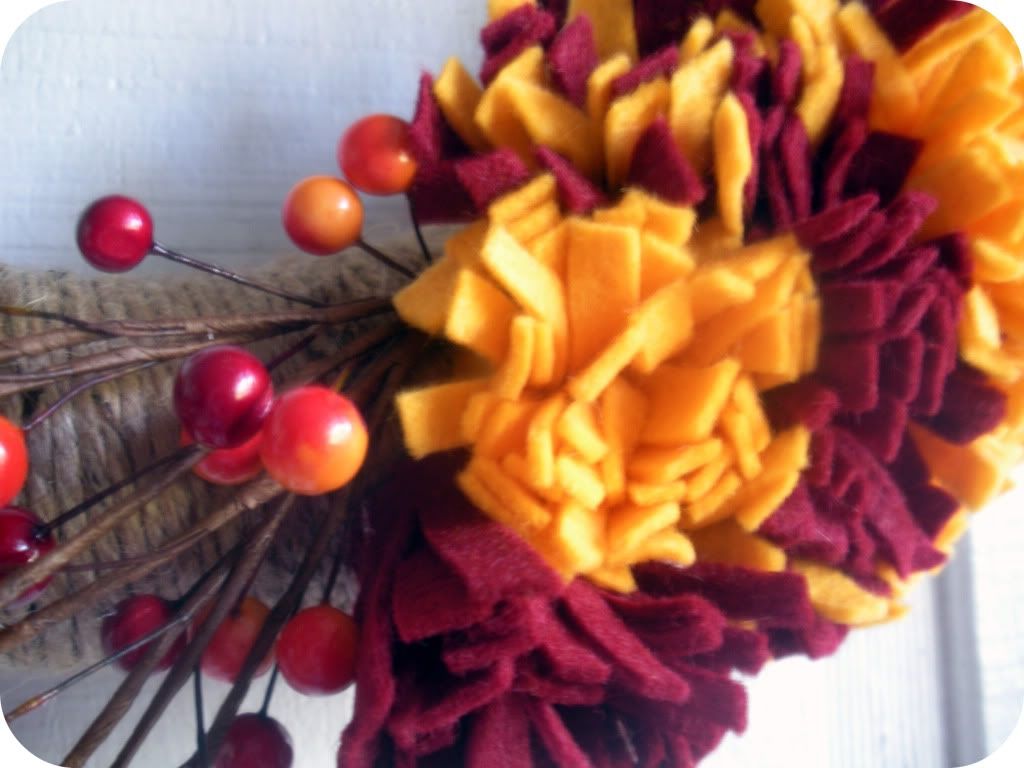
Next I decorated the wreath with two berry sprigs (99 cents each and 40% off this week at Michael's). I was able to simply work the wire stems into the foam core of the wreath. Then I hot glued a whole bunch of felt mums in between the two sprigs.
If you're wondering how I made the felt mums, I did take a few photos of the process. Here's what I did (please note I didn't have the time to take the best photos to show you how to do this):
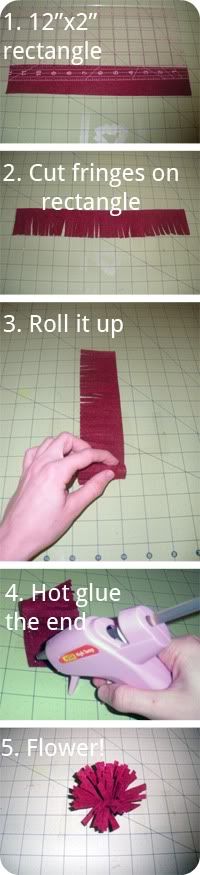
As I made the mums I realized the shorter the fringe the better the mums looked, so I gave them little haircuts. So you might want to adjust your original rectangle to 12"x1". Anyway, I made about 10 felt mums using that process and hot glued them between the two berry sprigs until I liked the way they looked.
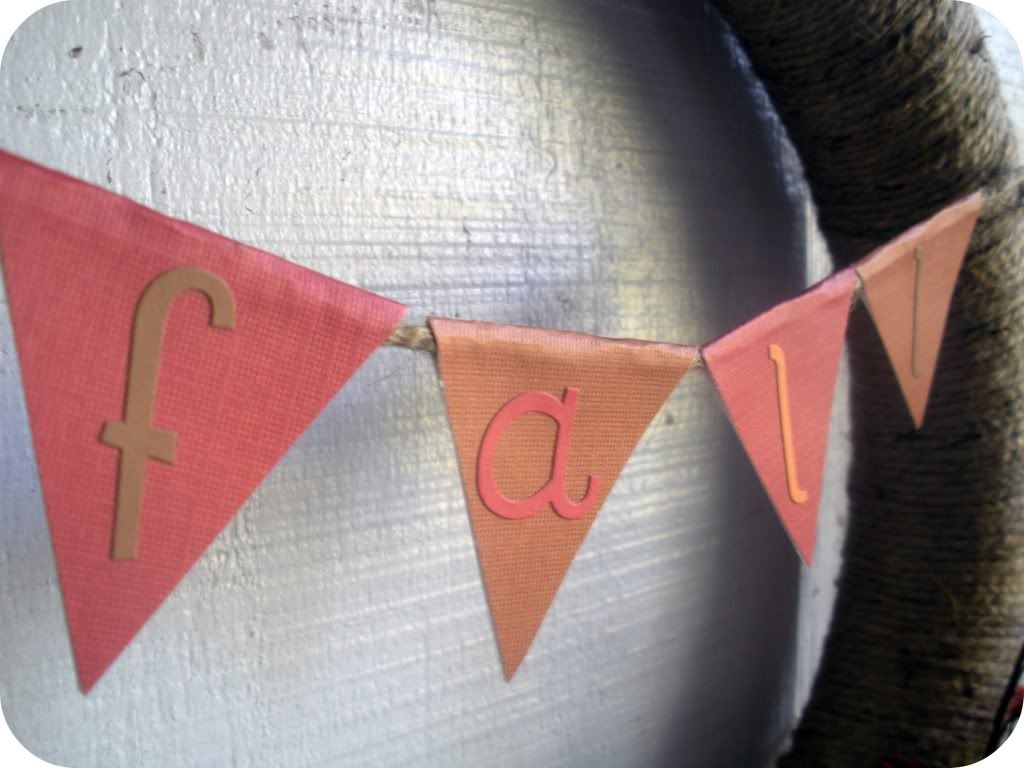
Then, to make the banner, I tied another long piece of jute across the wreath. I cut diamonds out of colored cardstock scrapbooking paper and folded them in half over the strand of jute and glued them together. (I sure hope that makes sense!) I used some scrapbooking alphabet stickers to spell out the word "Fall."
And ta-da! All finished. :) I really like the scrappy look of my new wreath, and the whole project cost me about $3 to make since I already had so much of the supplies on hand. What do y'all think?

I hope your enjoying some fun fall crafts! Thanks for reading and see you next time! :)
--CC
This post is linked up here.