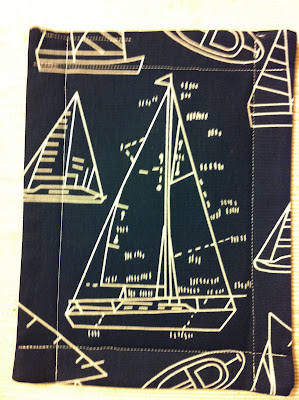
Join me after the break for the tutorial.
Here's what you'll need:
-Two 10.5" x 8" pieces of fabric of your choice (scraps or fat quarters will work fine)
-One 10.5" x 8" piece of fusible interfacing

Step 1:
Iron the fusible interfacing to the back side of the fabric that you'll want to go on top of the catchall.
Step 2:
Place right sides together, pin, and sew around the perimeter of the rectangle, leaving enough space to turn your catchall right side out. I left about 4 inches. Seam allowances are 1/4".

Step 3:
Carefully cut the corners and turn right side out. I used a pencil to poke the corners and really make sure they were square.

Step 4:
Tuck in the edges of the portion you left open and iron the seams of the entire piece.


Step 5:
With about a 1/4" seam, sew closed the portion you left open for turning.


Step 6:
Measure one inch from the edge of your catchall. Fold one inch over and press with an iron to make a crease 1 inch from the edge of your catchall.


Step 7:
Sew a straight line down the crease you made in step 6.

Step 8:
Repeat steps 6 and 7 on all four sides of the catchall, until it looks like this:

Step 9:
Here's where the fabric actually because a tray. Take one corner of your fabric and fold it together so that the intersecting lines touch. Pin, and sew down the line you previously sewed. This is hard to explain verbally, so see the pictures below.


Step 10:
Repeat step 9 on all four corners.

When you're finished, you'll have your fabric catchall!


Thanks for the tutorial. What kind of interfacing did you use?
ReplyDelete