Friday, September 30, 2011
Free Fall Printable
Now, I'm no graphic designer but I saw this quote about fall somewhere recently and decided to try and make it into a printable. Here's what I came up with:
You can download and print it for free here. I hope you like it! It's my first attempt at a printable so go easy on me, okay? ;)
Anyway, thanks for stopping by today. Hope to see you again soon!
--CC
Labels:
autumn,
autumn decor,
diy,
fall,
fall decor,
free printables
Wednesday, September 28, 2011
Ruffle Cuff Pant Legs
Just a quickie to share something great I found today. If you liked my Knot No-Hem Pants tutorial, I'm sure you're going to love these from A Mother Huddle:
This Ruffle Cuff Pants tutorial shows you a great way to transform pants that are either too short or too long into ones that fit and are completely adorable. I wish I were younger so I could make some of these for myself!
Thanks for stopping by! Happy crafting. :)
--CC
![]() |
| Source |
Thanks for stopping by! Happy crafting. :)
--CC
Monday, September 26, 2011
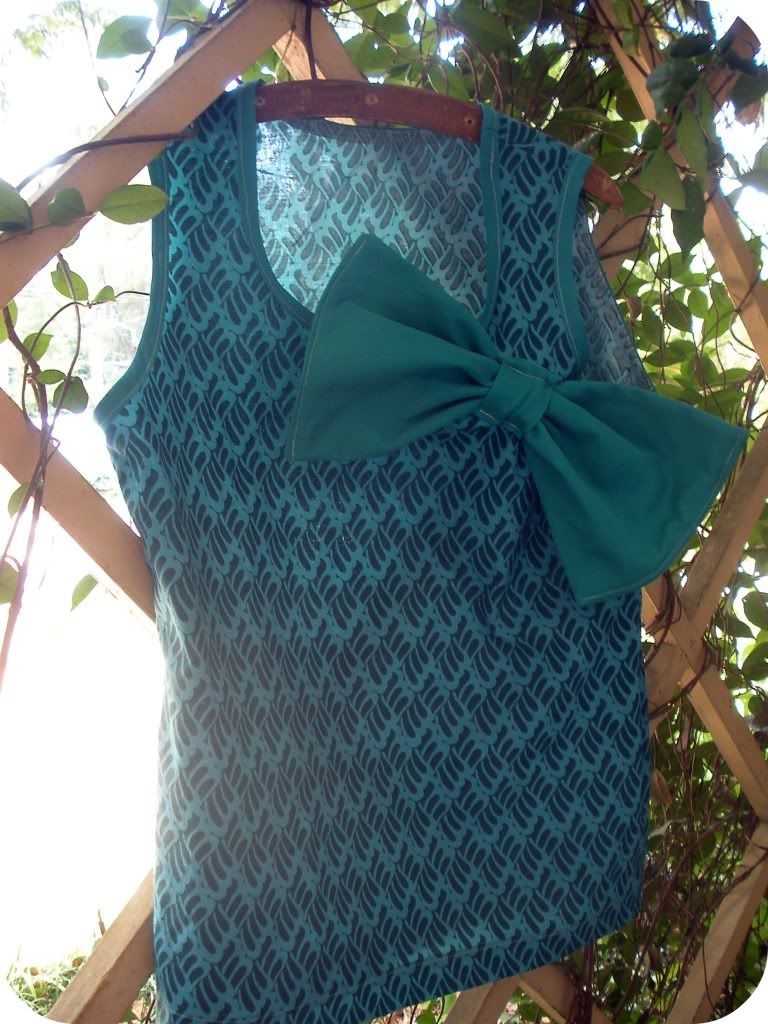
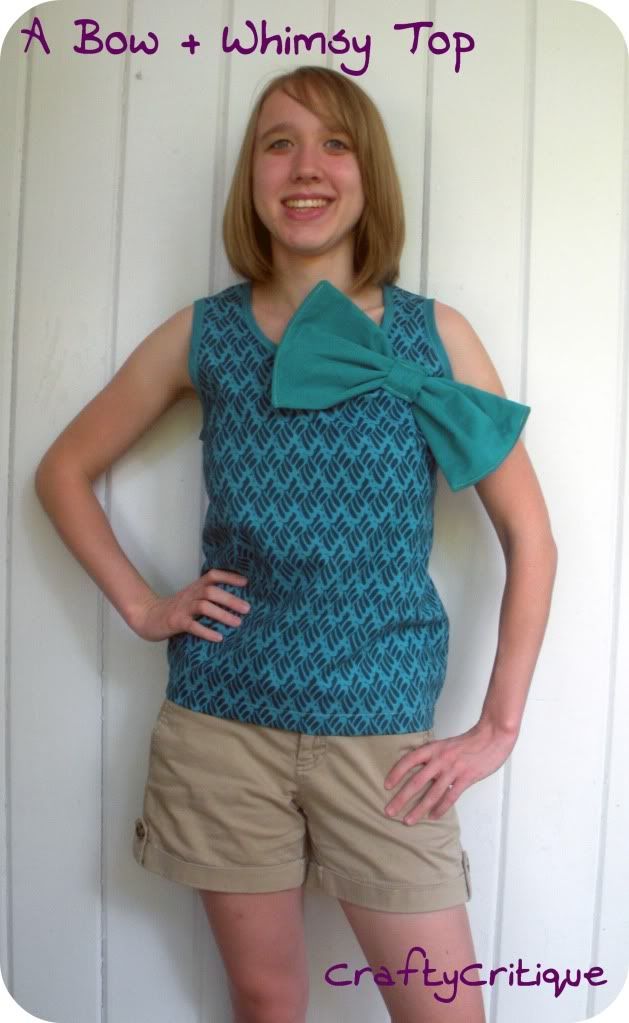
Tutorial: Bow & Whimsy Tank Top
You might remember few weeks ago I showed you my "A Bow and Whimsy Tank Top" in another post.
But just in case you missed it, today I thought I'd share the tutorial here at Crafty Critique. You can follow me after the jump for the how-to. Enjoy and let me know if you have any questions! :)
Labels:
A Bow and Whimsy Tank Top,
adult clothing tutorials,
adult tutorials,
diy,
sewing,
sewing for me
Wednesday, September 21, 2011
Looking for Guest Bloggers
Good news everyone! I got my first "big girl" job offer this week and
I'll be starting my first full-time, post-college job very shortly. I'm
excited for the opportunity, but also a little nervous about how I'll manage my time once I begin. I'm sure I'll
adapt quickly, but I'm not too sure how much free time I'll have on my
hands for blogging and crafting over the next couple of months. So that's
where you come in!
If you're interested in guest posting on Crafty Critique, please send me an email at mseaber (at) gmail (dot) com with subject line "Guest Post." Please let me know these things in your email:
As always, thanks for stopping by! I hope to hear from you soon. :)
--CC
I'm
sure I'll be able to make time for sewing and blogging eventually, but
while I get settled into my new job I thought some of you might
like the chance to guest post on my blog! If you're a crafting blogger,
I'd love to have you come post a tutorial. It can be something new or
old. I don't mind! Or maybe you have an Etsy shop and would like to
host a giveaway to promote your business. That's fine too, and I'd be really glad to team up with you!
If you're interested in guest posting on Crafty Critique, please send me an email at mseaber (at) gmail (dot) com with subject line "Guest Post." Please let me know these things in your email:
- Link to your blog
- Link to the post you'd be sharing, or if it's a new post please send me pictures and/or a description of what you'd like to post about
- When you'd be ready to schedule your guest post
I'm not sure what kind of interest to expect from this post and as I've already mentioned I've kind of got a lot on my plate right now, so please be patient with me just in case I get a whole bunch of emails and can't respond to you right away! ;) I promise to do my best, though!
As always, thanks for stopping by! I hope to hear from you soon. :)
--CC
Monday, September 19, 2011
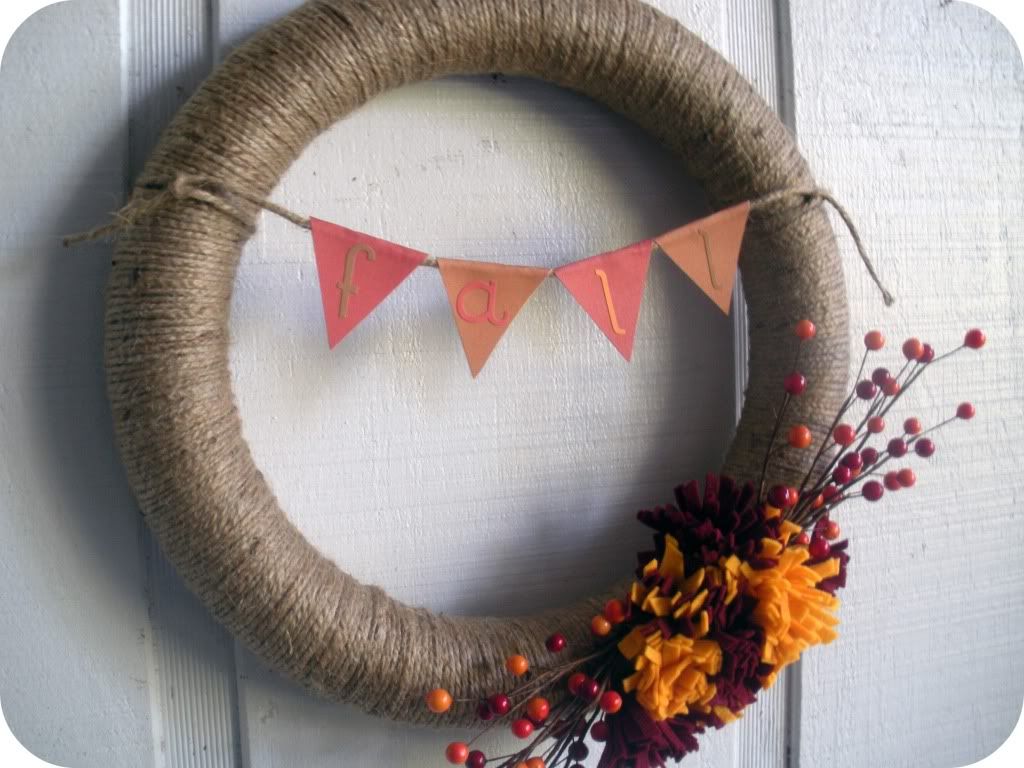
Jute & Felt Mum Fall Wreath
Hi guys! Sorry I haven't written since last week. Life was calling! I hope that you haven't missed me too much and you've been crafting up a storm without me. ;)
Anyway, I had some time to whip up a new fall wreath today, so I thought I'd drop in and share it with you.
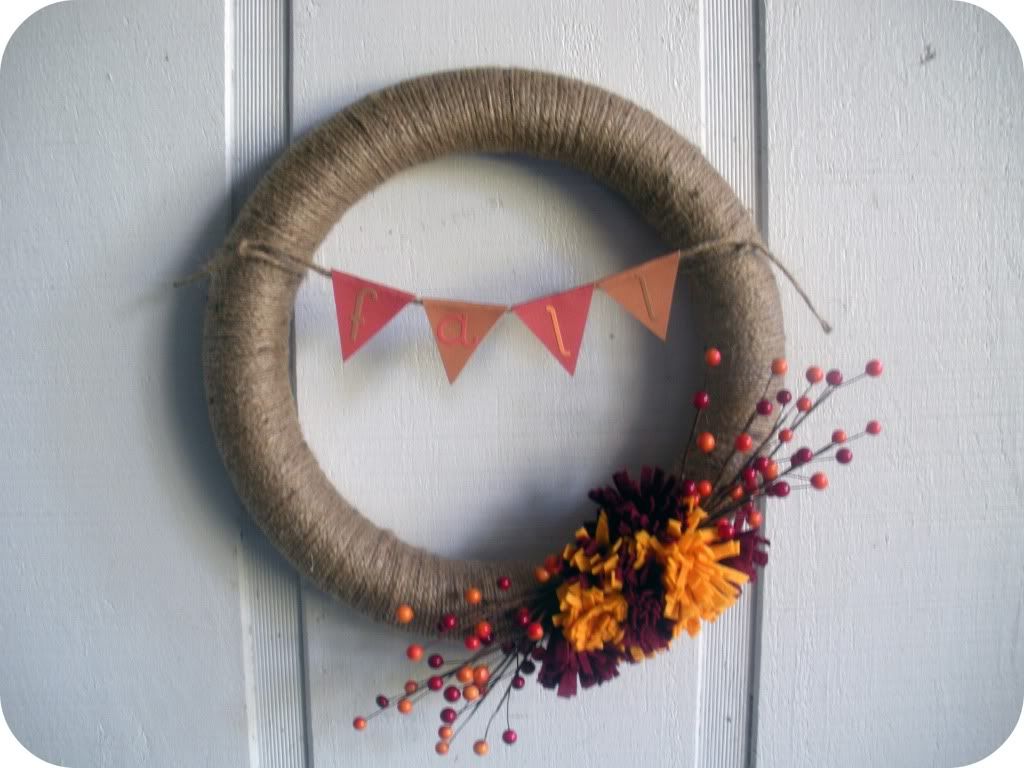
I didn't have time to make a full tutorial, but it's a pretty simple concept so I'll just explain verbally what I did. I started with a foam wreath (be sure to check out this money saving tip for foam wreaths if you do this project) and wrapped it with some jute I already had on hand.
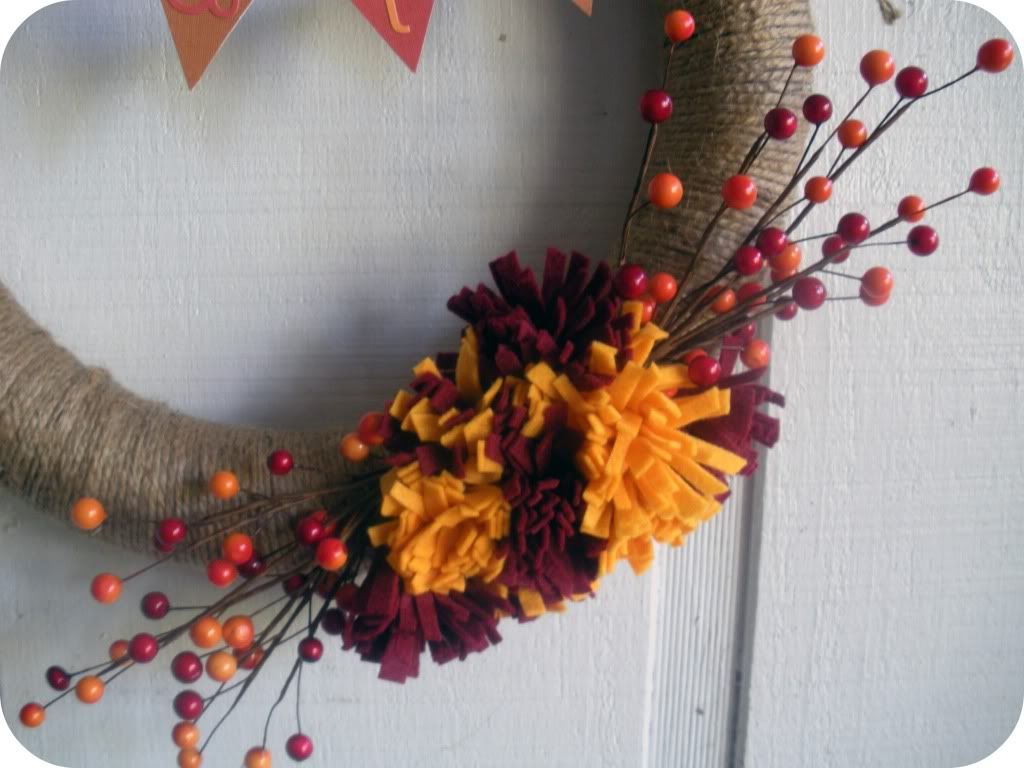
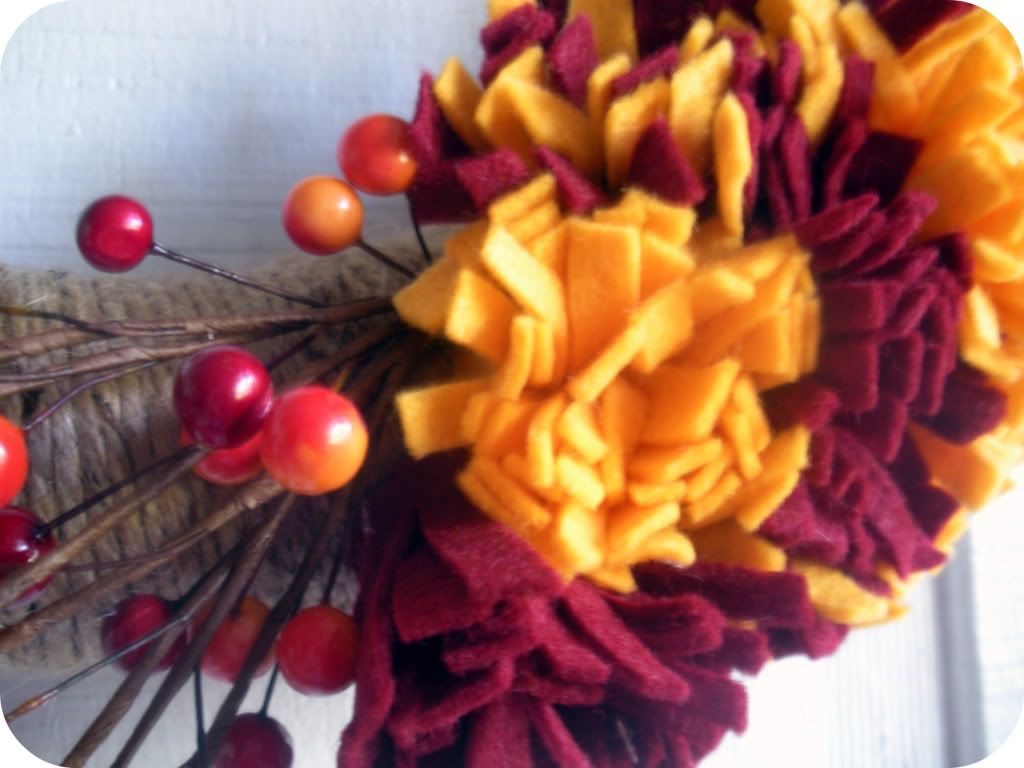
Next I decorated the wreath with two berry sprigs (99 cents each and 40% off this week at Michael's). I was able to simply work the wire stems into the foam core of the wreath. Then I hot glued a whole bunch of felt mums in between the two sprigs.
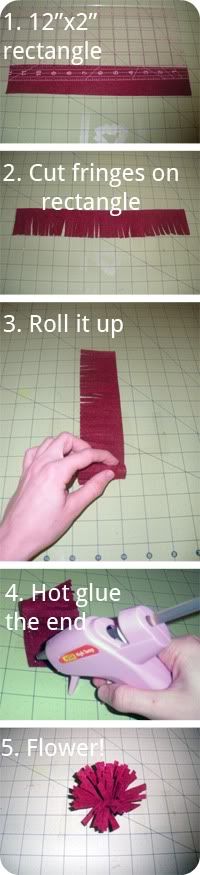
If you're wondering how I made the felt mums, I did take a few photos of the process. Here's what I did (please note I didn't have the time to take the best photos to show you how to do this):
As I made the mums I realized the shorter the fringe the better the mums looked, so I gave them little haircuts. So you might want to adjust your original rectangle to 12"x1". Anyway, I made about 10 felt mums using that process and hot glued them between the two berry sprigs until I liked the way they looked.
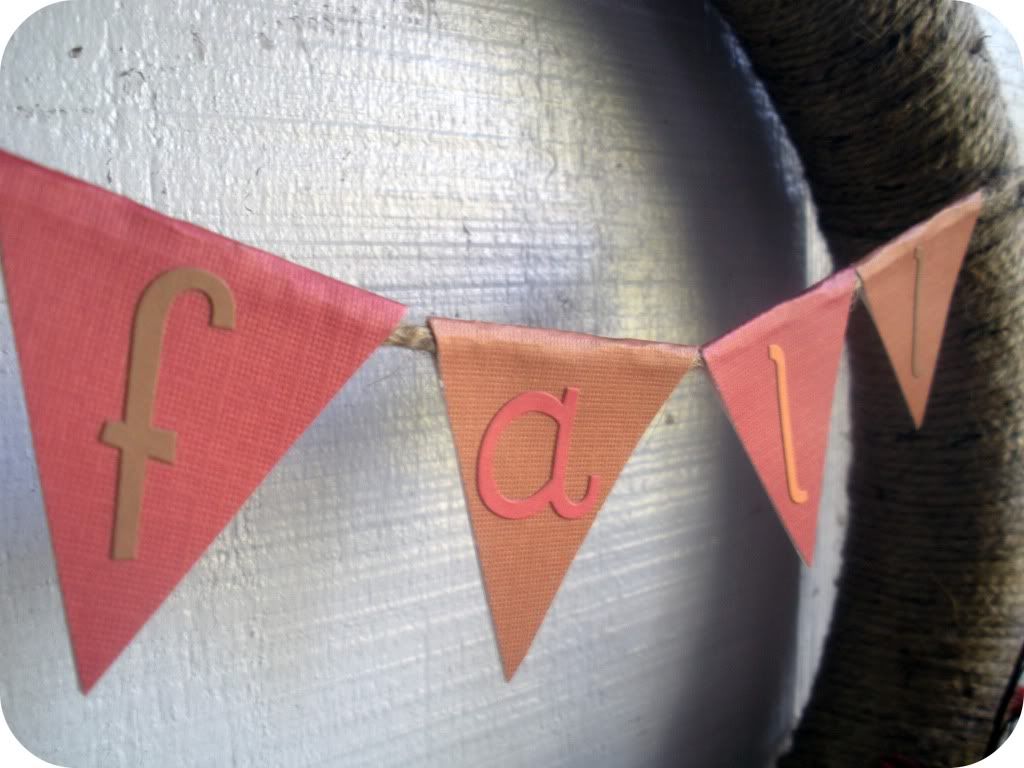
Then, to make the banner, I tied another long piece of jute across the wreath. I cut diamonds out of colored cardstock scrapbooking paper and folded them in half over the strand of jute and glued them together. (I sure hope that makes sense!) I used some scrapbooking alphabet stickers to spell out the word "Fall."
And ta-da! All finished. :) I really like the scrappy look of my new wreath, and the whole project cost me about $3 to make since I already had so much of the supplies on hand. What do y'all think?
I hope your enjoying some fun fall crafts! Thanks for reading and see you next time! :)
--CC
This post is linked up here.
Labels:
autumn decor,
autumn wreath,
diy,
fall,
fall flowers,
fall wreath,
felt chrysanthemum,
felt flowers,
felt mum,
tutorials
Monday, September 12, 2011
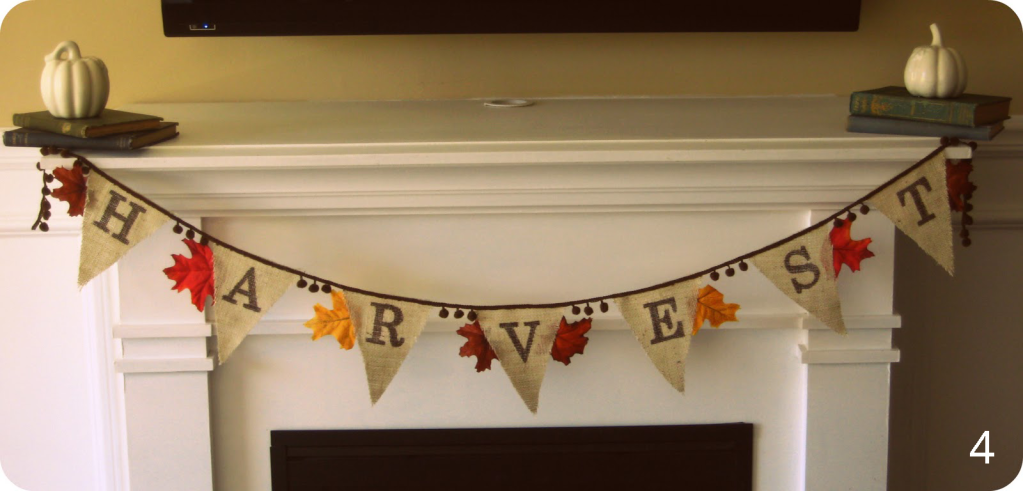
DIY Fall Projects & Decor Roundup
Hello my lovelies! How have you been? The weather here has been absolutely fantastic--cool, crisp, and breezy! Okay, so maybe it's just been below the 90s for a couple of days but here in Florida that means FALL! And I am so excited for cooler weather and fall holidays, which is why I've put together this fall roundup for you.
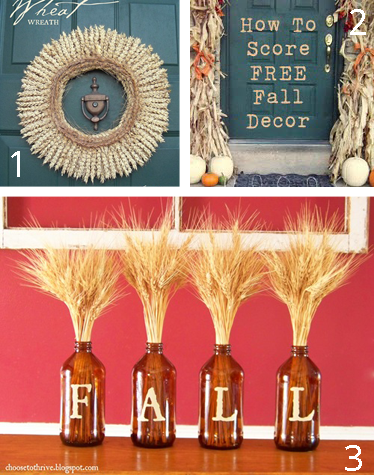
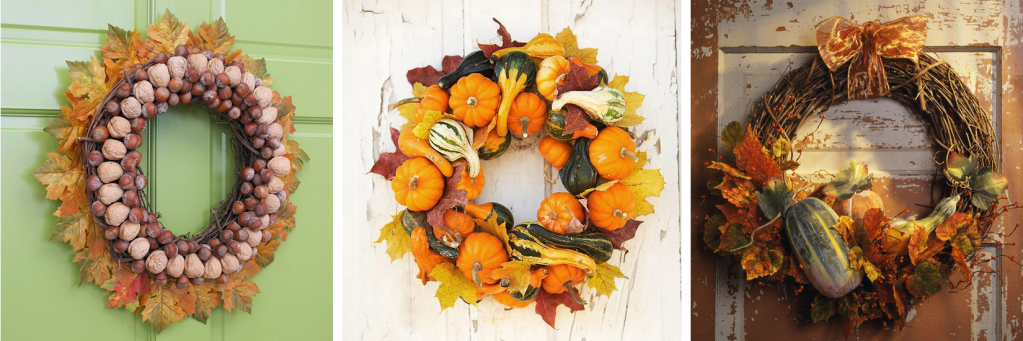
This roundup is for fall/autumn decor ONLY. In other words, it doesn't include Halloween or Thanksgiving projects. Don't worry...we'll get to that later. :) But for now it's just the good ol' seasonal stuff to get you in the mood for fall! Please note that tutorials and sources for all images are included as links in the descriptions. Enjoy!
That's all I've got for you here, but you can find lots more (including Halloween and Thanksgiving tutorials) on my fall pin board over on Pinterest.
Thanks for stopping by. Hope to see you again soon!
--CC
This roundup is for fall/autumn decor ONLY. In other words, it doesn't include Halloween or Thanksgiving projects. Don't worry...we'll get to that later. :) But for now it's just the good ol' seasonal stuff to get you in the mood for fall! Please note that tutorials and sources for all images are included as links in the descriptions. Enjoy!
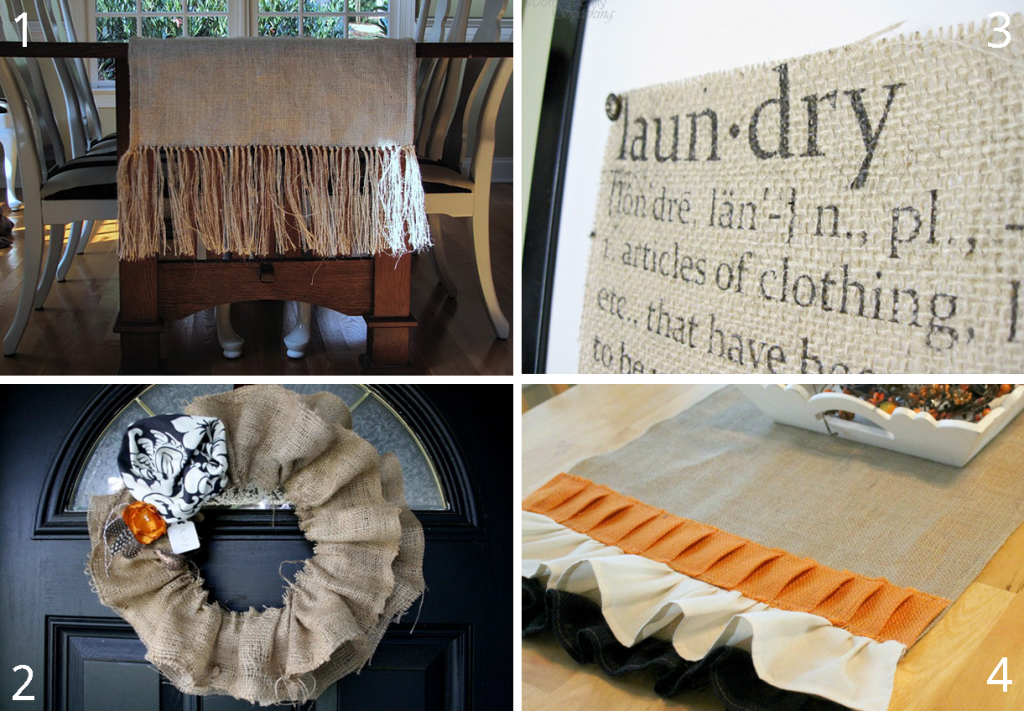
Burlap Projects
1. Fringed Burlap Table Runner 2. Ruffled Burlap Wreath 3. How to Print Onto Burlap 4. Pleats & Ruffles Burlap Table Runner
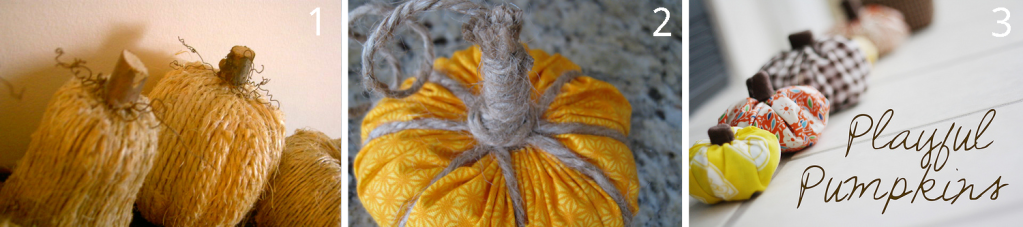
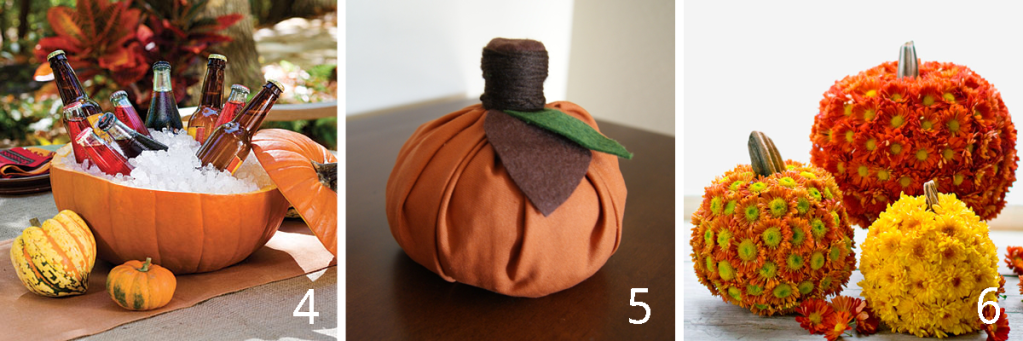
Pumpkin Projects
4. Pumpkin Drink Cooler 5. No-Sew Fabric Pumpkins 5. Mumpkins! (Pumpkins made from Mums)
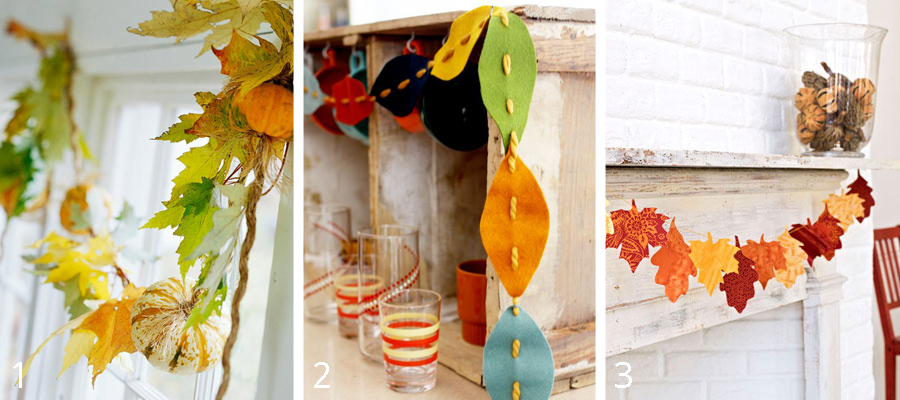
Fall Garlands & Banners
Inexpensive Fall Projects
Fall Wreath Inspiration
That's all I've got for you here, but you can find lots more (including Halloween and Thanksgiving tutorials) on my fall pin board over on Pinterest.
Thanks for stopping by. Hope to see you again soon!
--CC
Labels:
autumn,
autumn decor,
fall decor,
Fall Roundup,
fall wreath,
tutorials
Friday, September 9, 2011
Cut Out + Keep
Last night I decided to join Cut Out + Keep.
If you haven't heard of the website before, basically it's a crafting community where people share tutorials, talk to each other on a community board, and participate in crafting contests. I'd heard of it here and there over the past year and visited a few times, but just decided to join last night.
After reading this post yesterday, I decided to give Cut Out + Keep a try to see if I can't make some more friends who enjoy the crafting and blogging. Because my boyfriend and my mom really don't want to listen to me babble about Google Analytics, blog swaps, SocialSpark, or exceeding my storage limit on Picasa, but maybe someone on Cut Out + Keep will actually care!
Do any of you use Cut Out + Keep? What are your thoughts about it? Like? Dislike? I'm still trying to figure out if I like it or not. So if you do use it, come be friends with me and let's get to know each other! :) I've already posted a few tutorials on the site (oldies but goodies!).
Thanks for reading. I'll see you there!
--CC
If you haven't heard of the website before, basically it's a crafting community where people share tutorials, talk to each other on a community board, and participate in crafting contests. I'd heard of it here and there over the past year and visited a few times, but just decided to join last night.
![]() |
| Image Source |
Do any of you use Cut Out + Keep? What are your thoughts about it? Like? Dislike? I'm still trying to figure out if I like it or not. So if you do use it, come be friends with me and let's get to know each other! :) I've already posted a few tutorials on the site (oldies but goodies!).
Thanks for reading. I'll see you there!
--CC
Subscribe to:
Posts (Atom)