
 |
| The wind was blowing a LOT the day I took this. Sorry it's crooked! |

Here's what you'll need:
  |
- 1/4 yard green felt
- 1/4 yard light green felt
- 1/4 yard white felt
- Steam-a-Seam (optional)
- 5/8" dowel rod
- Dowel rod head beads w/ 5/8" openings
- Jute
- Hand saw
- Wood glue, craft glue or hot glue (optional)
- Shamrock template
First let's cut out our pieces.
Use the shamrock template to cut out four shamrocks in white felt. If you're choosing to use Steam-a-Seam to adhere your shamrocks to the flag you'll also need to cut out four shamrocks in Steam-a-Seam with your shamrock template. (I chose to use Steam-a-Seam with the clovers because I really dislike sewing in small, rounded areas.)
Next, cut out the following:
- Two 8.5x11in. rectangles in green felt
- Two 8.5x11 in. rectangles in light green felt
- Two 1x4 in. rectangles in green felt
- Two 1x4 in. rectangles in light green felt
Once you have everything cut out, you should have these pieces (with or without the Steam-a-Seam clovers).

Step 2:
Let's start sewing. Take one 8.5x11 green rectangle and one 8.5x11 light green rectangle and pin them right sides together (is there a right side of felt?) like this:

Sew straight down one of the 11 inch sides, keeping your seam allowances as small as possible. Be sure to backstitch at the start and finish of your line. Unfold and iron open your seam. (Ironing is important to get the flag to lie flat once you hang it.)

When you're finished, you'll have this:

Repeat this process with the remaining two 8.5x11 rectangles.
Step 3:
Now take the two pieces you just sewed and pin them right sides together with alternate colors touching (light green on top of dark green), like this:

Sew down one of the longer sides, again leaving as small of a seam allowances as possible. Don't forget to backstitch at the start and finish of your line. :)

Step 4:
Unfold and iron your seams open.

At this point, you should have this:

Step 5:
Take your narrow 1x4 in. strips of felt, fold them in half long ways, and pin them to the top, shorter side of your flag. Alternate colors when doing so and either measure or eyeball to make sure they're evenly placed. It should look like this:


After you have them pinned, sew them down to create the hooks you'll slide your dowel through later. Now you have your flag, sans shamrocks.

Step 6:
Let's get those shamrocks attached now. If you're sewing them on, simply place center them on each of your green rectangles and sew around the perimeter and skip to step 7. If you're using Steam-a-Seam, stick with me here and follow these directions, or just use the ones on the package.
To use your Steam-a-Seam, first peal off the wax paper from one side of the adhesive. Place the adhesive side down on top of one of your felt shamrocks. It should stick well enough for you to iron over it.
 |
| Peal the wax paper off one side. |
 |
| Place the Steam-a-Seam adhesive side down on your felt shamrock. |

When you've ironed long enough so that the adhesive is permanently stuck to your felt, peal off the other side of the adhesive. Be careful because it might still be hot. I burn myself doing this sometimes. You might have trouble getting the wax paper started, but keep at it. I swear it comes off!

Once the wax paper is off, center your shamrock on one of the green fields of your flag, adhesive side down, like this:

Now iron until the felt shamrock is adhered. Repeat with all four shamrocks.


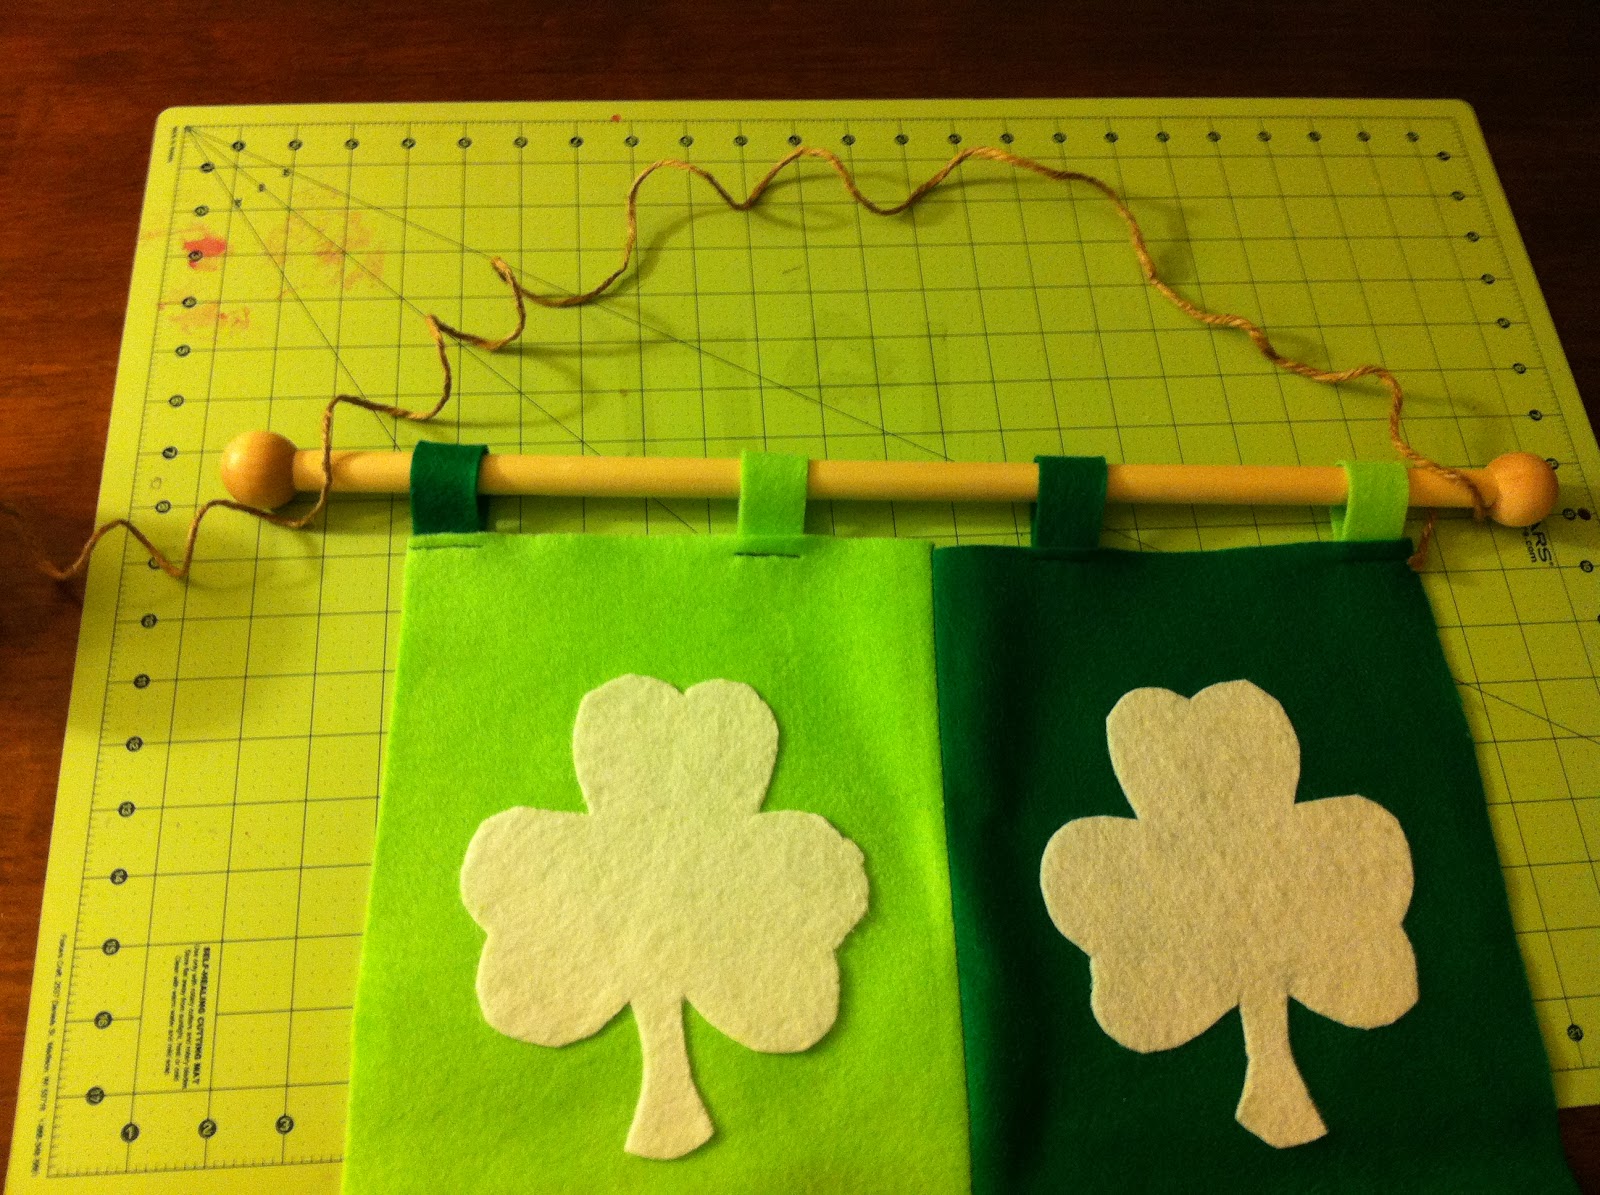
Congratulations, your flag is finished! Let's get it on that dowel so you can hang it. :)

Step 7:
Now take your dowel and hold it up to your flag to see how long you want it to be. I made mine stick out by two inches on either side.

Make a mark where you want to cut the dowel, then just saw it off. Don't be afraid of sawing! It took about five little strokes for me. I didn't even break a sweat or get sawdust on the floor. Easy peasy.

Step 8:
Slide your dowel on through the tabs on your flag, then take two of your dowel ends and press them onto your dowel.


If you got the right size, it should be a tight fit. You can either just press them on tight, or you can put a little craft glue, wood glue or hot glue in the ends then put them on to really make sure it's secure. I felt like mine were on pretty tight, so I didn't put any glue thinking maybe I could use the dowel for another flag at a different season.
So this is what you have now:

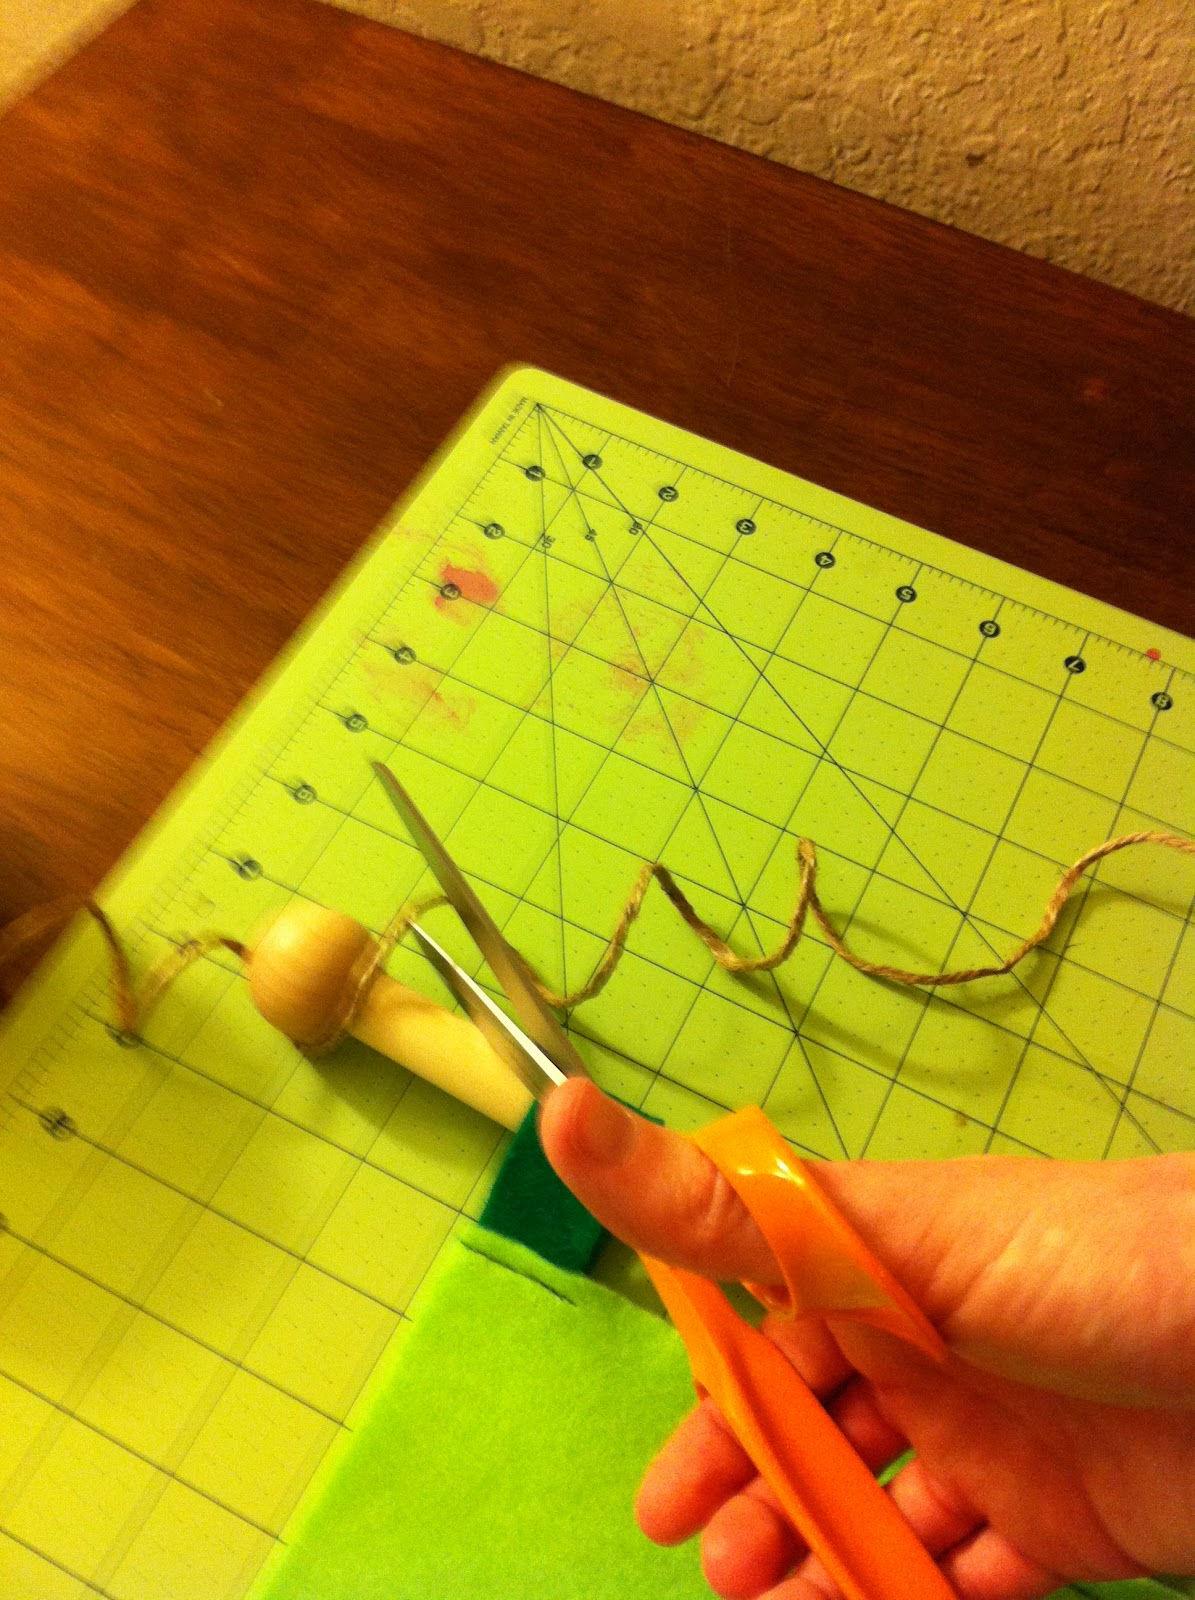
Step 9:
Final step! Measure out the length of jute you want. This will depend on how low you want your flag to hang. Snip it off and use a square knot to tie the just to either end of your dowel.
Ta-da! Now you're finished! Go hang it proudly! :)


How simple, but cute! Thanks for linking up!
ReplyDelete--Kirstikoo
You're welcome. Thank you for your compliments and for stopping by! :)
ReplyDelete