


That's why when I saw this post over at Happy Together I was so inspired and decided to make my own version of a scrap fabric headband. I thought you might be looking for a way to use up scrap fabric or make hair pieces, too, so I decided to document my headband-making process and create a tutorial for you all!

Follow me after the break for the how-to. :)
Supplies:
- Long, rectangular scrap of main fabric (mine measured 17"x4")
- Small rectangular scrap of coordinating fabric (mine measured 6"x2")
- 3/4" elastic (mine measured 5")
First we'll cut your fabric. This is actually the hardest part of the project, I promise. So try and stick with me if this doesn't make much sense. And of course you can always email me if you have questions! :)
To figure out the right measurements for your hair piece, start by measuring the circumference of your head. Measure around the same spot you'll want your headband to lay. This is not an exact science.
After you have your head circumference measurement, here's how you'll cut your pieces.
Main fabric:
Start by cutting your main fabric somewhere between 15 and 20 inches in length. The length is based on how much scrap fabric you have, but obviously if you have a bigger head you'll want your scrap to be bigger so that more of the main fabric shows when you wear your headband. For the width, make the fabric twice the finished width you want.For example, my scrap fabric was already 17" long, so I went with that length. I wanted the headband to be 2" wide finished, so I doubled that and cut my fabric 4" wide. So my measurement for my main fabric was 17"x4".
Elastic:
Cut your elastic so that your main fabric length plus your elastic length equals about one inch bigger than the circumference of your head. If you're a math person: main fabric length + elastic length = head circumference + 1For instance, my head circumference was 21", so I wanted my main fabric length plus the elastic length to equal 22". My main fabric length was 17", so I needed my elastic to be 5" to make the two lengths equal 22".
Coordinating fabric:
Your coordinating fabric should be 2" wide to fit snugly over the elastic. For the length, cut your coordinating fabric 2" longer than your elastic.For example, my elastic was 5" so I added 2" in length sto get 7". My coordinating fabric measured 7"x2" when cut.

Step 2:
Fold your main fabric in half lengthwise and pin in place. Sew down the edge to create a tube. Do the same for your coordinating fabric. Do not press/iron the seam yet.
 |
| Fold main fabric in half lengthwise and pin in place. |
 |
| Sew along the length of the fabric. |
 |
| Fold coordinating fabric in half lengthwise and pin. |
 |
| Sew down coordinating fabric lengthwise. |
Step 3:
Flip both tubes.

Before pressing, rotate the seam so that it appears on what will be the center of the back side of the headband. Do this on both tubes (main and coordinating fabric). Then go ahead and press/iron. :)


Step 4:
Take your main fabric and tuck under the ends. Press in place but do not sew down or pin yet!


Step 5:
Put a safety pin through the end of your elastic and use it to pull the elastic through the tube of coordinating fabric. Make sure not to lose the other end of your elastic.


Step 6:
Gather your coordinating fabric enough so that you can see both ends of the elastic. Pin them in place.


Use a zig-zag stitch to hold the fabric and elastic in place.


Step 7:
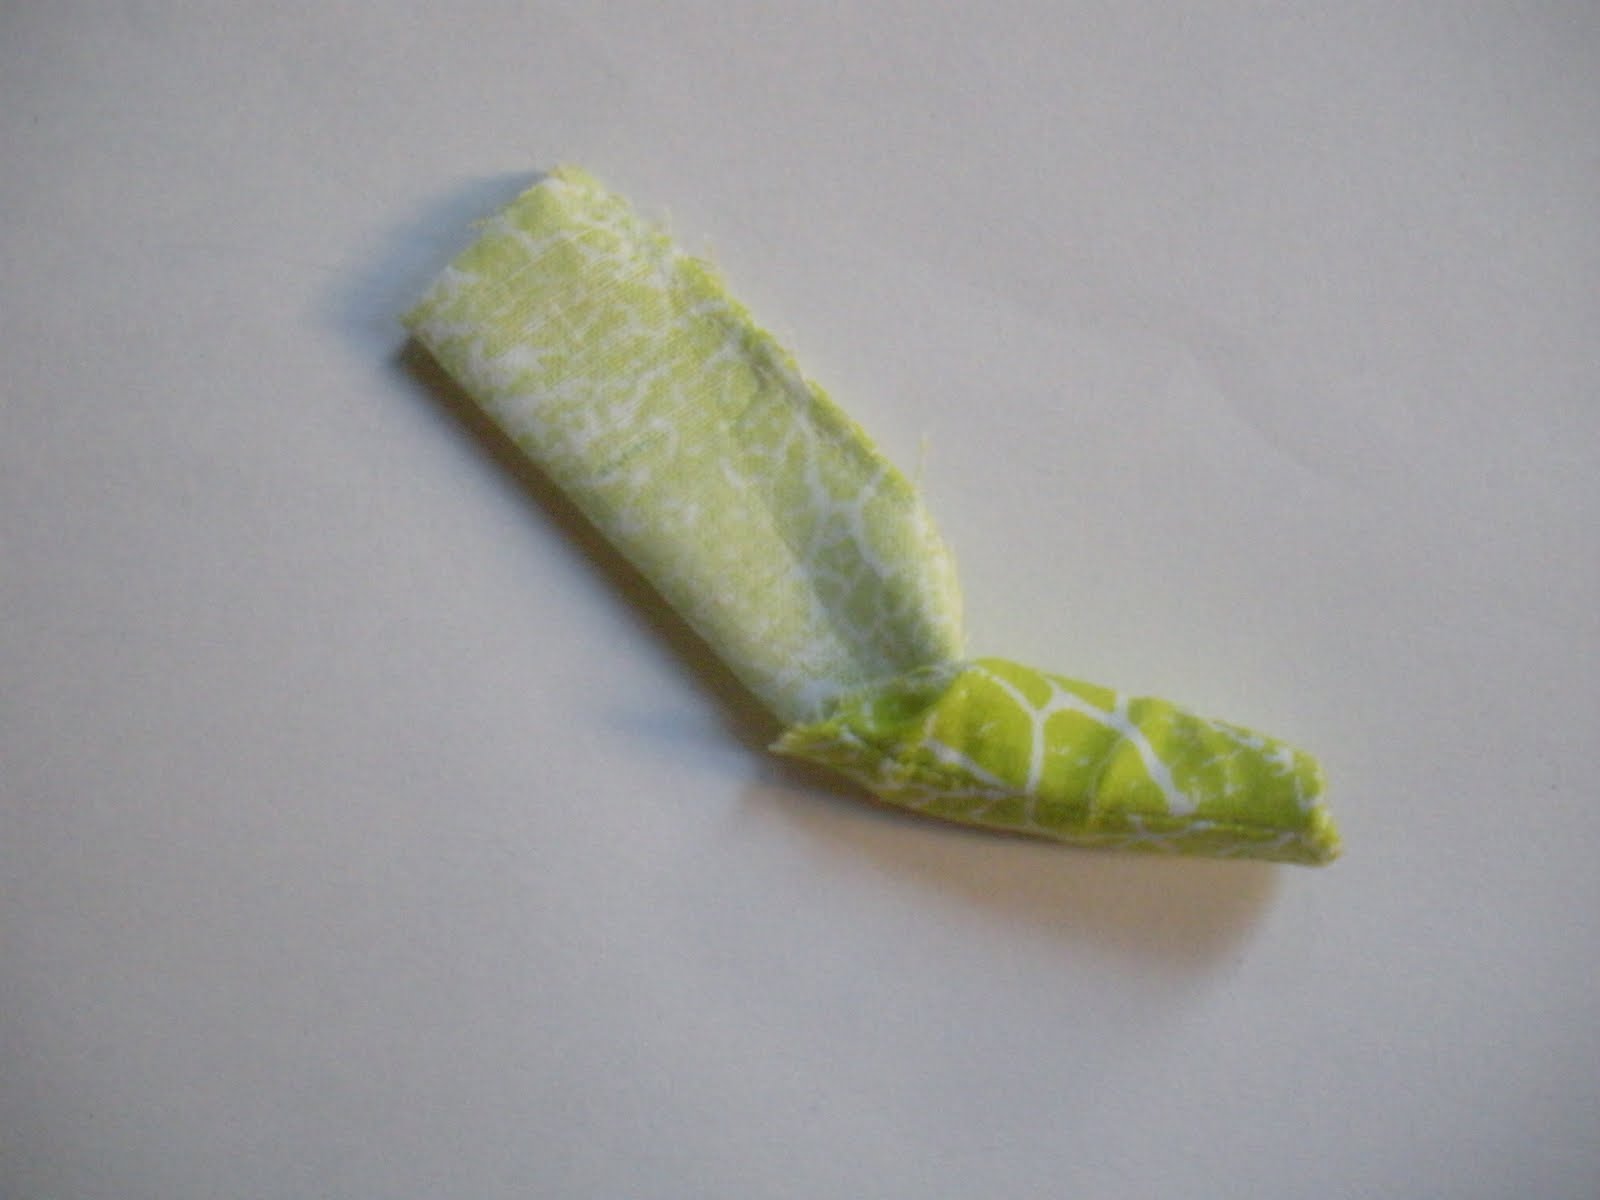
Tuck your coordinating fabric inside one of the ends of your tube of main fabric. Center it and be sure the the seams of both pieces of fabric are on the same side. Pin in place and sew down. I sewed then backstitched all the way up the seam and back down again a couple times to make sure the headband was really secure. Alternately, you could use a zig-zag on this part, too.


Repeat this process with the other end of your headband.


And now you should have this!


Congratulations! You made a scrap fabric headband. And it shouldn't take you any time to whip up a few more! :)
--CC
gotta have one. asap.
ReplyDeleteTks for the excellent explanation, I'll have to make me one....Regards from Brazil.! You are so kind to share all this info.
ReplyDelete