
While I was home in Missouri for my brother's wedding, I saw these cute garden stakes with little chalkboards on them in a local home decor shop. I thought they were adorable, but there was no way I was paying the $20 asking price for them. I knew I could make one for much cheaper. (Chalkboard paint is $12 a quart which is a little pricey, but it can be used for a bunch of other craft projects besides this one.)
Then, after my mom hung sticky notes on the front door for expected guests to let them know we were out in the garden a couple times, I got an idea. I thought a permanent, re-writable sign, like a little chalkboard, might be useful for leaving "be right back" or "I'm in the garden" notes when you know someone will be dropping by.
I also thought they might make nice little "back in 5 minutes" type signs for crafters who go to craft fairs/farmer's markets. There are so many things you could do with a little chalkboard sign. It's just a useful, environmentally friendly and, might I say, cute little way to leave a note. :) So here's what I came up with:

So if you ever find yourself taping notes to your front door or you just want a pretty garden stake to label a row of peas, follow the jump to get the tutorial. :)

- Chalkboard paint ($12/quart at Lowe's or make your own in any color)
- Unfinished wood garden stake ($0.97 at Lowe's)
- Unfinished wood picture frame ($1.99 at Micheal's)
- Acrylic paints
- Ribbon
- Embellishments
- Picture Frame or Small Nails
- Hammer
- Paint brushes
- Chalkboard paint
- Unfinished wood picture frame
- Acrylic paints
- Ribbon
- Embellishments
- Hammer/Small Nails or Staple Gun
- Paint brushes
First you'll want to unassemble your picture frame. Take out the glass and the black plate. Remove the little piece that props the picture frame up. I easily removed mine by just by pulling on it gently. Set both the glass and the back plate aside.


Step 2:
On a safe work space, begin painting your picture frame with acrylic paints however you like. If you're making the garden stake, you'll also want to paint the back side of the frame (including the back of the back plate you just set aside) and your wooden garden stake.

If you're making the garden stake, you'll also want to paint the back side of the frame (including the back of the back plate you just set aside) and your wooden garden stake.


Step 3:
Now let's make the chalkboard. There are two ways to do this.

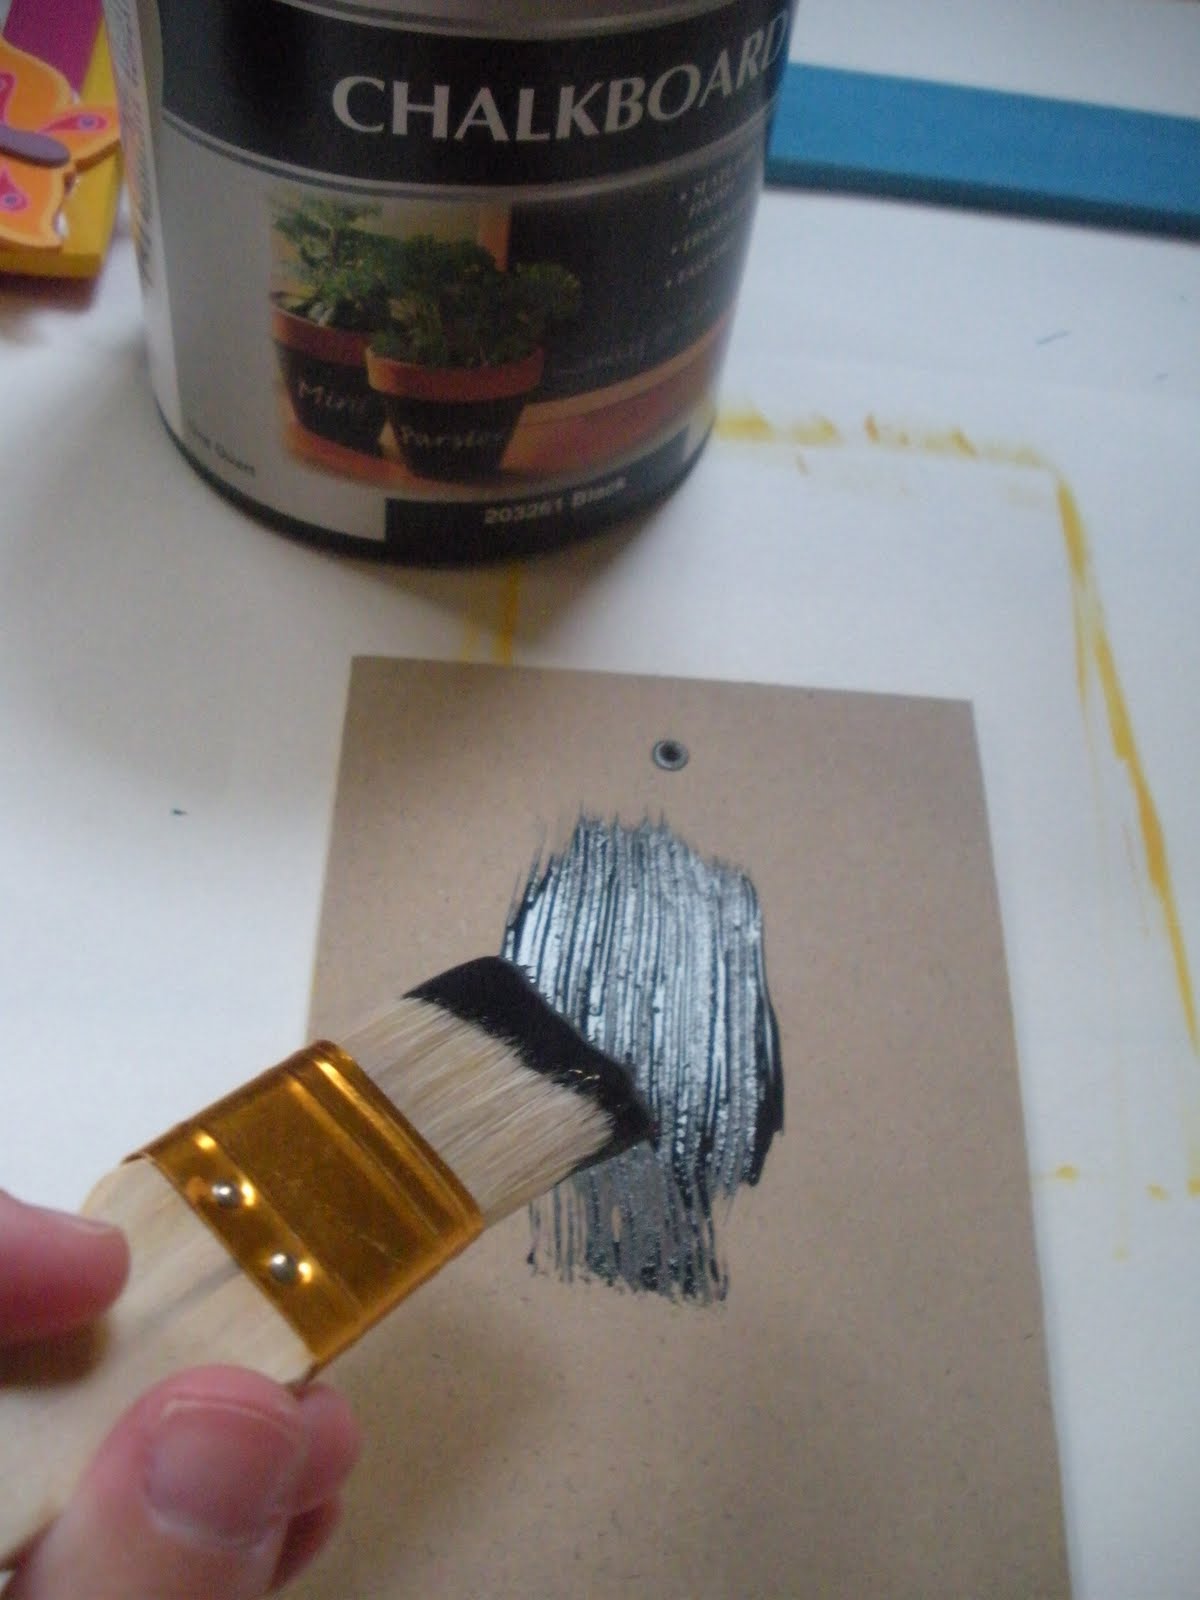
Option One: Using chalkboard paint, paint the front side of the back plate you set aside (i.e. the part you'd see through the glass if a picture weren't in the frame). Leave the glass unpainted. By placing the glass over the chalkboard part of the garden stake, you can prevent your chalking from being rinsed off by rain. This option might be more preferable with the garden stake if you want to label plants or flowers and don't want the weather to wash away your writing.
Option Two: Use chalkboard paint to paint directly on the glass. You'll probably want to use this option with the hanging sign so that the chalkboard portion is easily accessible for quickly scribbling notes to hang on your door, etc.

Step 4:
Following the guidelines on your paints, wait for each of the pieces to dry.
Step 5:
Use glue to attach any embellishments, such as wood cut outs, to your frame.


Step 6 (Garden Stake Only):
Using a hammer and picture frame nails, hammer the stake onto the back of your picture frame. Make sure the stake is placed so that it does not cover the opening where you'll need to replace the glass and the back plate.


Using ribbon, tie a bow around the top of the stake.


Step 6 (Hanging Sign Only):
Cut a length of ribbon and place it in an arch at the top of the backside of your picture frame. Be careful that the right side of the ribbon faces front. Take your hammer and nails or staple gun and hammer/staple the ribbon to the frame.


Step 6:
Replace the glass and back plate and you're finished!


Now show off your new garden signs! :)


--CC
Oh I just LOVE this tutorial!!!
ReplyDelete@Nicole Why thank you, Nicole! :)
ReplyDelete