

Introducing the Sleeveless Bow Top Tutorial! It's my first "big girl" tutorial, so bear with me (and email me if it doesn't make any sense!).
I modeled the Sleeveless Bow Top after this top I saw for sale online recently. It’s a cute, comfortable top to finish out the summer with, and might even be great under a cardigan for the fall. And the good news is it's made a lot like a pillowcase top so it’s just about one of the easiest garments you can sew! I know you can do it, so follow me after the break to get started.


You will need:
- 1 yard of main fabric (shirting material work best if you're new at sewing, but a jersey knit would be more comfortable if you have experience with knits)
- Long, narrow strip of jersey knit
- Sewing Paraphernalia
Step 1: Drafting Your Pattern
Your pattern piece will be a simple rectangle. I drew mine on a large piece of paper, but if you don’t have a piece of paper big enough you can use newspaper or printer paper taped together just as easily. To get the measurements for your pattern, follow the steps below.
Your pattern piece will be a simple rectangle. I drew mine on a large piece of paper, but if you don’t have a piece of paper big enough you can use newspaper or printer paper taped together just as easily. To get the measurements for your pattern, follow the steps below.
For your width: (Bust or hip circumference + 3) ÷ 2 = width (If math is hard for you like it is for me read my explanation below.)
Begin by measuring the circumference of your bust or hips, whichever is larger. Take this number and add 3 inches to it for side seams and wiggle room. Then divide that number by two. (For instance, my bust measured 34 inches and when I added 3 I got 37 inches. I divided 37 by 2 and got 18.5 inches for my width.)
For your length: desired length + 3 = length
Decide how long you want your top to be, either by measuring on your body or by measuring from the shoulder seam to the bottom hem on a shirt that fits you well. Take the desired length and add 3 inches to it to account for hemming (top and bottom) and ¼ inch seam allowance. I used a shirt that fits me well and measured that it was 25 inches long from shoulder seam to bottom seam. When I added 3 inches I got 28".
So to sum up, my final pattern was a rectangle that measured 18.5” x 28”. Your pattern should be a big rectangle, like this:

Step 2: Cutting Your Fabric
Main Bodice
Now that you have your rectangular pattern piece, use it to cut two rectangles out of your fabric. You might want to use pinking sheers to avoid fraying if you don’t have a serger.
After you cut your rectangles using your pattern, fold them in half length-wise and lay one piece of fabric on top of the other. We’re going to cut out arm holes.
To get the right shape we’ll use a shirt that fits you well. Take the shirt that fits you well and turn it inside out and tuck in one of the sleeves along the seam. This can be tricky to do. Try to get it as close to the actual seam as possible, but it doesn’t have to be perfect.

Use this as a “pattern” to cut a J-shaped slope out of the corner of your fabric WITHOUT the fold (see diagrams). Be careful not to cut your shirt!
 |
| Cut along dotted line. |
 |
| My fabric after I cut it this way. |
 |
| How your fabric should look after you finish cutting and unfold it. |
 |
| The top of my fabric after cutting and unfolding. |
Bow
Cut a long, narrow rectangle that is at least 50”L x 4.5”W out of your jersey knit. You want enough length to serve as both your straps on your shirt and to tie a bow. You won’t know the exact measurements until you can try the top on later, but my philosophy is the longer the length the better. You can always cut it shorter but you can’t make it longer! If you don’t have a length of jersey knit long enough, feel free to sew two shorter lengths together. It will more than likely be hidden when you’re finished.

When you have a long, narrow rectangle take the two ends and cut them at an angle (see diagram). This isn’t necessary but it just helps it look prettier when finished.
Step 3: Sewing the Bodice
Part A. Take your two main pieces of fabric and place them right sides together. Pin together the long edges and sew down the sides with a ¼ inch seam allowance. DO NOT sew along the J-Shaped cutouts. Serge/zig-zag if desired, then iron the seam.
Part A. Take your two main pieces of fabric and place them right sides together. Pin together the long edges and sew down the sides with a ¼ inch seam allowance. DO NOT sew along the J-Shaped cutouts. Serge/zig-zag if desired, then iron the seam.

 |
| With right sides together, pin fabric along its length. |
 |
| Sew along edges. |
 |
| Iron seam. |
Part B. Now we’re going to finish the arm holes. To do this, fold down ¼ inch along the j-shapes (which are now sewn together and look more like U-shapes). Iron and pin in place, then sew along the edges. Repeat on the other side.
 |
| Arm holes ironed and pinned 1/4 inch. |
 |
| Sew along arm holes. |
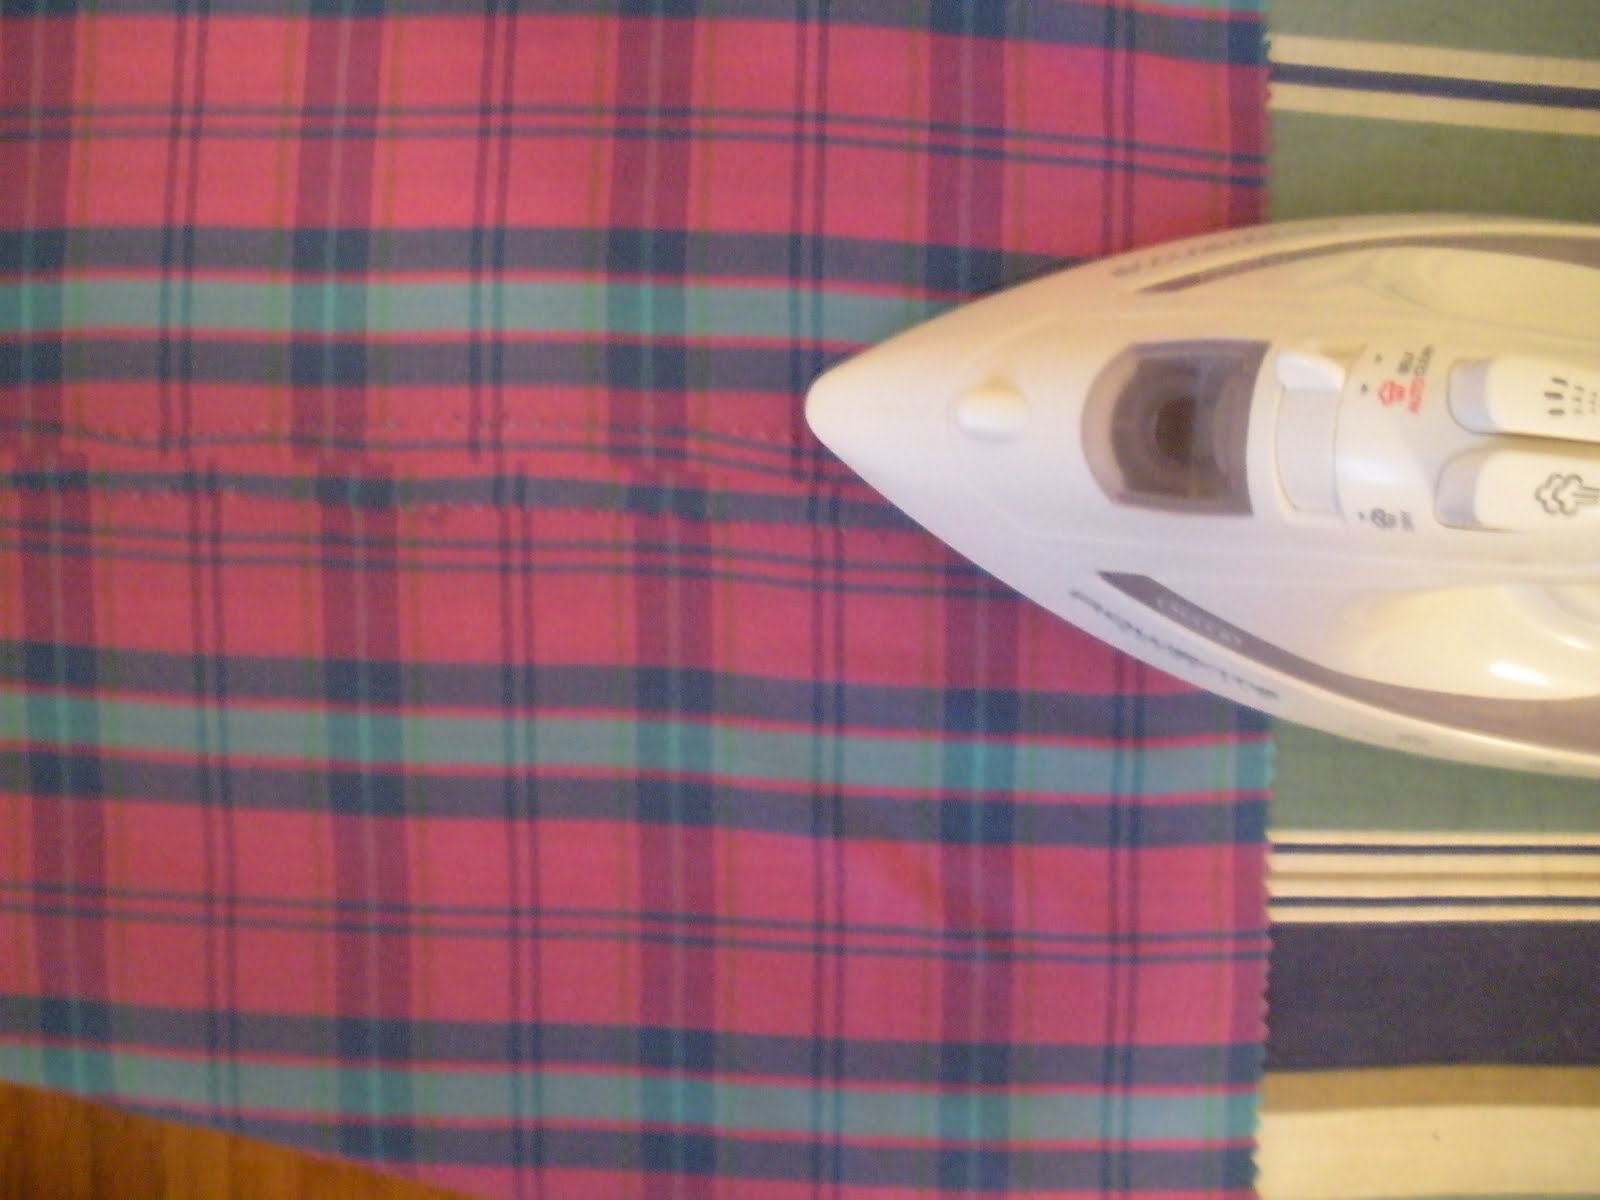
Part C. This is the step where we create the casing our jersey knit will go in later. (NOTE: Serge/zig-zag stitch both top edges before doing this step if you want.) Take the top of your main bodice and fold it down 2 inches. Iron in place. (I used Martha Stewart’s Magic hemming trick to help me with this which is what the black paper is all about.) Pin and sew ¼ from the cut side of the fabric. Be careful not to sew the front and back pieces together!
 |
| Measure 2 inches from top. |
 |
| Fold down and press with iron. |
 |
| Pin in place. |
 |
| Sew. |
Step 4: Finishing Touches
Now we get to finish up the top!
Part A. We're going to slide the jersey knit through the casing we sewed to create the straps and bow. You don't need to sew the jersey knit at all because it doesn't fray.
To make the straps, attach a safety pin to one end of your jersey knit and use it to help you work the jersey knit through the casing you just created. First push/pull the jersey knit through one side of the shirt and then through the other side. (It doesn’t really matter where you start since the front and back of the blouse are identical.)
 |
| Use a safety pin to help work the jersey knit through the casing. |
 |
| First put your jersey knit through one side of the shirt, then work it through the other side of the shirt. |
Part B. At this point you’ll want to try on your blouse. Do this in front of a mirror because we’re checking for a few things. First of all, you want to make sure your jersey knit isn’t too long or too short. Make sure it goes all the way through and you can still tie the ends together.
Second, you’re making the blouse lay correctly. When you first put it on it will probably fit a little bit funny. Don’t worry—this is normal. You’ll just need to adjust the way the fabric is laying/hanging. Do this by pulling the jersey knit tighter or letting it looser to adjust the size of the arm holes and how high or low the blouse sits on your neckline. When you’re happy with the way it looks, tie a big bow and look at how pretty it is!
Third, check for the length of your shirt. If it’s at a good length, just go on to the next step. If it’s too long, cut it off, but be sure to leave it about an inch longer than you actually want it (for hemming). If it’s too short, don’t worry! You can always add a little length to the bottom with your jersey knit scraps. Reference this tutorial for adding length instead of a hem.
Part C. Hem the bottom of the shirt 1 inch.
TA-DA! You’re finished! See? I knew you could do it! Now all that's left to do is to go show off your style!


Thanks for hanging in there with me while I went through my first "real" tutorial! Until next time, happy crafting!
--CC
Note: This post has been linked up here.
Note: This post has been linked up here.
Very cute!
ReplyDeleteSuper cute! And aren't you just the adorable model behind the clothes, love it! Thank you for sharing this at Show & Share! I really appreciate it!
ReplyDeleteThanks to both of you. And you so flattered me Lindsay! Made my day. Thanks for the compliment. :)
ReplyDeletethis is so cute! I love it!
ReplyDeleteI would love it if you would share this and/or any other projects you have been up to at Tuesday Talent Show at Chef In Training Tomorrow! Plus there is going to be a fun giveaway too! Thanks so much and I hope to see you there!
-Nikki
http://chef-n-training.blogspot.com/
Thank you Nikki! I appreciate you stopping by and will definitely pop over to your link party today! :)
ReplyDeleteI was planning on making this exact item today...but in dress form! Thanks for the reminder on how easy it is!!
ReplyDeletePS. I found you through Sunny Vanilla's blog. Where is her tutorial for the blog swap you gals did? I can't seem to find it!!
@Noemi
ReplyDeleteThanks for stopping by! You can find Jennifer's tutorial here:
http://www.craftycritique.com/2011/09/blog-swap-felt-interactive-book.html
Ooooh. I love the idea of making this the top half of a dress. You could add a circle skirt with a waistband, but I'm not sure how you would insert the zipper..... unless you made the entire thing out of knit......
ReplyDelete